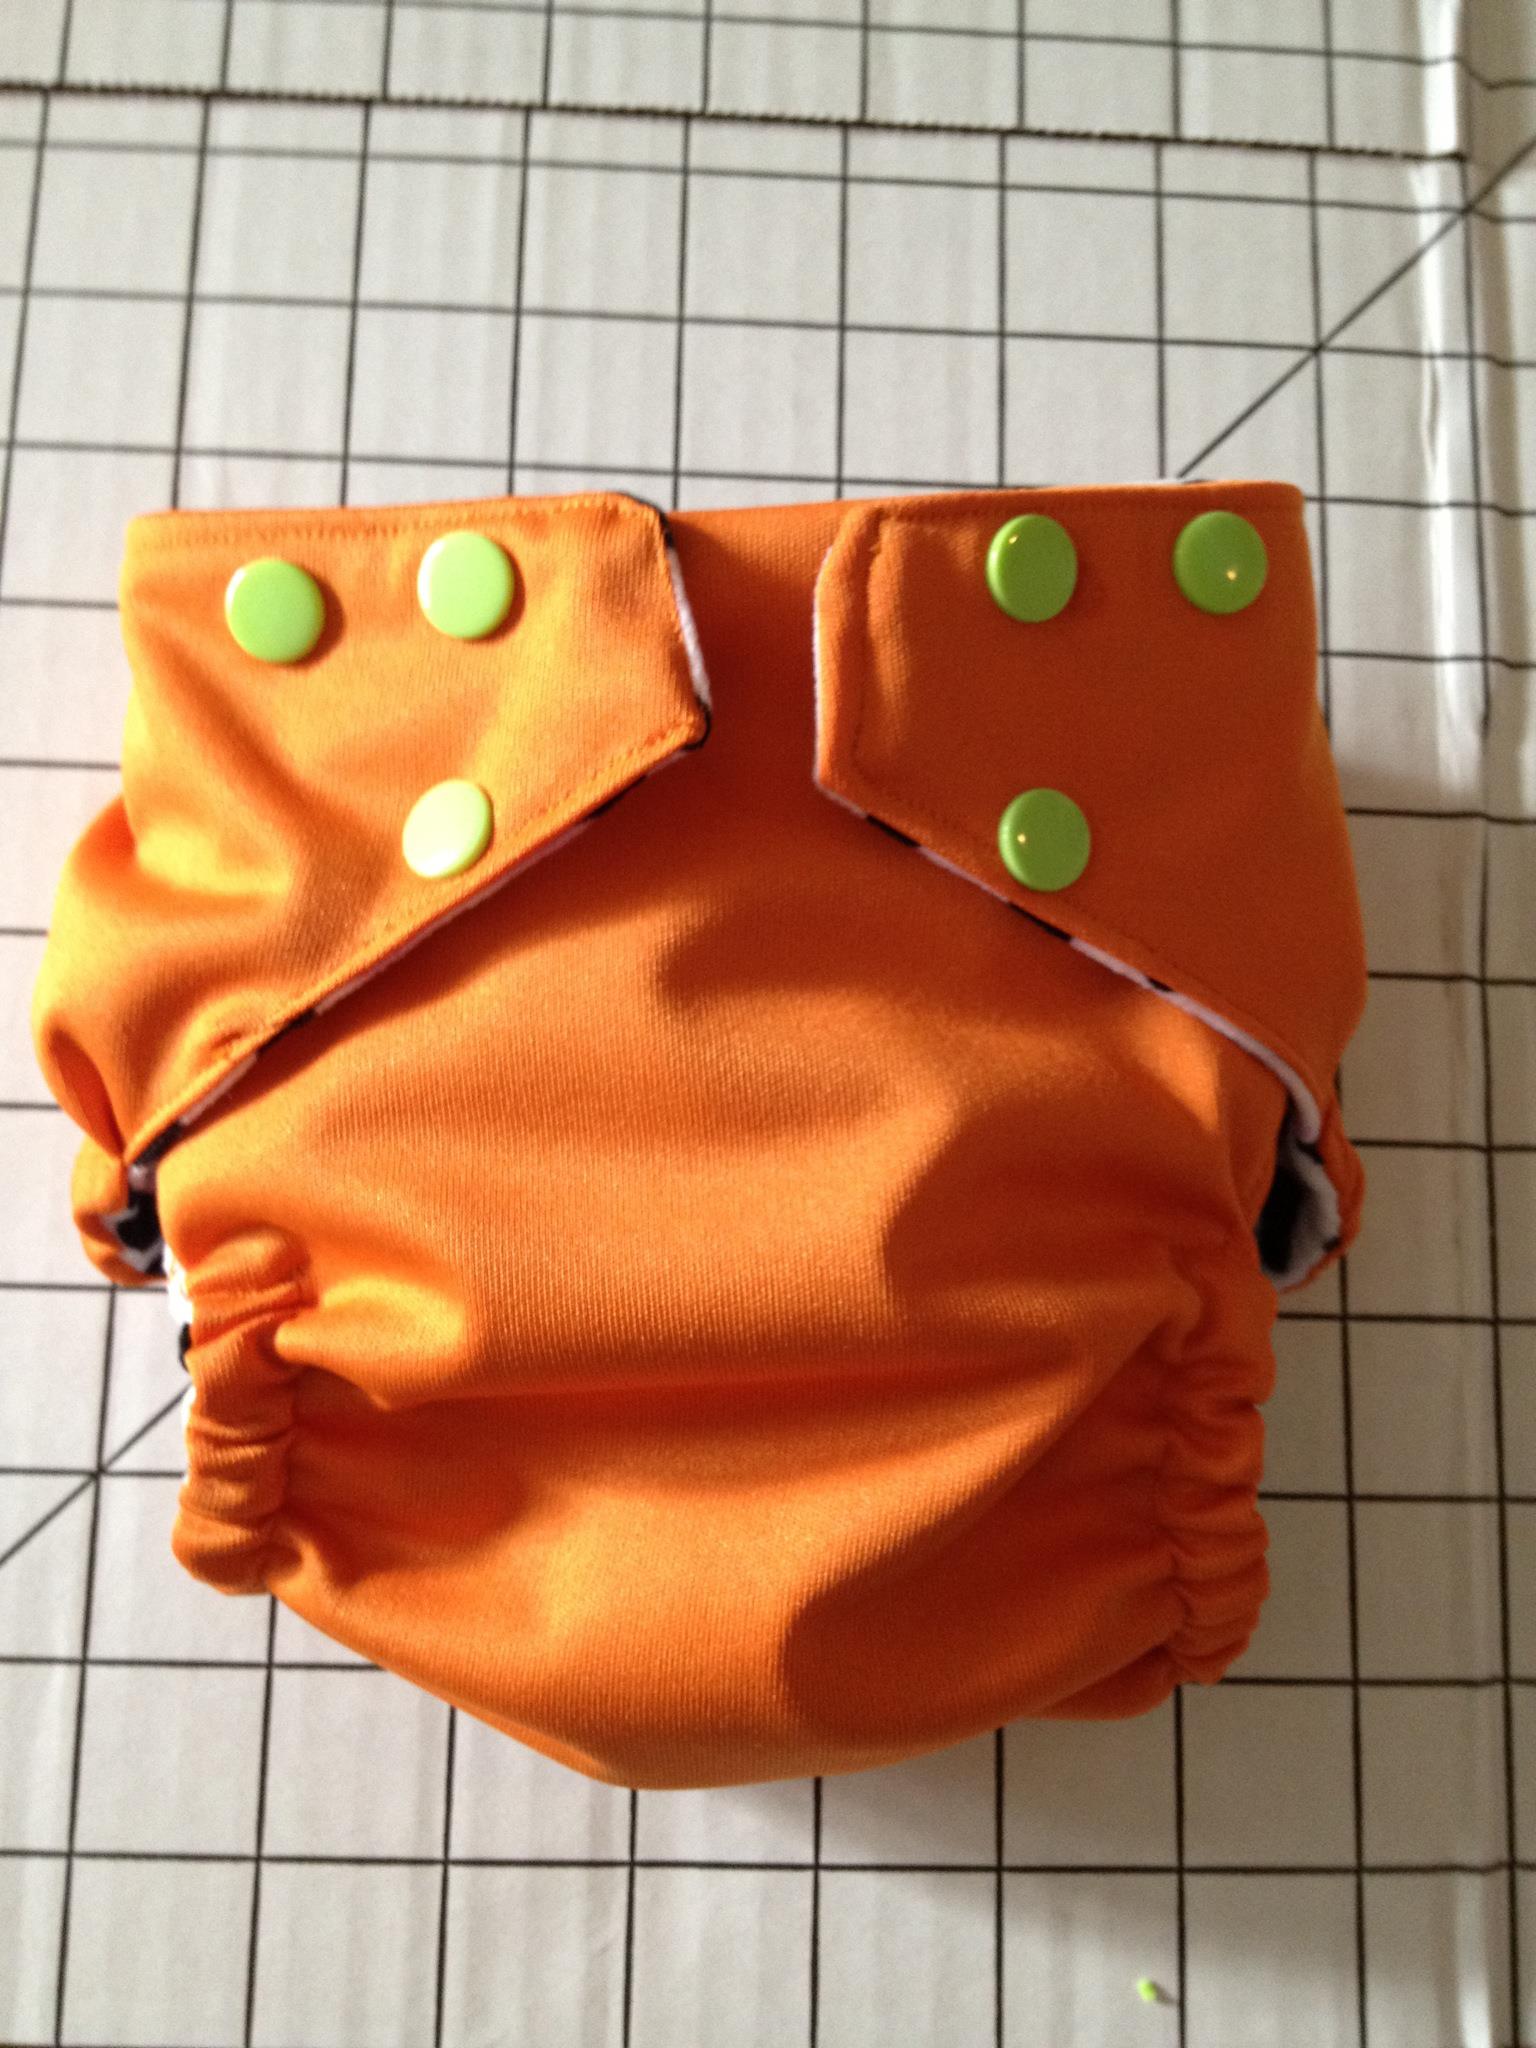
DIY Adventures in Diapers: All-in-One diaper

Last week I posted about my experiences making a pocket diaper for my son. I learned from the mistakes I made and applied them to an all-in-one diaper. If you’re unfamiliar with what exactly an all-in-one (AI1) diaper entails, read this post. This style of cloth diaper is the closest to a disposable.

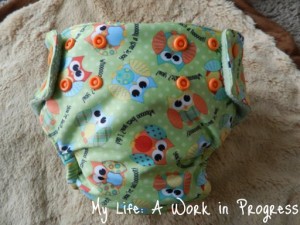
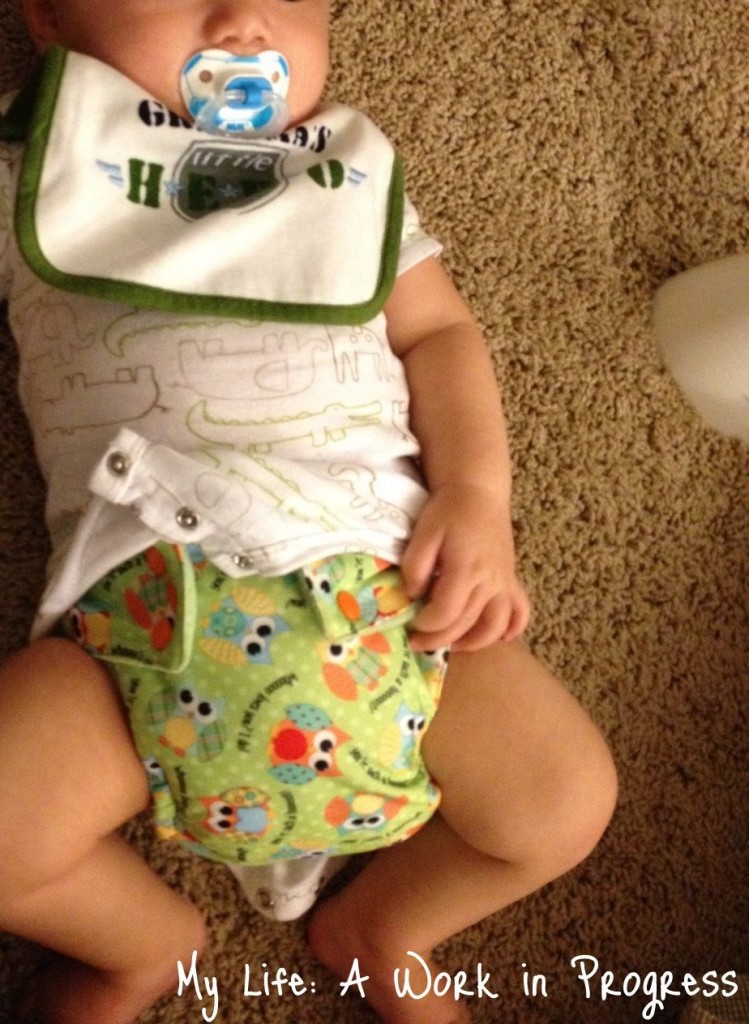
The pattern was similar to the pocket diaper I sewed, but I added an attached insert. There’s still a pocket, so I can add absorbency, if I want, but the diaper can be used as is. Just snap the diaper on the baby, and he’s good to go!

Click on Photos to Enlarge

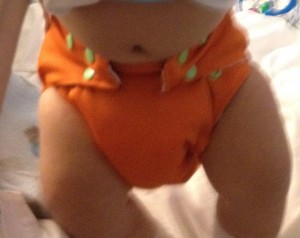
This medium-size diaper fits babies approximately 18-28 lbs.
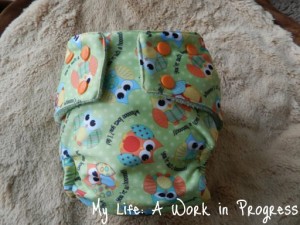
Smallest Setting


Largest Setting

This AI1 diaper features a PUL outer and fleece inner. I upcycled a fleece blanket to make the lining.
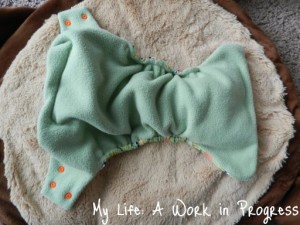
Fleece Inner

A note on fleece: micro-fleece is wonderful for the inside layer of a diaper since it wicks moisture away from skin. However, regular fleece (blizzard, anti-pill) can do the opposite and repel moisture. Since I’d used pieces of this particular blanket before to make a stay dry insert, I was confident this piece of fabric would allow the liquid to pass through into the insert and keep the moisture off my son’s skin.

The pattern instructions called for two inserts to be stacked on top of each other and both sewn into the diaper. I think the bamboo batting I used for inside of the insert must have been much thicker than what was intended for this project, because there was no way I was getting both inserts sewn into the diaper. They were too thick. I also had difficult sewing just one insert to the lining, probably because the regular fleece I used is quite thick. I ended up attaching the insert on one of the shorter ends, instead of sewing it all the way down lengthwise.
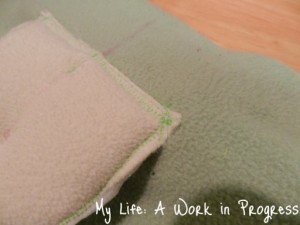
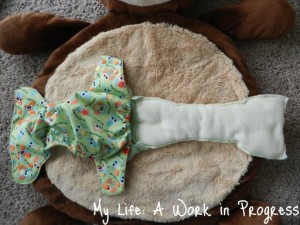
Insert attached on one end
Insert attached on one end- can be pulled out to speed drying

Besides the insert difficulties, I struggled with one of the legs. I’m not sure what happened, to be honest, but somehow it turned out twisted:
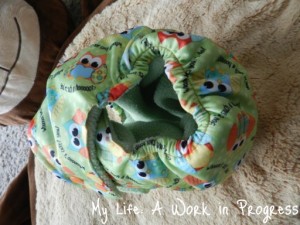
Twisted leg hole

I decided to take the top stitching out around the legs and resew. The fewer holes in PUL, the better. But with the way the leg is above, it wouldn’t maintain a waterproof seal around my son’s leg anyway, so I figured I might as well try to fix it.

It was slightly improved afterwards (but still looking jacked up):
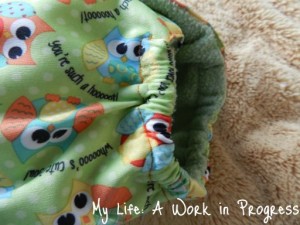
Stitching uneven but leg elastic area less twisted

My best guess is that it has something to do with how I originally sewed the elastic onto the fabric. Next time, I’ll try be more careful while sewing the elastic on.

I decided to only put elastic on one side of the pocket, the back side of the diaper. This way if I add another insert into the diaper for extra absorbency, it will theoretically come out of the pocket on its own in the wash.
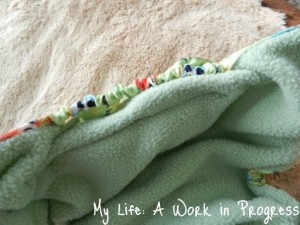
Pocket

I love how soft, squishy, and absorbent-looking this diaper is!

Tips:

PUL can be very difficult to sew with, since it doesn’t feed well through the machine. Place some tissue paper over it (or under it), and this will solve the problem.
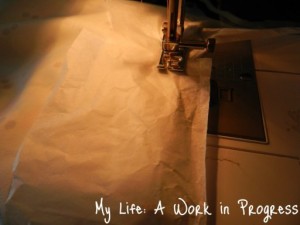
Tissue paper makes it easier to sew with PUL

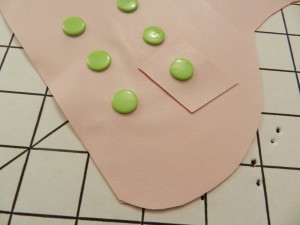
When placing snaps, always reinforce the PUL under the snap. You want this diaper to be completely waterproof. You can either glue an entire yoke of PUL fabric on the inside, before placing the snaps; or, you can just use small squares of fabric. These can be glued on as well, if you want them to lie flat.
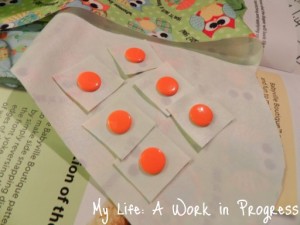
Reinforce PUL under snaps

There you have it! Next up on my sewing agenda: a cotton-topped pocket diaper with a hidden PUL layer.

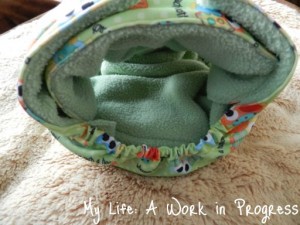
Do you sew your own diapers? Have any tips for me?
Continue Reading

DIY Adventures in Diapers: Pocket Diaper

Hubby put his foot down. No more buying fluff. 🙁 But he did say that I can make our own diapers for Baby J! My first venture in the DIY diaper-making biz was to convert a prefold to a fitted. That was…laughable. I’m conflicted about whether or not I should share my experience with vivid photos or not. On one side, it’s a little humiliating for me. On the flip side, it could be a guffaw moment for you.

I am going to show my experiences with the second diaper I made: a pocket diaper. It definitely didn’t turn out perfect, and I have some things I need to improve upon next time around. But it’s a usable diaper, and that’s what counts, right? Right?!

There are a myriad of patterns floating around the Web, many of them free, but I decided to purchase the Babyville Boutique Cloth Diapers Made Easy Book. I’m getting back into sewing after many years away, so I wanted something with plenty of instructions, photos, and tips. Besides the pattern book, I also purchased Babyville snaps, pliers, and their 3-pack of PUL fabric in orange, monkeys, and hoot.

My husband suggested I start with the first and easiest pattern, but I didn’t want to make a diaper cover. I wanted to make a pocket diaper. So that’s where I started.

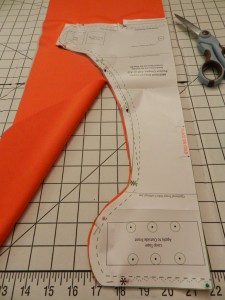
To begin with, I cut out the pattern and pinned it on the folded piece of orange PUL fabric. I made sure to keep the pins toward the edge of the PUL fabric, in the seam allowance. You need to be careful where you place pins in PUL, since you want as few holes in the fabric as possible to make sure it stays waterproof.

Notice my handy-dandy cardboard cutting surface thingy. It folds up which is great for me, since we don’t have a lot of space in our home. It also worked well for keeping the PUL from moving around while I was cutting it. I stuck a pin straight through the edge of the PUL and the pattern, into the cardboard. That provided stability.

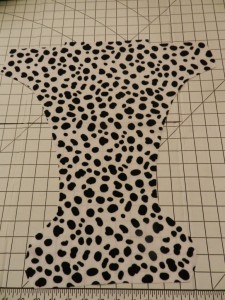
For the inside layer of fabric (the layer against Baby J’s skin), I purchased suede cloth in a “Dalmatian” print from our local fabric store. Suede cloth is soft and it wicks moisture away from skin.

Suede Cloth Inner Layer

After cutting my diaper pieces out, I put the extra scraps of suede cloth and PUL away until another day, to make “Mamma Cloth.”

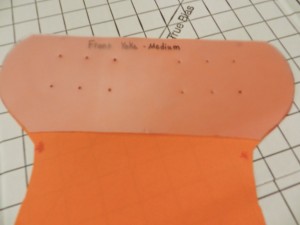
The pattern book gave fairly easy directions to follow and suggested using pattern template plastic to create a permanent template for snaps.

I found template plastic at the fabric store, marked the holes from the cut-out pattern onto the plastic, and then poked holes in the plastic.

The snap template is for a medium-size diaper. Once I become more proficient at sewing diapers, I plan to make one-size diapers. I figured that a sized diaper would be a good starting point for me, since I’m not very good at sewing yet.

I learned that when you sew a diaper, it’s important to reinforce the section of PUL where you place the snaps.

The book gave two options: use individual pieces of PUL under each snap, or make an entire yoke to go over that part of the diaper. That’s what I did for this pocket diaper.

It didn’t go exactly as planned.

Oopsie

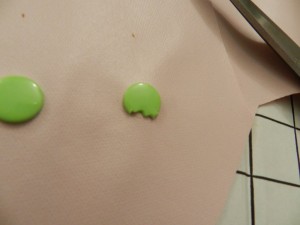
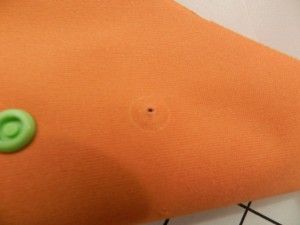
I finished the yoke and started applying snaps. I’d read horror stories about putting snaps on diapers, but it was going beautifully…until in a daze I put the WRONG snap on. Basically, the snap part that should have gone on the back wings of the diaper, I put on the front. Or…I put the boy part where the girl part should’ve gone. Make sense?

There are plenty of people who have made this or a similar mistake, I discovered, when I started to research online. The best suggestion was to use pliers to snap the head until I could reach the stem with cuticle scissors, and then cut the stem. Well, I got rid of my cuticle scissors years ago after they destroyed my fingers, and I didn’t have pliers readily available. I just chipped at the snap with regular, adult-size scissors. Let me just say that I do NOT recommend you do this. In fact, please don’t. It’s a wonder I didn’t slice a chunk of flesh off my fingers and destroy the diaper.

All Better

Miraculously, I didn’t damage myself or the fabric. I did stick another little piece of PUL under the new snap as triple reinforcement.

Once I finally finished sewing the diaper, I realized a few things that I thought I should share to any other aspiring-diaper-makers.

MY HARD-LEARNED TIPS:

Triple Reinforcement!

1. Do not make the seam allowance too large. Or (if you do not know what a seam allowance is) try to sew near the edge of the fabric. If you sew further in, the diaper will be smaller. Your medium-size diaper will fit like a smaller diaper.

2. Pay attention to where the boy and girl snap parts go.

3. PUL is a very slippery fabric to sew. Stick some tissue paper over top (or under) and sew right through the paper. You can pull it off afterwards.

4. My diaper unintentionally looks like a Halloween diaper.

5. Be very careful when you cut out the wings in the fabric, or they will not be the same size, and your diaper will look weird.

6. It is really difficult to hold leg elastic completely stretched and thread sticky PUL fabric and other layers under your sewing machine foot at the same time, all while making sure you don’t sew over top the elastic. I have new-found respect for all veteran diaper makers and WAHMs.

Want to see the finished product? Of course you do!

The wings aren’t the same size- I have no idea how that happened.
On the small side, since I didn’t size the seam allowances properly

Note: This post contains affiliate links.

Continue Reading

Making friends with my seam ripper

Today I really cracked down on my table-cloth/place mat sewing project. It was going well until I sewed the wrong sides together on place mats. Twice! I did this twice! It took me about 20 minutes each time to rip the seams out. Oh well…

Then I decided to start sewing project #2: turning a prefold diaper into a fitted diaper. I sewed the elastic in, and let’s just say that was also a fail. More time with my handy dandy seam ripper tool.


Fail Profile Graphics and Comments
Fail Funny Pictures | Friendster Layouts What did I do successfully today? Uhm…I didn’t burn dinner. We had tuna melts, so it definitely wasn’t rocket science.

Oh! I did find out that I won a giveaway on another blog! So you see! It’s not impossible to win! I’m not a loser after all, hahah!

Also, I think one of the workers at the gym thinks I’m hitting on him. Did you ever accidentally make eye contact with someone too many times? Yup, that’s me. So awkward. You know, you’re walking by the desk, and you think the workers said something to you, so you look at them, only they’re not looking at you, but then they sense you’re looking at them, and they look at you looking at them, and it’s just really awkward? Yup, that’s me.

All right, well, I’m working on a few different blog posts at once, but none of them are ready to post tonight, so I’m keeping this short and sweet.

Don’t forget to enter the Hidden Treasure Candle giveaway and the Great Soft Bums giveaway. In just seven days, the Green Family giveaway blog hop starts. I’m super excited about that!

TTFN

Continue Reading