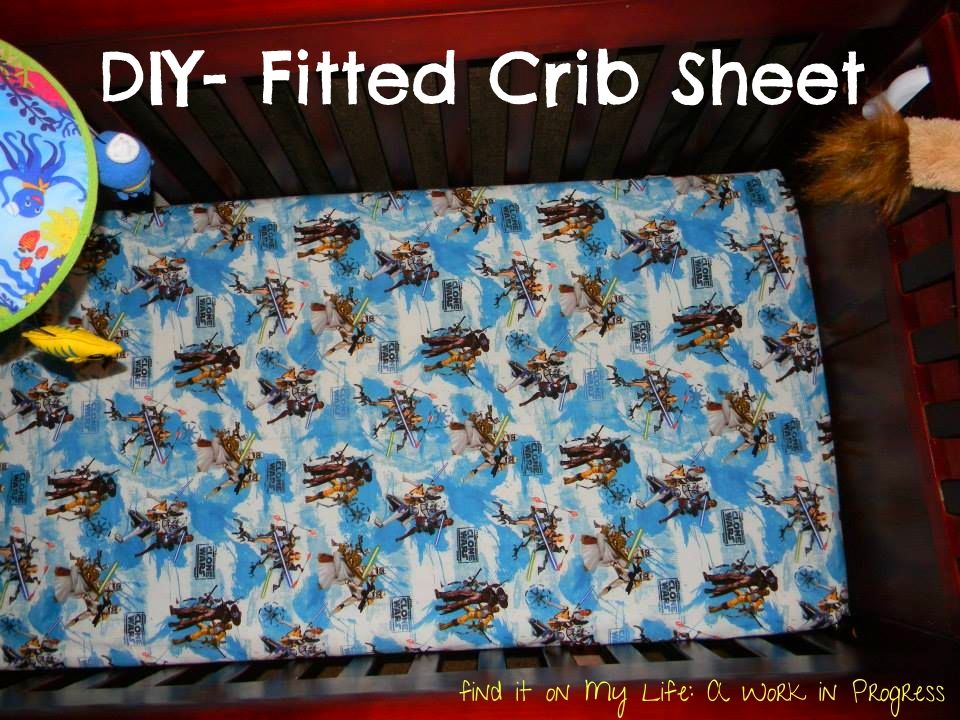
This post is courtesy of my friend Jessica, a fellow Navy wife and former Army reservist. When Jessica couldn’t find a fitted crib sheet in a Star Wars print for her son, with the help of her aunt she decided to make her own in a few simple steps. I’m planning on following her steps and trying it out, so look for another DIY tutorial post next month! -Elisebet

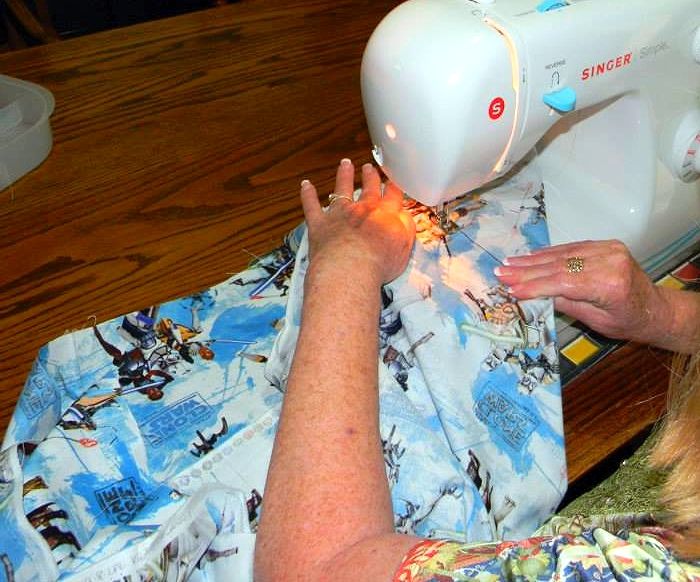
First my aunt and I laid the fabric over the mattress to make the darts. We pinned the fabric together in a line down each corner and then used a ruler to actually draw a straight line (we also took the pins out to draw it then replaced them along the straight line we had drawn). Then we also pinned down outside of the line so the fabric didn’t shift.

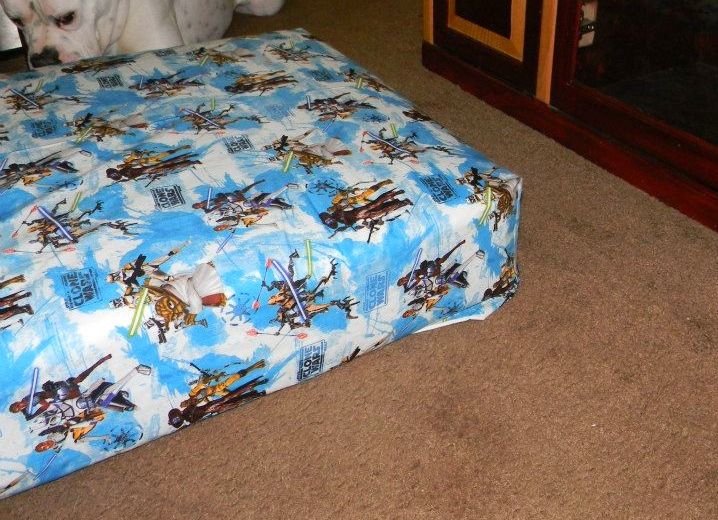
After the dart was done (we stitched twice to make sure it would last), we cut off the extra fabric on the corners. After that, we put the fabric back onto the mattress to make sure it fit before doing the other three corners.

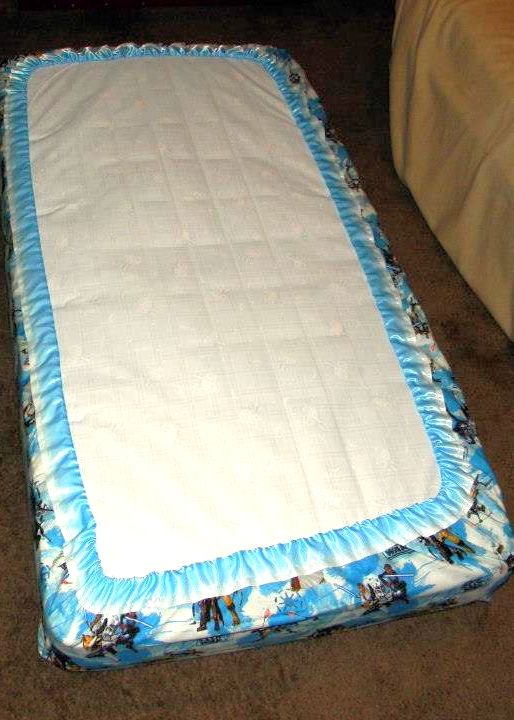
The only problem we ran into was the fabric was a little too short on the long sides of the mattress, so it didn’t go under the mattress enough for the elastic to hold. So we had to put binding on it to give it a little extra fabric.
When sewing binding onto the fabric, one thing you want to keep in mind is that you don’t want too much fabric inside the binding. If there is too much fabric inside the binding, it makes it more difficult to get the elastic through. When you sew the binding on, don’t get nervous about the corners. Just sew them like you do on the straight parts 🙂 Make sure you don’t sew the ends of the binding closed, because you’ll thread the elastic through them later.
Once the binding is sewn to the fabric, attach a safety pin to the each end of the elastic (we used 3/4″ elastic), then to one end of the binding. On one end of the elastic, make sure it’s a large safety pin. It’s easier to grasp and thread through the binding.

Use the end with the large safety pin to push the elastic through the binding. Keep the elastic flat while threading it. You don’t want it getting twisted. Once you’ve push the elastic through, pin the two ends together and run a stitch through them. Then close the binding over the elastic and run another stitch over both the elastic ends and the ends of the binding. Be sure to remove the safety pins before sewing the binding closed! Now you’re done!

3 Comments
I love this because you can choose whatever fabric you want or need, even if it’s hard to find in the store!
Yes! And it’s easy to do!
Man, I’m so jealous! I totally need a sewing machine. That project turned out so great! Way to go! The theme you chose is perfect too. 😉