How to hang a wreath without damaging your door

Note: This post contains affiliate links. Also, I love the Command Brand hooks, but that’s just my personal opinion. Finally, as a disclaimer, I didn’t damage my door by doing this method, but if you do- that’s still on you.

This summer J and I bought a house, our first one! It’s been scary, but also it’s been so freeing to be able to put personal touches on our own home. We’ve both lived in rentals for many, many years, but since the Navy has us staying in this area longer, it seemed like the right time for us to buy.

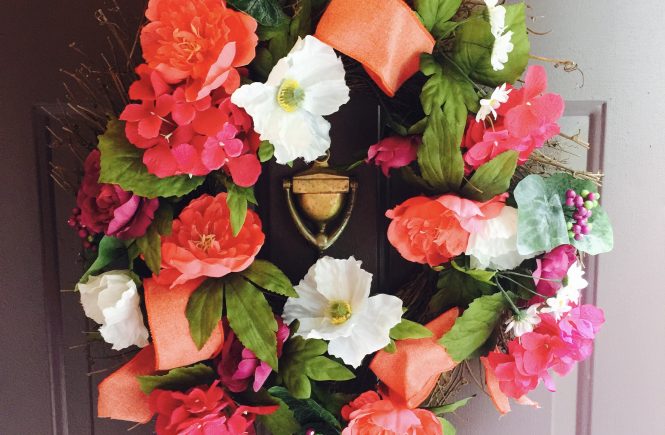
One thing I really wanted to do was put a wreath on my front door. I wanted something that would make our traditional split foyer house look a little more appealing from the road. A couple of weeks ago my local Michaels had a great sale on what Spring and Summer floral stock they had left, and I was able to buy two beautiful full wreaths for about $12 each.

I had my wreaths, but I wasn’t sure how to secure them to the door. I spent some time researching on the Internet, and there are a variety of methods you can use to hang a wreath on your front door. You can use special magnetic wreath hangers for steel doors, Command Brand wreath hooks, or an over-the-door wreath hanger. I’ve also seen posts where people used nails or tacks to secure the wreath to the front of the door, or they used tacks at the top of the door to secure a ribbon that the wreath was hanging on. None of those methods were quite what I was looking for.

I knew I didn’t want to use tacks or nails because I didn’t want to damage the door. I was also concerned that the over-the-door wreath hanger would scrap up the top of our door or keep the door from closing properly. I read several reviews where people who had doors facing the sun found that the Command Brand hooks wouldn’t stay up on the front of the door because of the heat. Our front door gets very hot during the day, so I was afraid that was going to happen.

So what about the magnetic wreath hangers? Well, I was initially going to get one of those as they seemed ideal, but I wasn’t positive that a magnet was going to get a good hold on our door. Pinterest to the rescue! I found photos of a command hook being hung on the back of the door, inside the house, with a ribbon stretched up over top of the door and down to the wreath. So that’s what I did!

I bought a Command Brand hook that holds 5 pounds, and I installed it upside down on the back of our front door. I tied a ribbon to my wreath; I stretched the ribbon over the top of our front door; I secured the ribbon to the Command hook by wrapping it around the hook multiple times and then tying a not. That’s it! This is an easy way to hang a wreath without damaging your front door.
Door wreaths
Door wreaths

Have you done this? Do you have a wreath on your front door? If so, how did you secure it?
Continue Reading

Kid’s DIY Dr. Who costume for Halloween

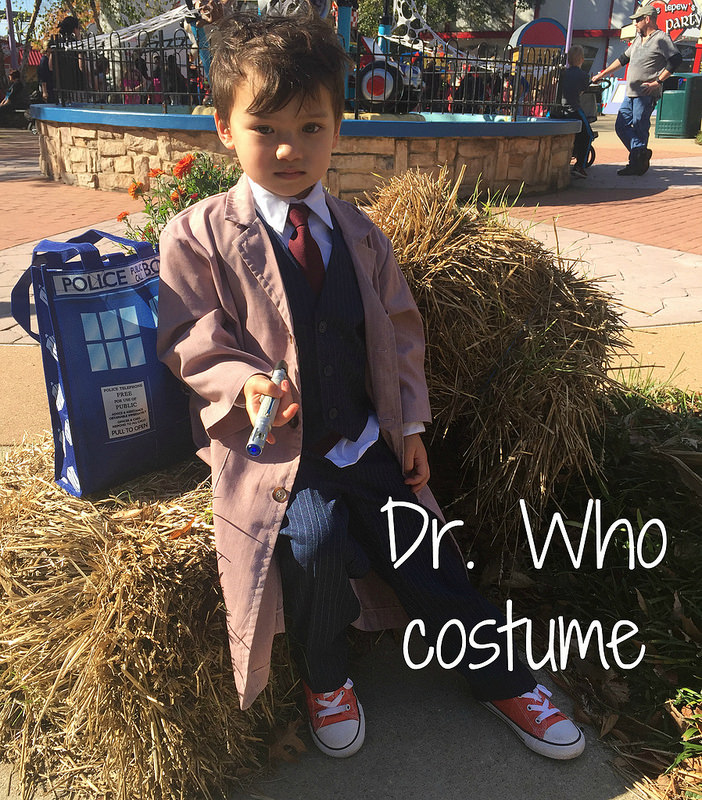
This year Little J wanted to go trick or treating as the 10th doctor from Dr. Who. I tried to persuade him to go as the 11th doctor, the Matt Smith version, but no, he wanted to be the 10 doctor, David Tennant. I don’t have anything against Tennant, but the Smith costume would have looked soooooo cute with the bowtie and boots! Tennant is still awesome though, so I was thrilled to put together this kid’s Dr. Who Halloween costume for Little J. I’ve had a few people ask where we got his costume from, so I thought I’d break down all the pieces. I bought almost everything on Amazon, and please note, I’m using affiliate links below.

The coat:

I looked around for a kid’s trench coat, but it was hard to find one that was brown and for a boy. The coats meant for girls weren’t cut the way I needed. They were shorter and flowed out like an empire waist. So on the advice of a friend, I bought a kid’s lab coat on Amazon with the plan to dye it tan. I bought the Aeromax Jr. Lab Coat in 3/4 length in the Child, 4-6 size. Little J is on the smaller size for a 4 year old, so I figured it would be a bit big for him (it was), but I needed the coat to be long since that’s part of the entire Dr. Who look.

When it arrived, the length was perfect for Dr. Who, but the sleeves were too long, and the coat was a little wide. I cut the ends of the sleeves off by a couple of inches and sewed a new hem on them to make the sleeves shorter. I also gathered in the sides of the coat a little bit under the arms and sewed a new inside seam just for a few inches under the arms. This probably didn’t need to be done though; I don’t think anyone would have noticed one way or another. I used a sewing machine for all of that, but really it was such little sewing that it could have easily been done by hand. I also replaced the white buttons on the coat with brown buttons (the fabric dye didn’t affect the white button color at all, so they had to change).

Finally, I dyed the lab coat with Rit Liquid Dye. I tried the Camel color first, and that really wasn’t dark enough, so I dyed it again with a Rit Dye Powder in Dark Brown. This was the first time I’d ever dyed fabric, but it was pretty easy. You can find the dye at Walmart, Harris Teeter and Amazon. I bought a large plastic bucket from Lowe’s to dye the coat in and just followed the directions. The end result wasn’t a perfect color match for Dr. Who, but we were happy with it. More importantly, Little J was happy!

The suit:

I spent a lot of time online looking at a brown pinstriped suit and a blue pinstriped suit. The 10th Doctor wore both. This brown pinstriped suit looked amazing, but the size we needed wasn’t available for Amazon Prime shipping. I was worried we wouldn’t get it in time, so I started focusing on a blue pinstriped 3-piece suit and a 2-piece version of the same blue suit. Because of the cost, I ended up getting the Spring Notion 2-piece version, and it worked out well. Although the 2-piece had a vest, not a suit jacket, I don’t think the overall Dr. Who look suffered because of it, especially with a coat over all of the costume.

I bought Little J this French Toast boy’s long sleeved white shirt and this French Toast adjustable tie in burgundy (size 4-7). At this point, you can probably tell this wasn’t a cheap costume, and that’s true. One of my justifications though is that he now has a nice church outfit! He’ll be wearing his “costume” minus the coat on the Sunday after Thanksgiving.

The shoes:

This part was easy. We had a pair of orange Chucks for him that we’d bought earlier this year at a Converse outlet store. They were still a little big as he’s meant to grow into them, but he fit them well enough that we could pull them out for this costume. Dr. Who actually wears cream or red Converse shoes, but the orange still really did the trick.

The accessories:

The 10th Doctor would not be the 10th Doctor without his sonic screwdriver, so that’s what we bought. Last of all, the Doctor needs his TARDIS, so I bought Little J a TARDIS tote bag to haul his candy in.

The hair:

For the hair, I literally just let my son grow his hair out for two months and used lots of gel in it and messed it up! If he had different color hair or it were shorter, I probably would have bought him a wig. And that was it! We had a few people who had no idea who Little J was dressed up like. We got Harry Potter, a lawyer, and vague “little gentleman.” But for the dozen or so times someone recognized him as Dr. Who? Totally worth the effort!!!

kids dr who collage

Did you make your little one’s costume this year? Did you make your own?

Continue Reading

Toddler #DIY #Craft Time! Make Your Own Felt #Easter Bag

Baby J will be 2 years old next month, and we haven’t established that many family traditions yet. The biggest reason is that his dad has been gone so much (all of which will change this summer, when J starts shore duty- woohoo!), and I just haven’t felt like celebrating holidays on my own.

But this Easter, Baby J and I are going up North to visit his aunt, uncle, cousins, and grandmother. So I’m making an effort to celebrate this holiday!

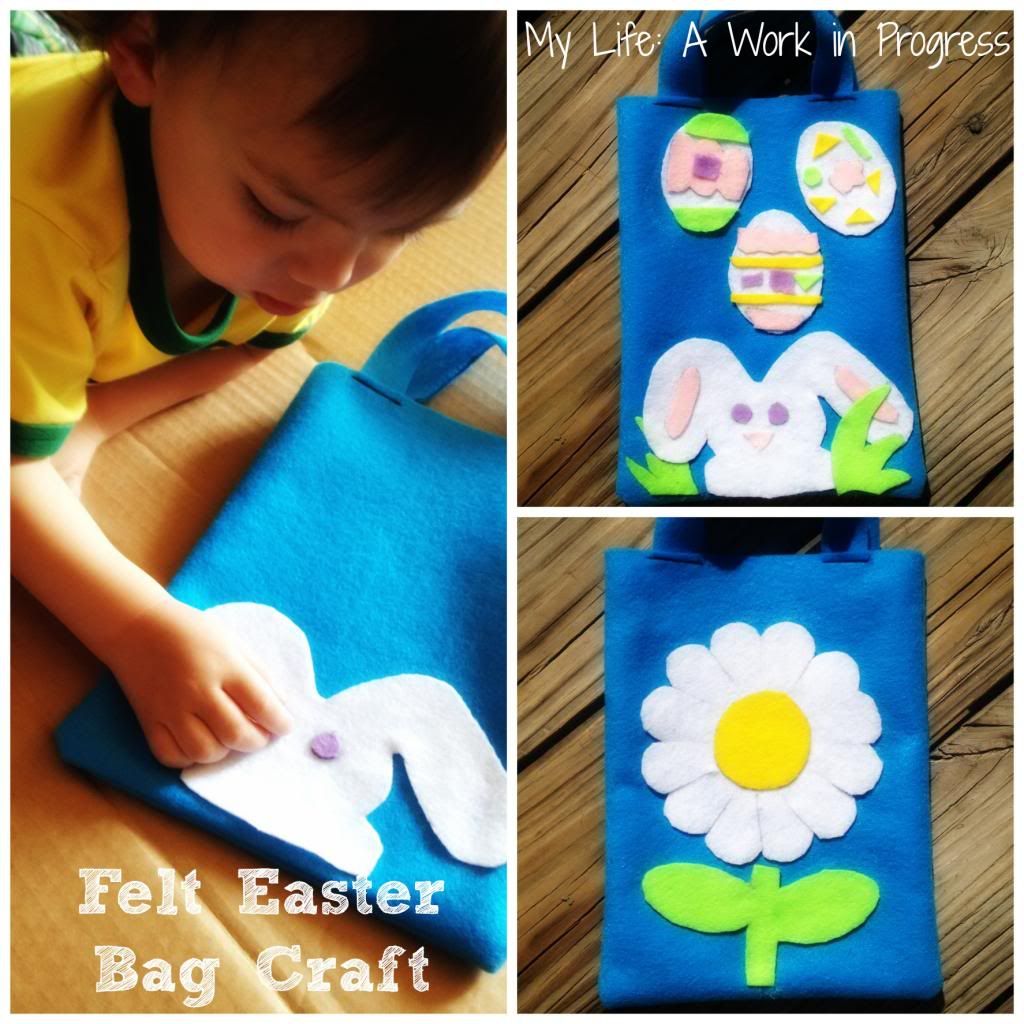
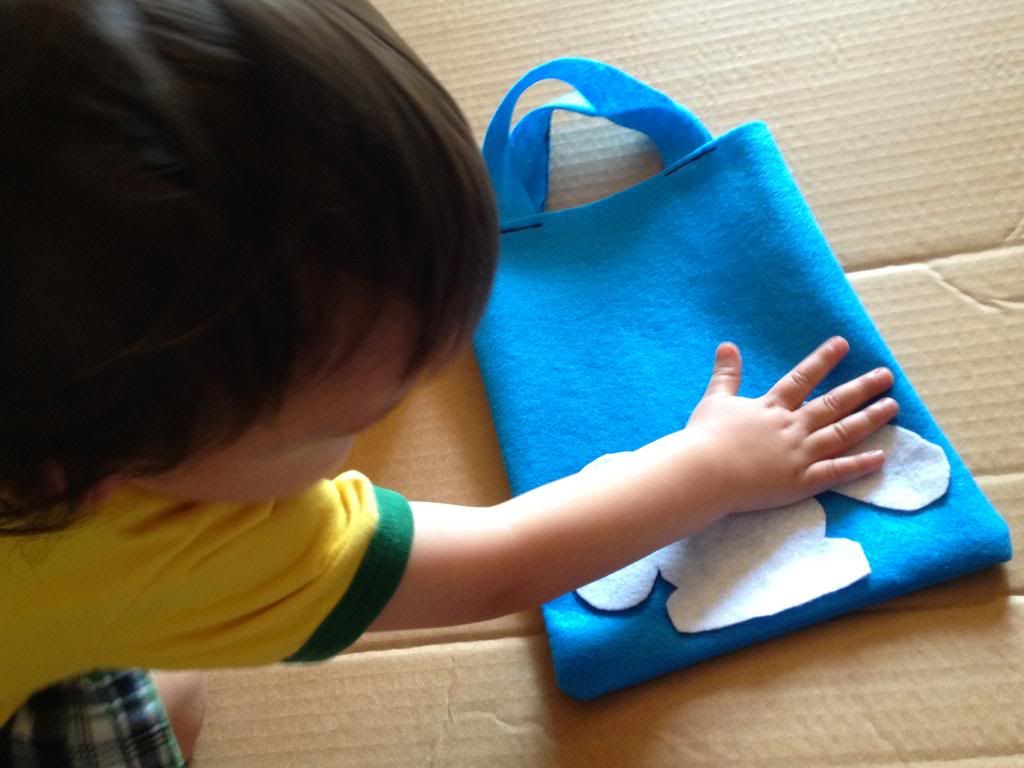
I’ve seen cute little felt Easter bags at several stores recently, and it occurred to me that a bag would be a fun, easy craft to make with Baby J. Because he’s so little, I did do most of the work on my own, but I let him help me “place” the decorations on the bag and pretend to glue them on. After the bag was finished, he ran off with it and kept trying to shove his cars and trucks inside, so apparently the bag was a hit.

To make your own easter bag, you’ll need the following:

  • Glue gun and glue
  • 5-7 pieces of 9″x12″ felt in multiple colors*
  • Coordinating thread and needle (or sewing machine)
  • Scissors
  • Easter coloring sheets
  • Ruler
  • Marker or pen

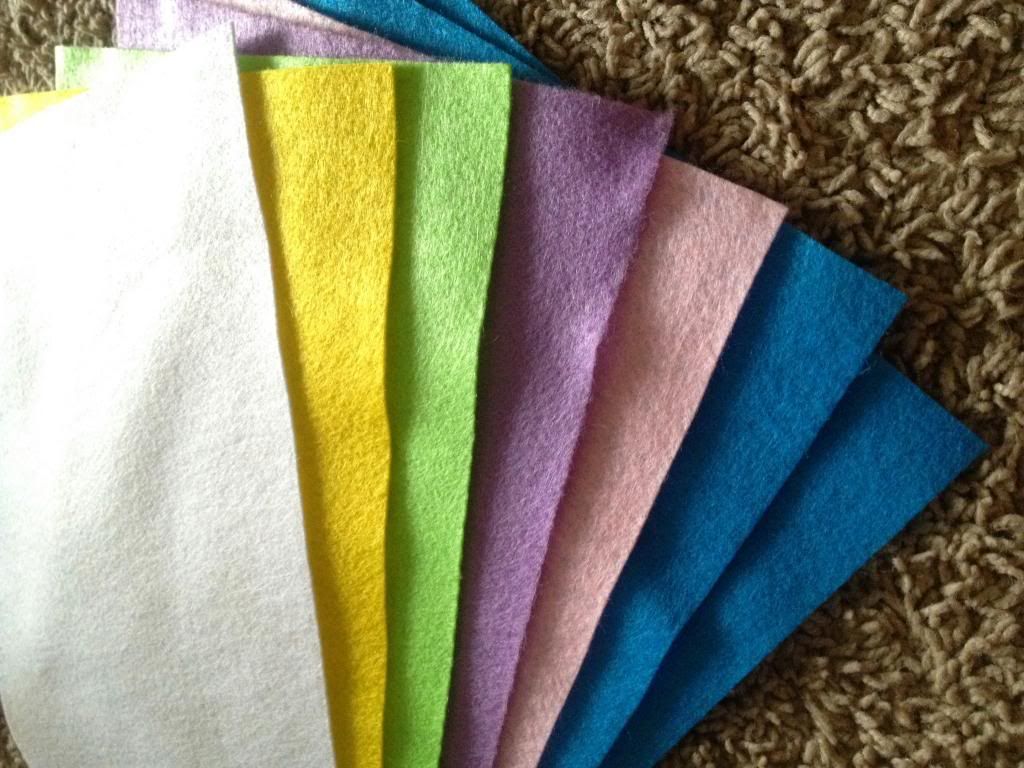
*I used 2 pieces of blue felt for the bag itself, and then chose 5 other colors for the decorations. I did have plenty of leftover fabric, so you could probably make do with fewer pieces. If you have extras…save them for another craft!

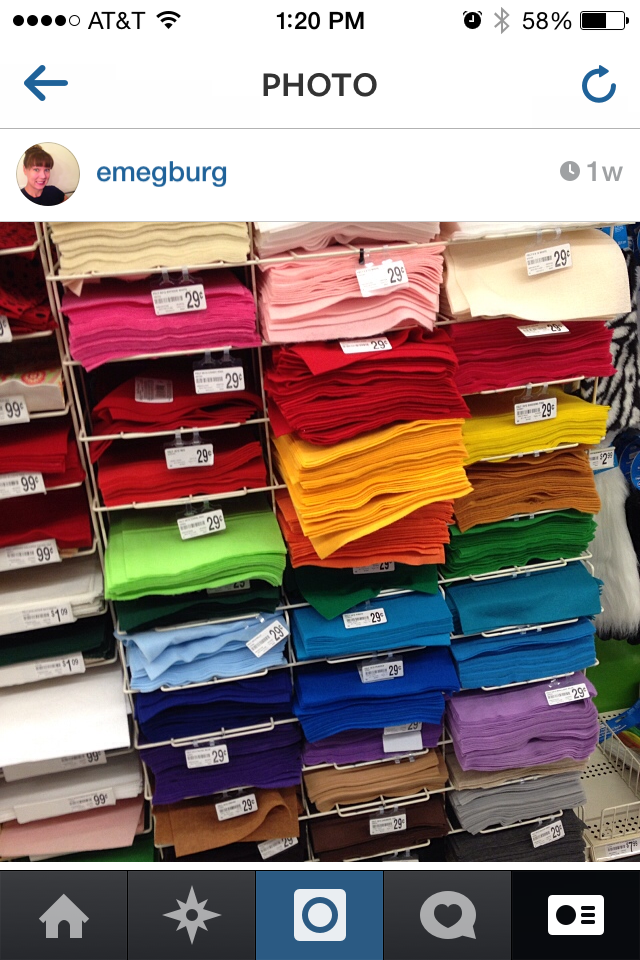
We bought our felt pieces from Michaels, but I’ve seen them at Hancock Fabrics, as well.

“Instagramming” our shopping trip…
Our selection (I let Baby J help pick)

Steps:

1. Do a web search for “free easter coloring pages printable” or a similar search term.

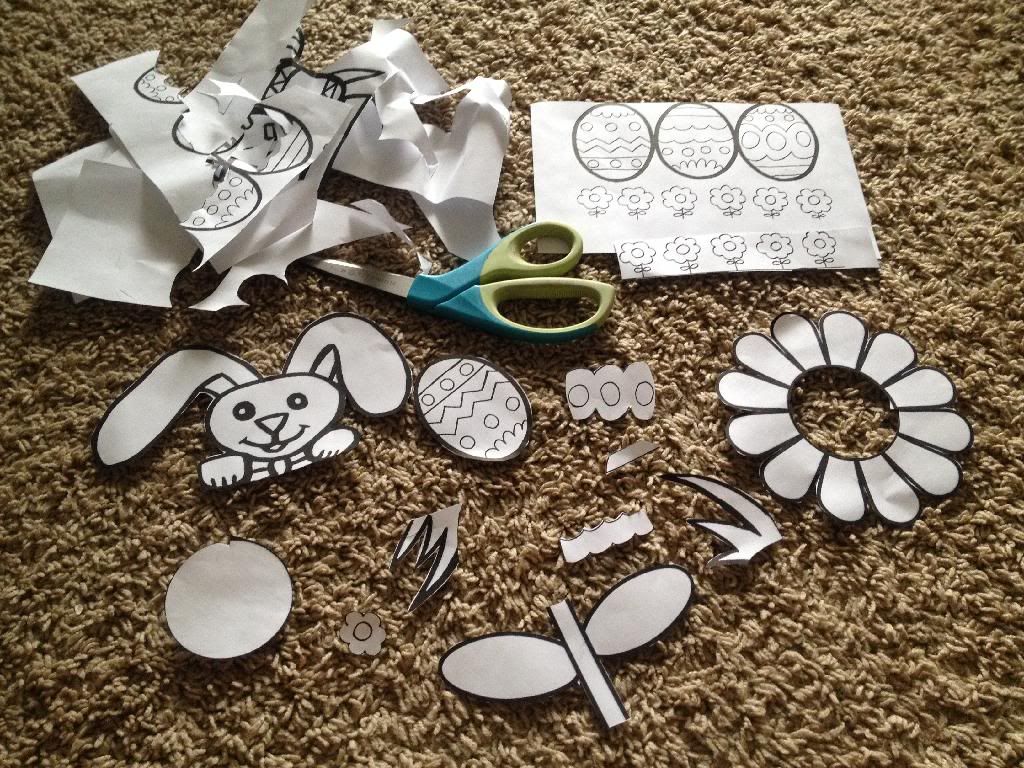
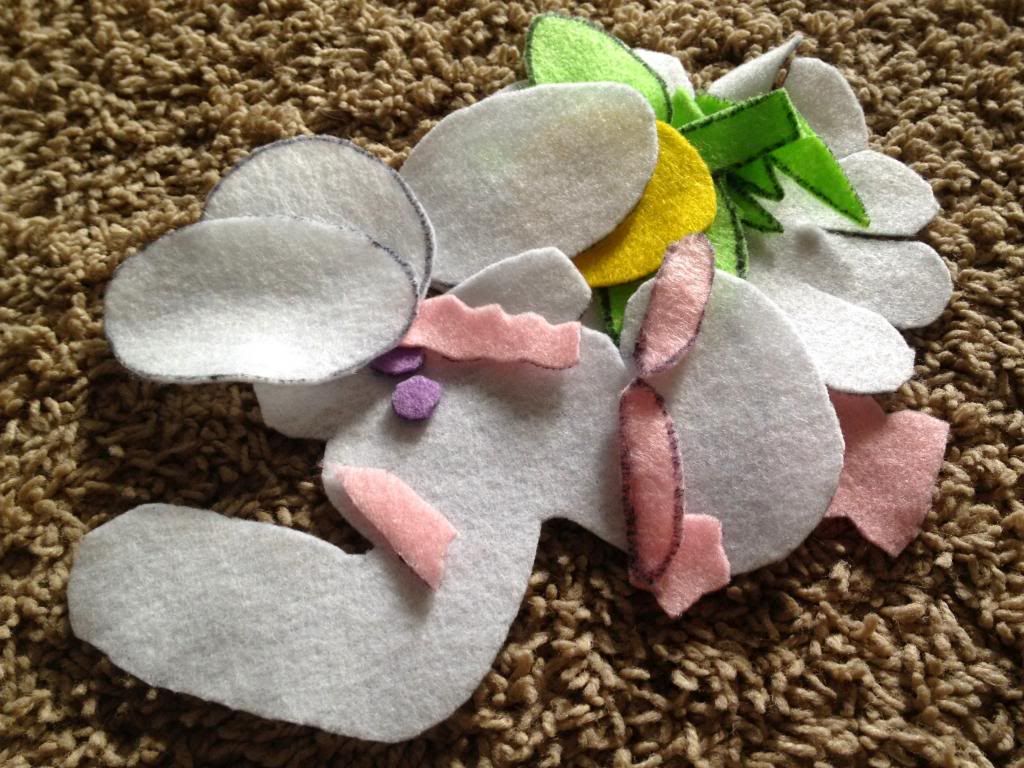
For our craft, I gathered several images from this collection of printable Easter egg color sheets, a flower coloring page, and a bunny coloring sheet. The great thing about this bag is you can customize it to whatever design you want! If you’d rather design a religious Easter bag instead of secular, there are a number of free religious coloring pages online (crosses, lilies, etc.).

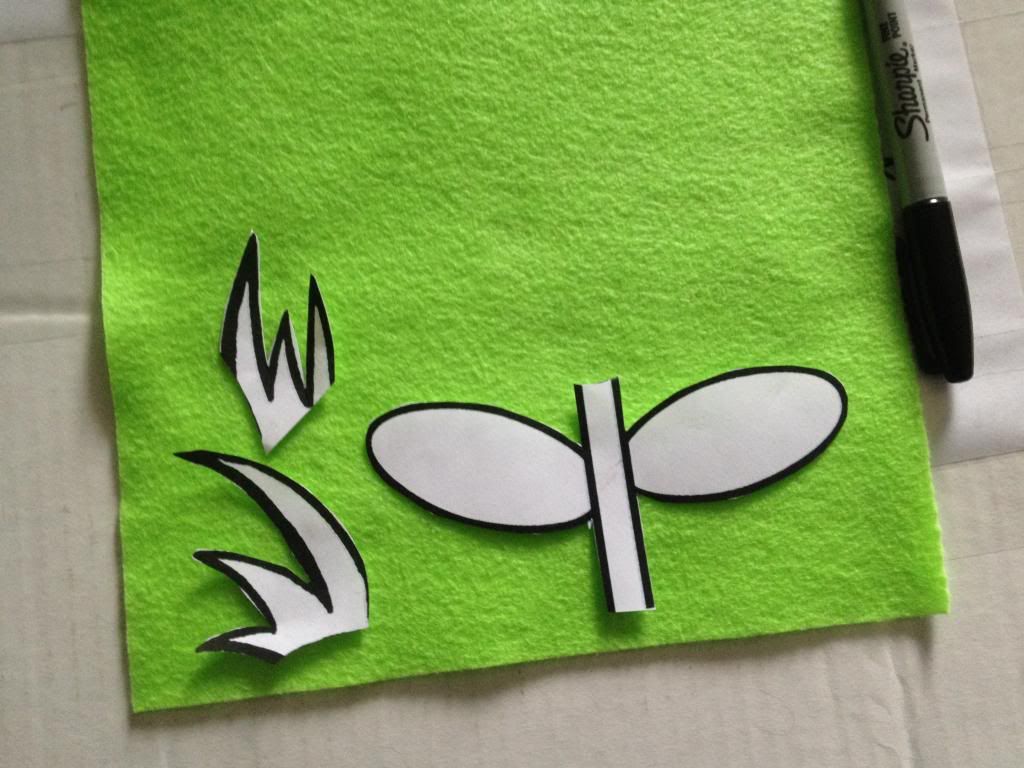
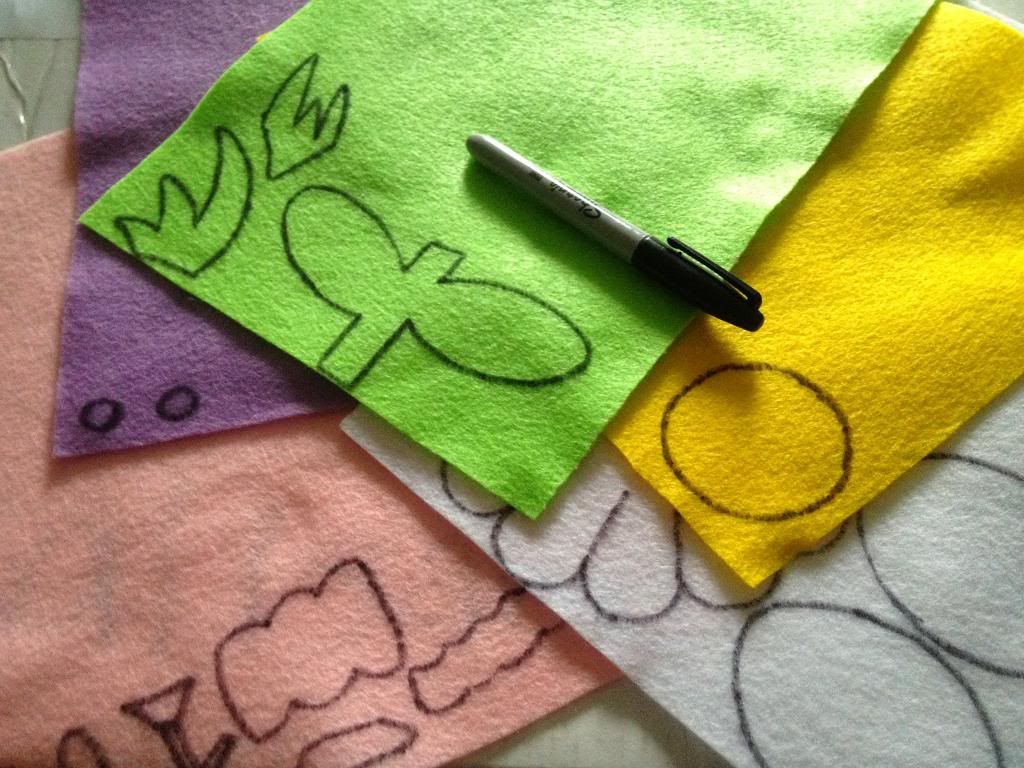
2. Print out your selected pages and cut out the drawings. Then using the cut-out drawings and a marker or pen, trace designs on your felt (make sure to keep 2 whole pieces of felt untouched on the side, to make the bag itself).

If you need to, use pins or tape to keep the cut-outs secure, while tracing them.

3. Cut out your felt decorations.

Time to make the bag!

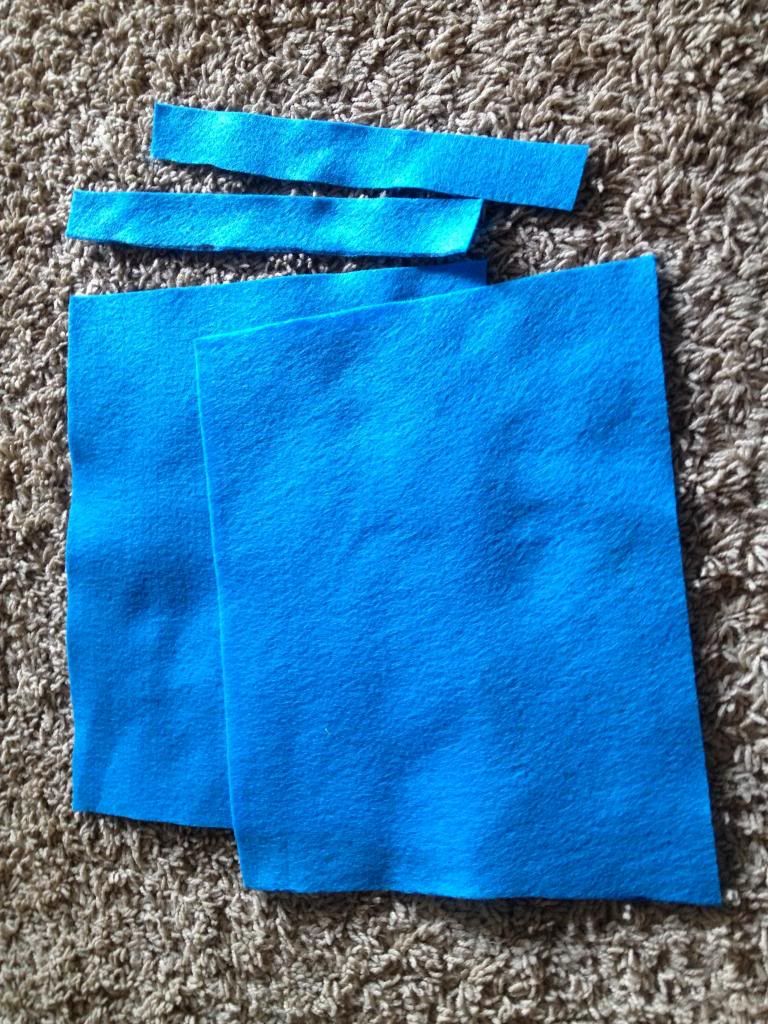
4. Cut a one inch strip of fabric off the top of each fabric rectangle. These strips will be the bag handles.

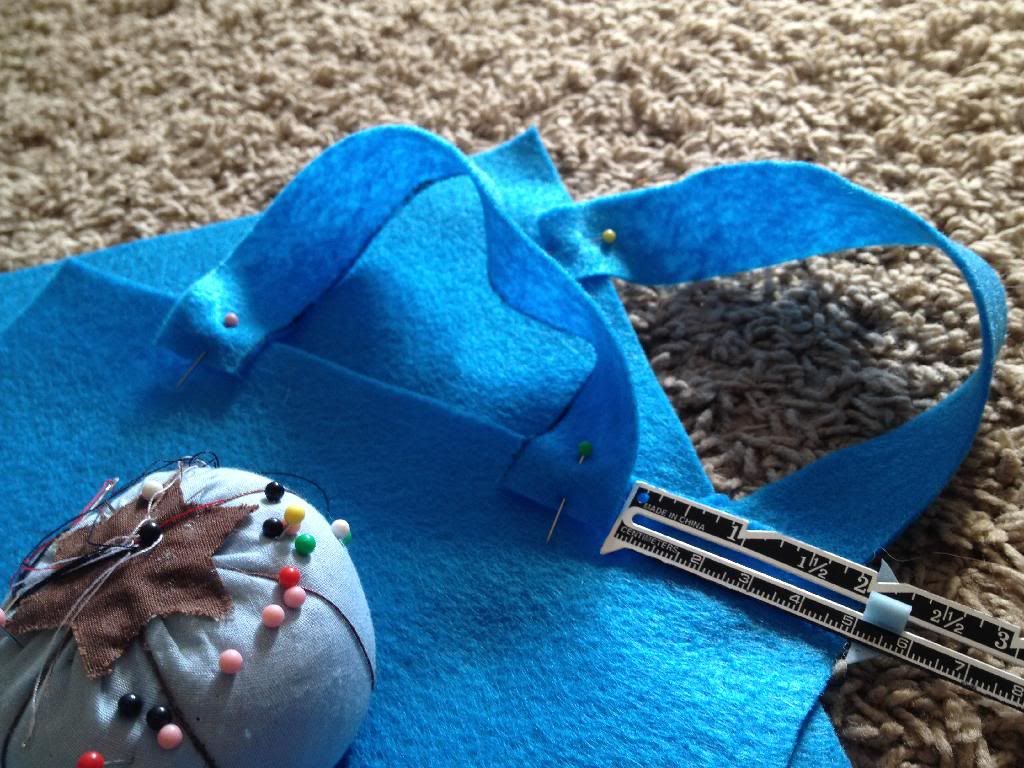
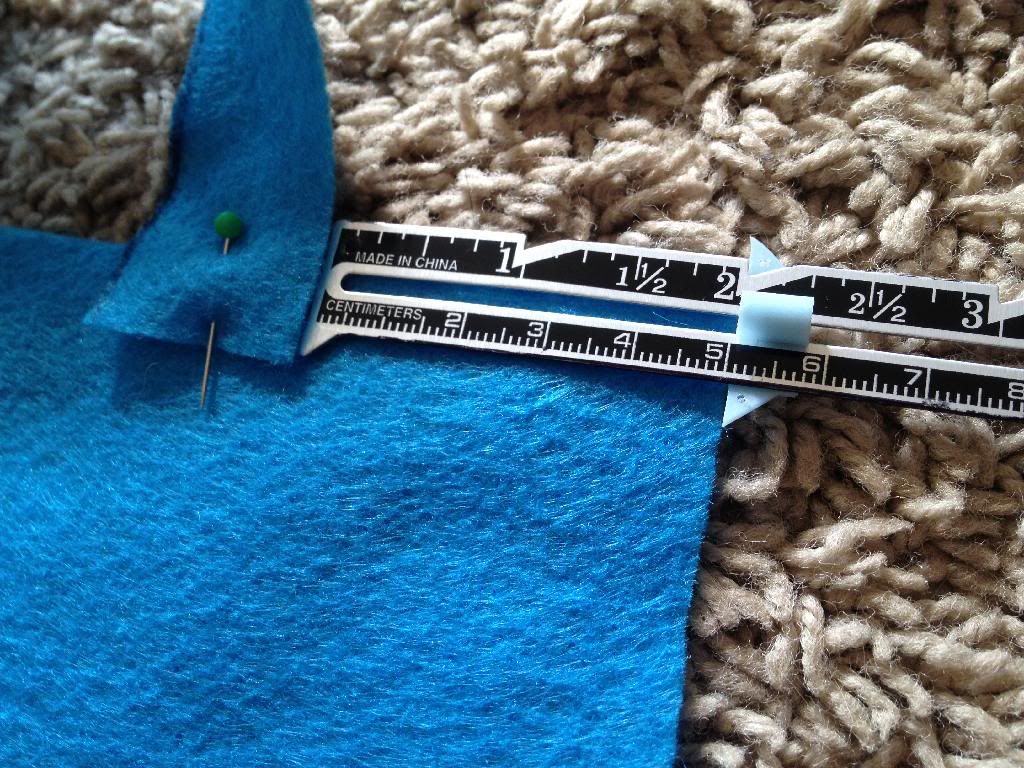
5. Pin each end of the straps to the wrong side (inside) of the bag. Pin them 2″ in and 1/2″ down. **

Make sure the straps aren’t twisted. Also any markings that are leftover from tracing should be facing the inside of the bag.

**If you’re planning on using the bag for heavier items, pin the straps 2″ in and 1″ down. When you get to step 5, you will sew the straps in two places- at 1/4″ and 1/2″. This will make the straps more secure, but it’s not necessary if the bag’s only holding candy and small toys, etc.

Pin at 2″ from the top edges.

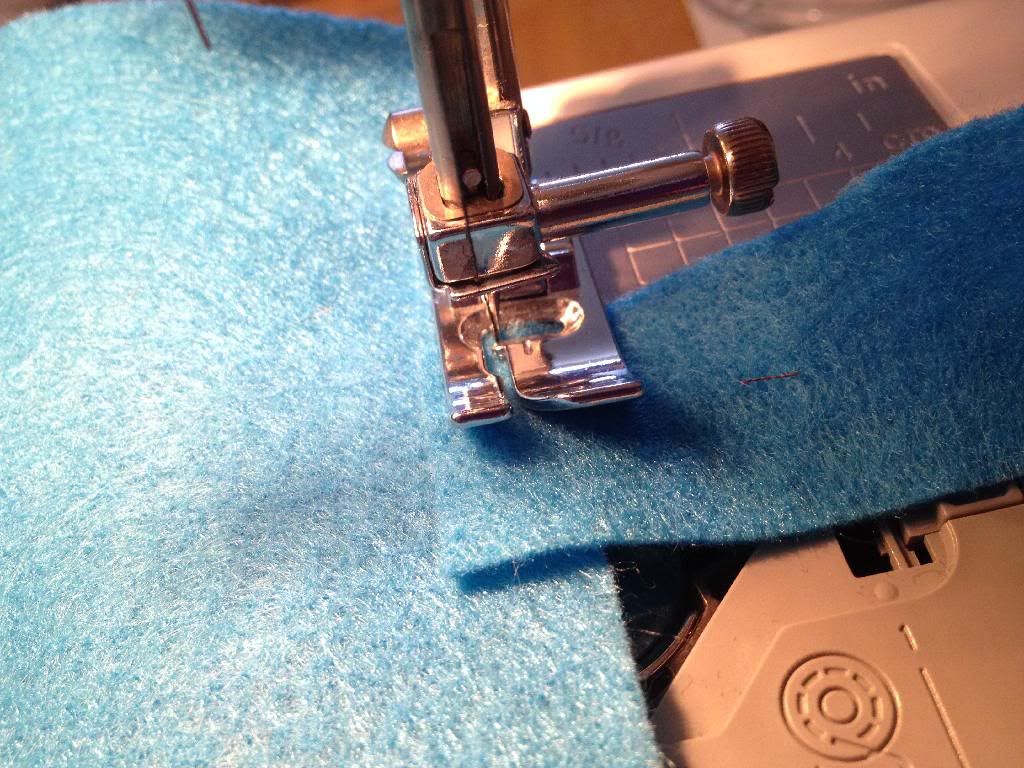
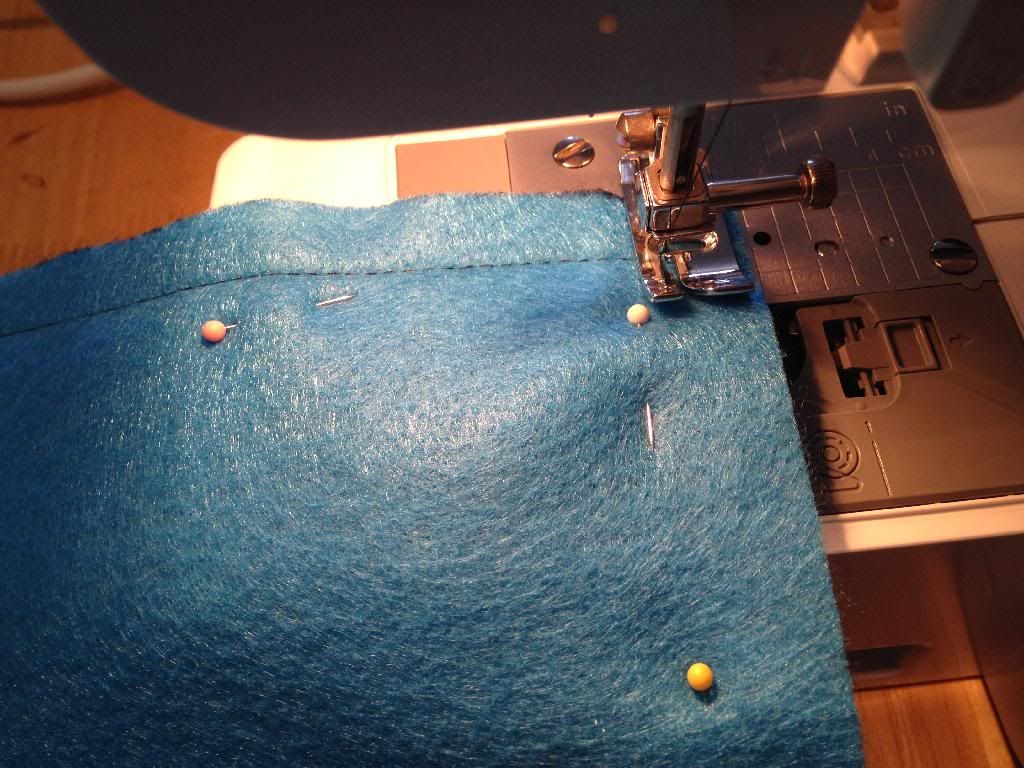
6. Sew the straps on at a 1/4″ (half way). Once the machine needle is secure and all the way through the fabric, it’s fine to remove the pin that was holding your fabric together.

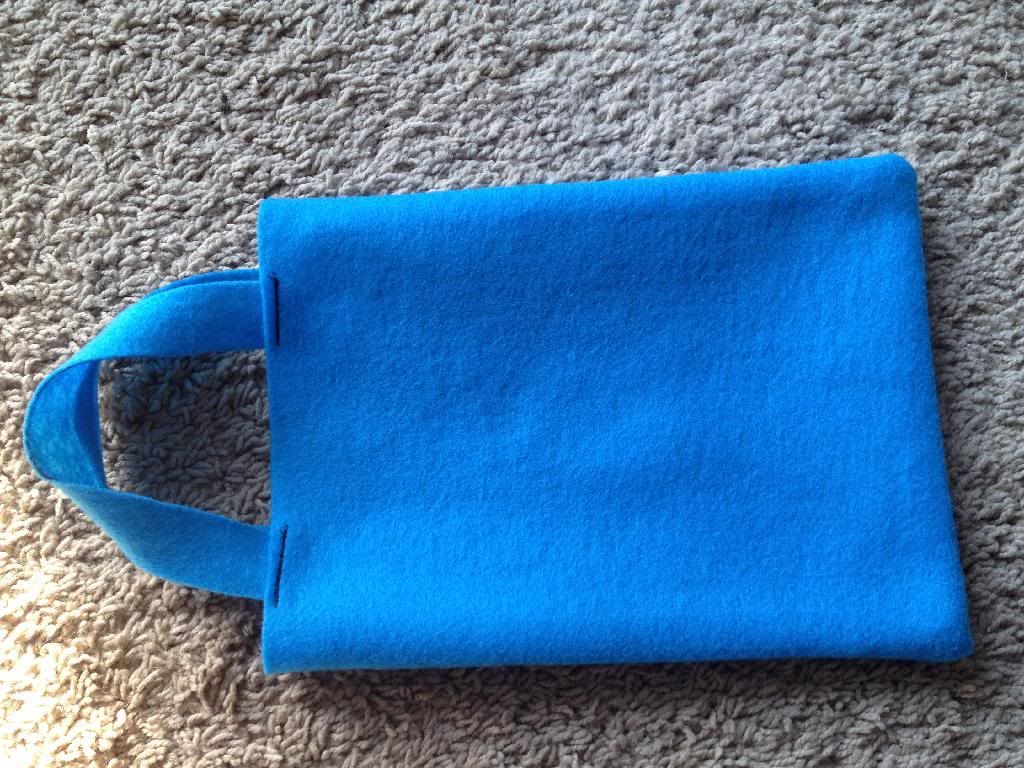
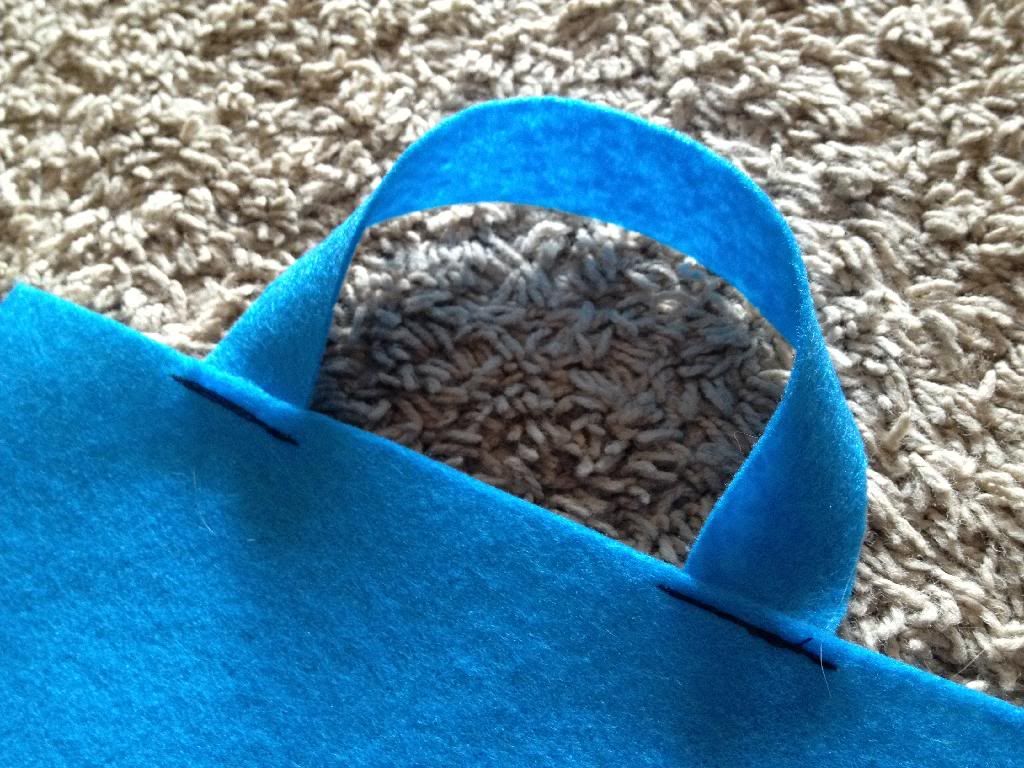
Sew over the strap several times to secure and strengthen it. I sewed back and forth for a total of four times.

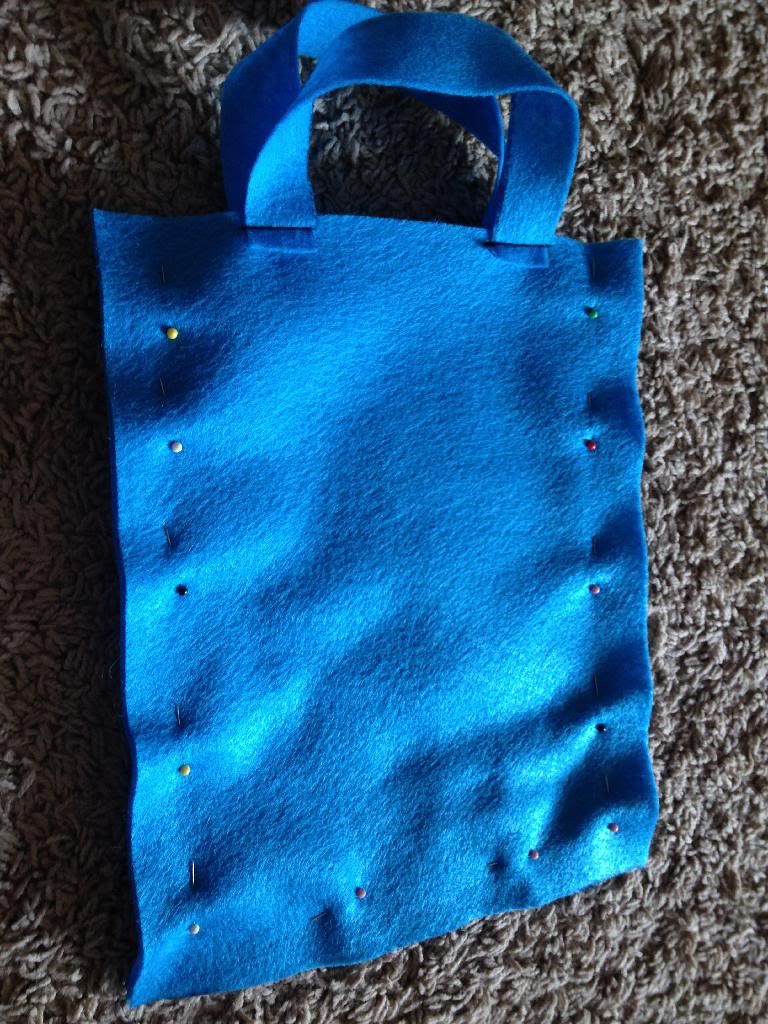
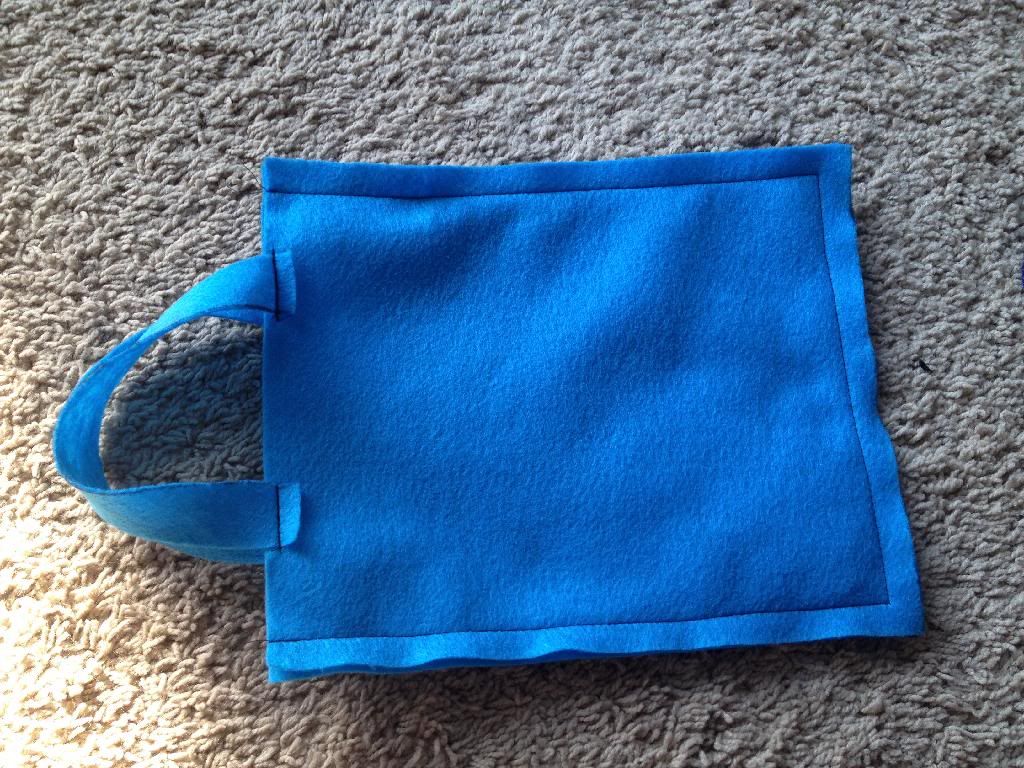
7. Pin the sides and bottom of your bag together, then sew at a 1/2″.

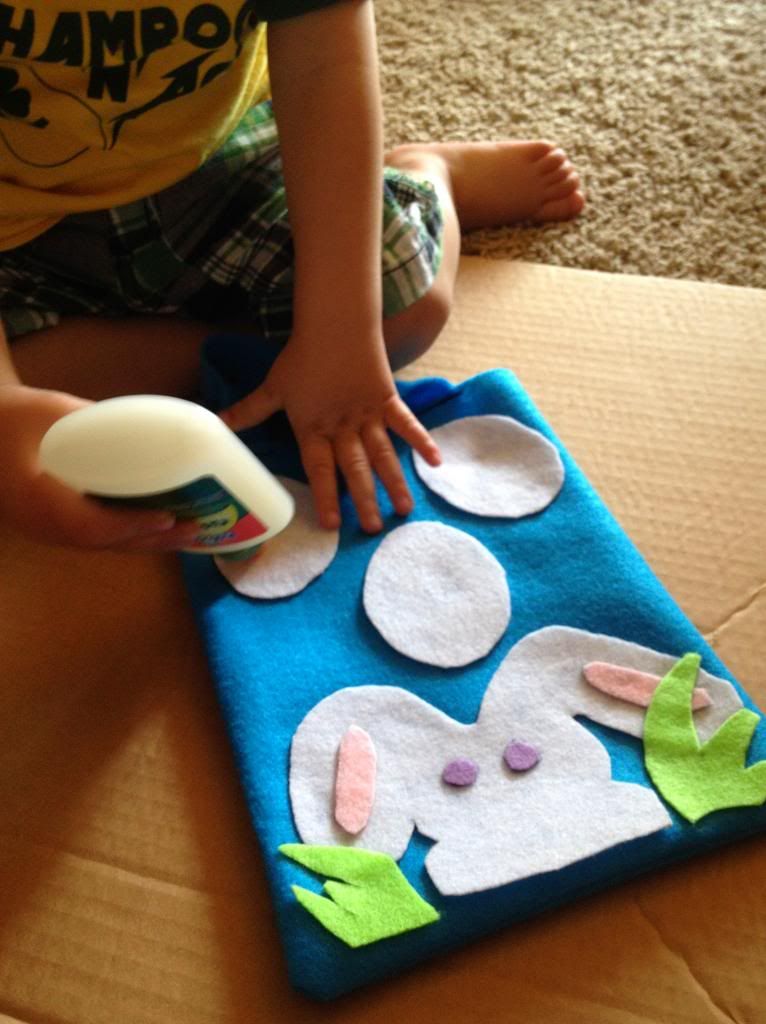
8. Turn your bag right side out, and start gluing on your decorations.

We tried using a natural craft glue first, but I had trouble getting the decorations to stay on, so after Baby J was in bed, I used a glue gun.

Once the glue is dry, your bag is ready for use!

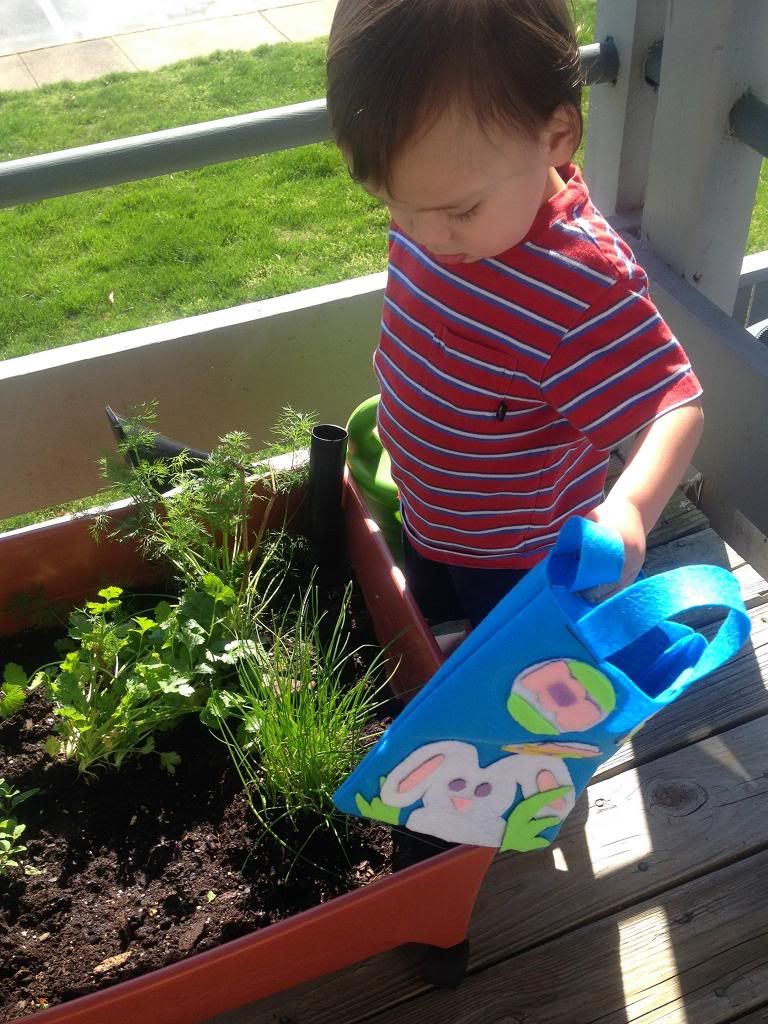
I wonder if mommy’s herbs will fit in here?
 What Easter crafts have you made? Do you have any family traditions (from any holiday) that you’d like to share?
Continue Reading
1 2 3 6