The Fresh Kitchen

Yesterday was an exciting day! My good friend Nicole Elizabeth launched her new Facebook page, Nicole Elizabeth/ The Fresh Kitchen. She has been a huge help to me over the last couple of years, as I adjusted to being a stay-at-home mom and wife. Her approach to cooking is to take the intimidation out of it, specifically focusing on- “fresh, seasonal, and approachable home cooking.”

Nicole Elizabeth has never cooked me anything I didn’t love! From her influence I’ve learned that many recipes that may sound difficult or exotic up front, really aren’t! Not only that, but it’s usually healthier and cheaper to make something from scratch then to buy it in a can or box.

With the holidays upon us, I recommend checking out and “liking” her new Facebook page. She has a website coming soon, but at the moment, you can find recipes right on her Facebook page. Have a cooking question? Feel free to ask directly on her page.

By the way, she’s guest posted here before, and I’ve also posted about some of her recipes. Check out her guest posts about Simple Roasted Chicken and Cooking with Kids: Meatballs.

The Fresh Kitchen

Continue Reading

Sugar free Pumpkin Bars #SweetFuture

This is a Sponsored post written by me on behalf of Truvia® Natural Sweetener . All opinions are 100% mine.

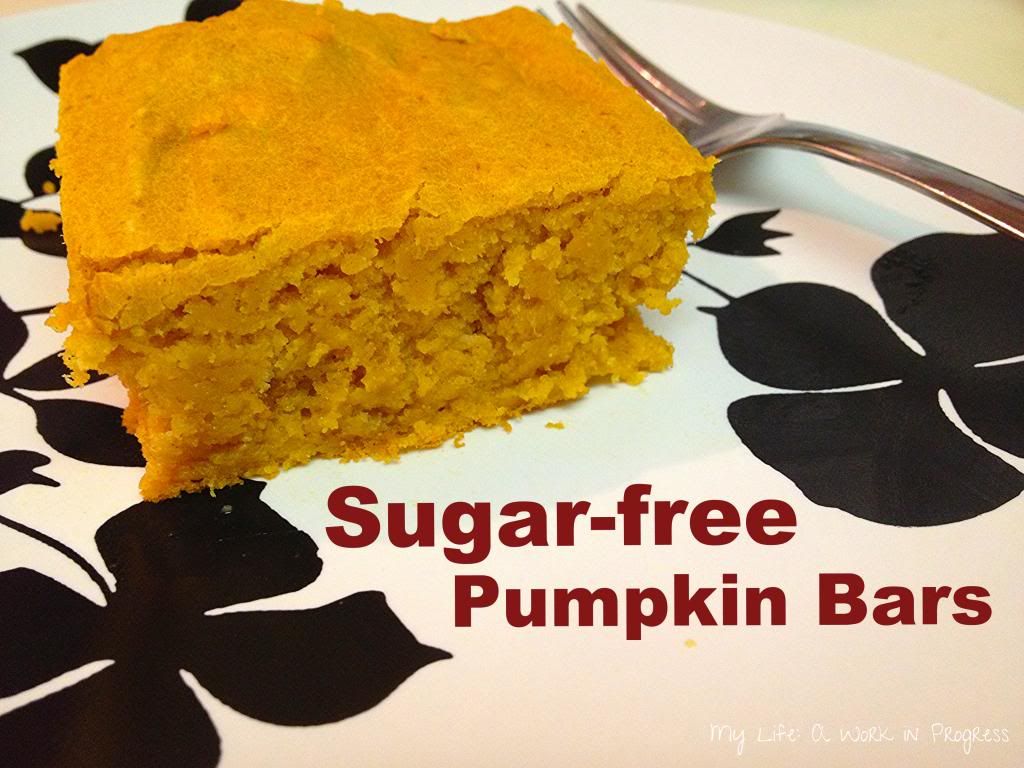
I’ve been more active in the kitchen lately, taking advantage of the fall produce now readily available, like squash and pumpkins. One thing I’ve been meaning to do is update last year’s pumpkin bar recipe and jazz it up a bit. These pumpkin bars are sweet and moist with nuances of ginger and orange. Yum!

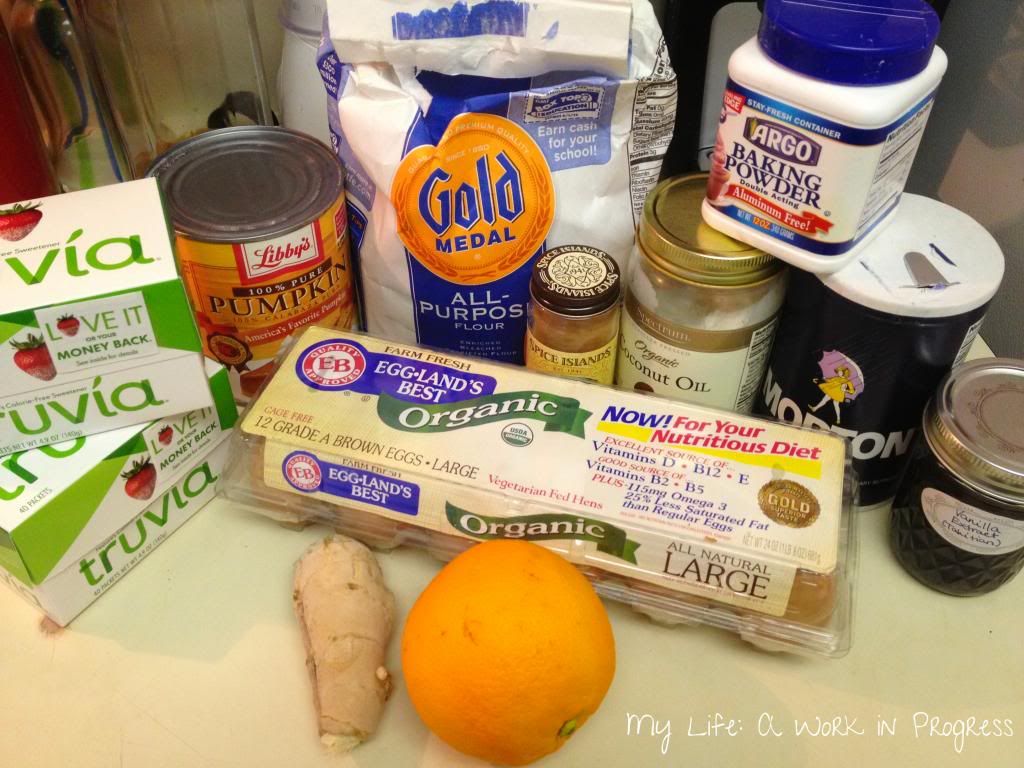
Sugar-free Pumpkin Bars at My Life: A Work in Progress

It may look like a lot of ingredients in the photo above, but it’s really not! Most of what’s pictured are seasonings to expand the flavor. The ingredients you need for these sugar free pumpkin bars are:

  • 15 ounces pumpkin puree
  • 4 eggs
  • 1/2 cup coconut or olive oil
  • 1/2 cup Truvia® natural sweetener (about 30 packets)
  • 2 cups all-purpose flour
  • 3 teaspoons baking powder
  • 2 teaspoons ground cinnamon
  • 1 teaspoon salt
  • 1 teaspoon ground ginger
  • 1 teaspoon vanilla extract
  • Zest from one orange

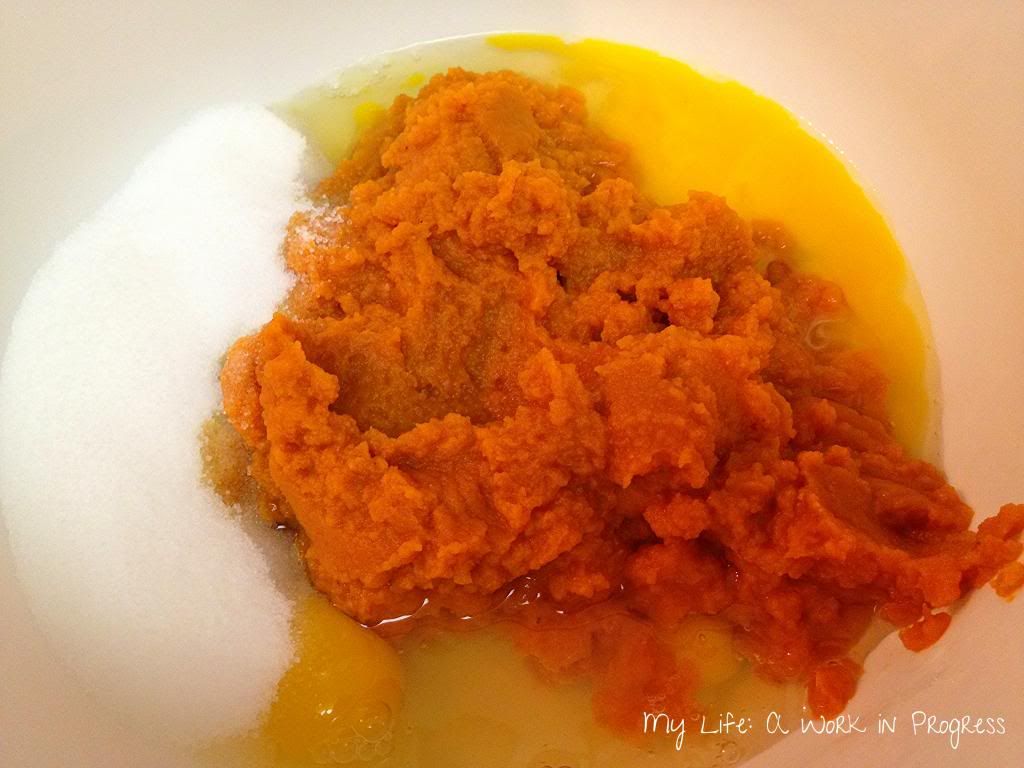
Step One:

Preheat oven to 350 degrees. Mix together your eggs, oil, Truvia®, and pumpkin.

 photo ebf223c0-eea0-444d-985e-7d2428aabc50_zpsc68a1cc9.jpg

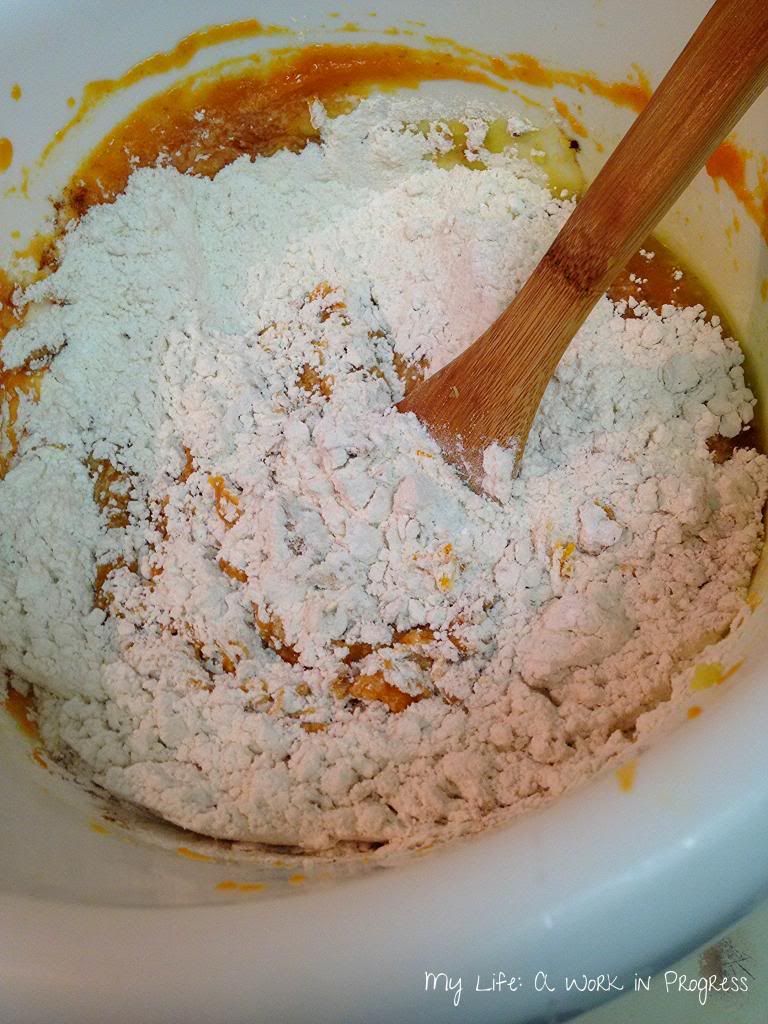
Step Two:

Add in the rest of your ingredients and mix together.

 photo 809e8ac5-b4f7-434b-aa86-2695069f0881_zps9402ca26.jpg

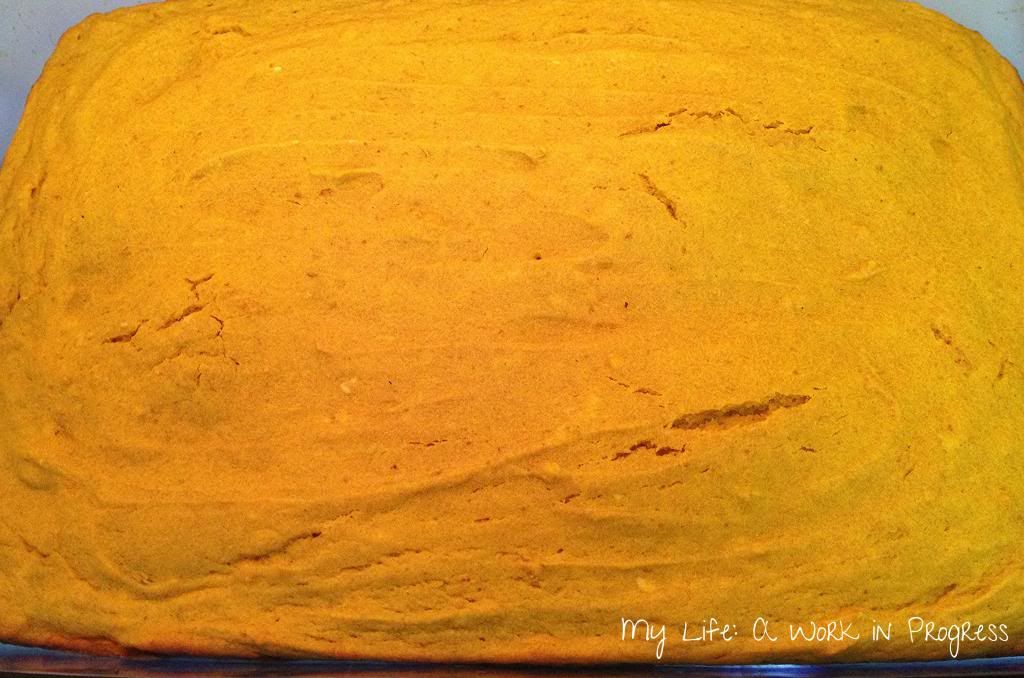
Step Three:

Pour mixture into greased 9×13 cake pan. Bake for about 25 to 30 minutes or until the middle has set.

 photo 84652810-d34c-44b7-ae51-de6eb59224a3_zpsd67d69cd.jpg

Step Four:

Let cool, slice, and enjoy!

 photo 1c750143-98a4-4702-a82f-2e128e1c590d_zpsa652db9b.jpg

The Truvia® brand has partnered with World Food Program USA to help poverty-stricken families in Bolivia. More than 40 percent of Bolivian families struggle on a daily basis to provide food for their children. Additionally, many families suffer from health issues caused by the widespread use of primitive stoves.

The “Sharing a Sweet Future” charitable initiative has already provided nutritionally-balanced school meals to nearly 35,000 Bolivian school children.Learn even more about the Truvia® brand’s initiative here.

Want to help? Here are some ways to learn more and to help spread the word about this initiative:

    1. Share the Truvia® brand’s video on Facebook to support their Sharing a Sweet Future initiative. $1 feeds 4 kids.
    2. Follow Truvia on Twitter and tweet about the initiative.
    3. Share the Truvia® brand’s video to support their Sharing a Sweet Future initiative. $1 feeds 4 kids.
    4. Check out the Truvia® “Sharing a Sweet Future” Facebook App.

Visit Sponsor's Site

Continue Reading

Easy homemade fruit & nut bars

My food processor is kaput. I need a new one, but rather than purchase another cheapo that will probably break quickly again, I’m contemplating on buying a more expensive model. But I also need new running shoes and would love a food dehydrator and a Garmin GPS running watch…so I’m prioritizing and doing without the food processor for now. By the way, have I mentioned that I decided I’m going to run a half marathon in the spring?

With these early morning training runs -okay, it’s actually like 9 or 10 am, but I am not a morning person- I need a healthy breakfast that I can just grab and go, and it has to be light enough that it won’t give me a stomachache while running. A friend sent me a link to some homemade Larabars recipe. I didn’t have all the ingredients on hand to make those, but the concept seems the same in each recipe -fruit and nuts. So I decided to wing it. I had a container of mixed nuts from Target and a baggie of dates from a local Lebanese grocery store, and that’s what I used. By the way, I think these taste better than actual Larabars!

My Recipe:

Ingredients:

  • 1 cup dates
  • 1 cup mixed nuts

Step One:

If your dates aren’t already pitted, cut them in half and dig the pits out. Soak your dates in water for at least 5 minutes, so they’ll soften.

Fruit & Nut Bars- My Life: A Work in Progress

Step Two:

While the dates are soaking, crush your nuts. =D If you have a food processor, you’ll want to grind the nuts up into fine pieces. If you’re like me, try using a pastry blender (cutter).

Tip: I discovered that peanuts and cashew halves are the easiest to crush by hand, so you could go with a cup of those instead of mixed nuts.

Fruit & Nut Bars- My Life: A Work in Progress

Fruit & Nut Bars- My Life: A Work in Progress

Step Three:

Crush the dates into the nuts. You can toss them in your food processor at this point, if you have one. I used an immersion blender. Not going to lie, it was a bit laborious. I’d get one or two dates crushed/blended, and then I’d have to stop the blender and use a fork to clean off the gunked up blades before starting again.

Fruit & Nut Bars- My Life: A Work in Progress

Step Four:

Put a piece of wax paper, parchment paper, or plastic wrap in a loaf pan. Use some oil to grease the top of the paper/wrap. Add your date and nut mixture. Then use an additional piece of paper or wrap over top. Flatten the mixture. Put the pan into the fridge for at least 30 minutes.

Fruit & Nut Bars- My Life: A Work in Progress

Step Five:

Take your mixture out of the fridge and place on a cutting board. Carefully peel the wax paper off the top of the mixture. Flip over and pull the other piece off. Then cut the bars into the size you want. You can individually wrap them at this point to grab while on the go.

Fruit & Nut Bars- My Life: A Work in Progress

Fruit & Nut Bars- My Life: A Work in Progress

Fruit & Nut Bars- My Life: A Work in Progress

Voila! Enjoy your bars.

Continue Reading