Review: Butter Bell Crock (and a mini-scone recipe too!)

Disclosure: I got this product as part of an advertorial.

My co-writer, Ruth, is back today! She received the Original Butter Bell® Crock to review. Owned and distributed by L. Tremain, this crock allows butter to be kept safely at room temperature for up to 30 days and has been featured on The Food Network. Keep reading for Ruth’s review and scone recipe. -Elisebet
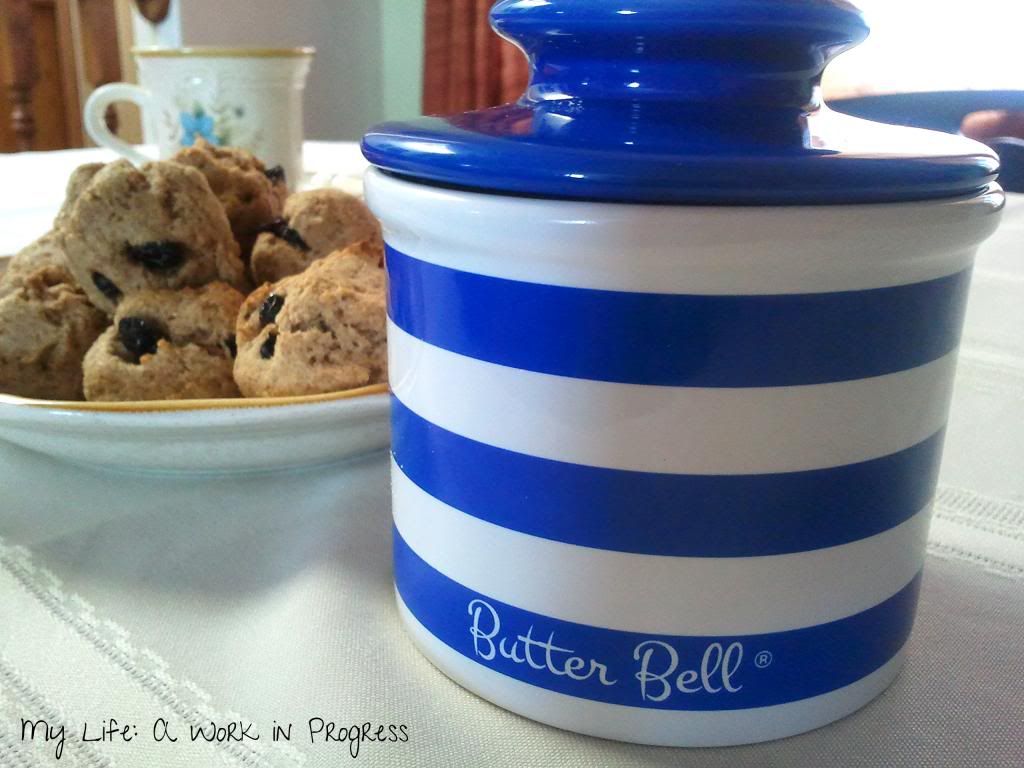
If you are serving real butter for that Sunday company dinner or on your breakfast toast, then you are going to want a Butter Bell® crock among your kitchen tools. The concept is simple. The crock’s lid is a one-half cup receptacle holding one stick of butter. The lid sits upside down into the crock bottom in which you have placed one-third cup of cold water. The lid forms a tight seal on the bottom while the cold water moves up around the sides of the immersed oval lid. The butter stays fresh and spreadable at room temperature, as long as you’re changing the water out every three days.
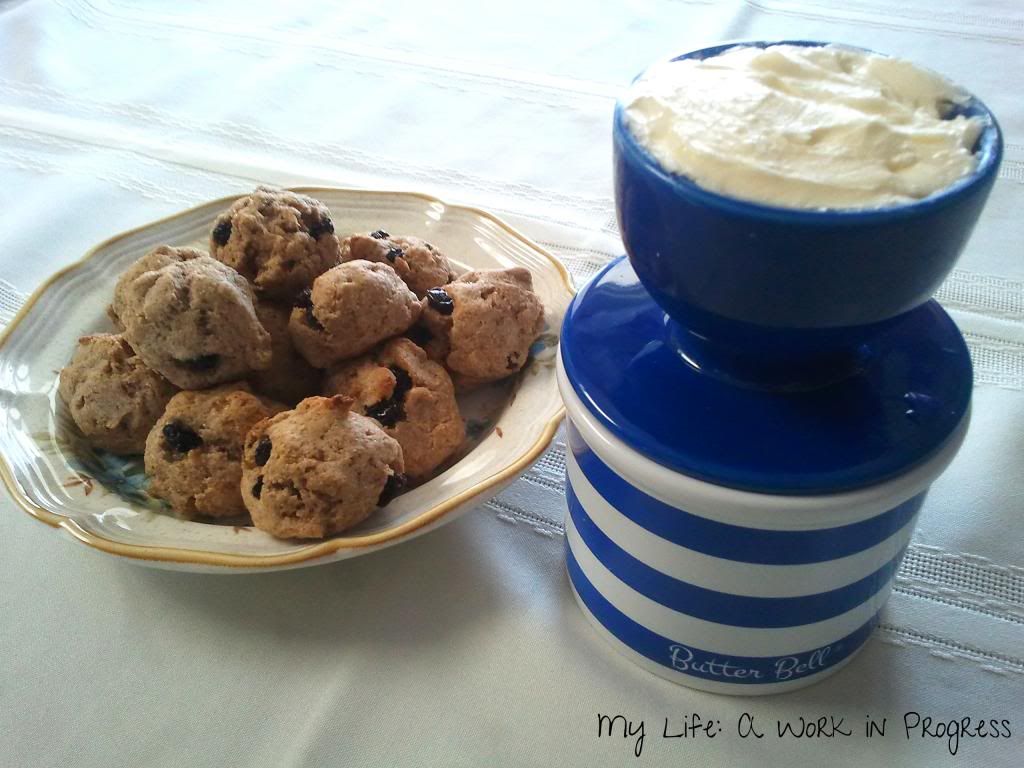
The Butter Bell crock has worked as advertised in my kitchen for the last few weeks. The instructions warn not to set the crock near a heating source or in direct sunlight. If your kitchen heats to an unusual temperature (no air conditioning in the summer in Florida?), then I could foresee a problem. The only inconvenience for me was squishing the stick of butter into the lid. Even that didn’t take much time, and if I had started with a soft butter as instructed, it probably wouldn’t have been an issue.
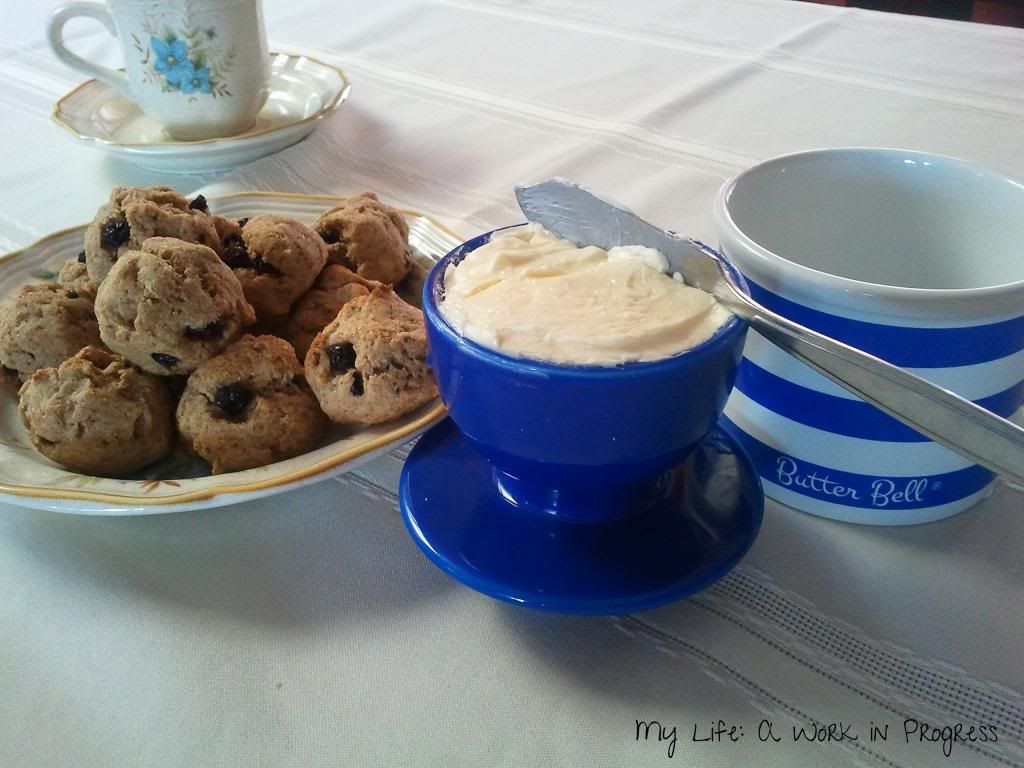
My husband told me he’s been using less butter on his bread since we’ve had this crock. Previously he’d cut butter from a cold slab in the fridge, but now that it’s soft and sitting out on the table, he’s able to easily get a smaller amount, and exactly what he needs.

When I checked online, there were more than 35 attractive colors and designs for the Butter Bell crock with prices ranging from $19.46 to $24.95. They are 4″ in height and 3.5″ in diameter. The crock is dishwasher safe and lead free.

From April 2, 2014 until May 15, 2014, receive a FREE butter crock for every two that you buy. Visit ButterBell.com for more info on this Mother’s Day offer.

Try butter from the Butter Bell crock with my mini-scones recipe:
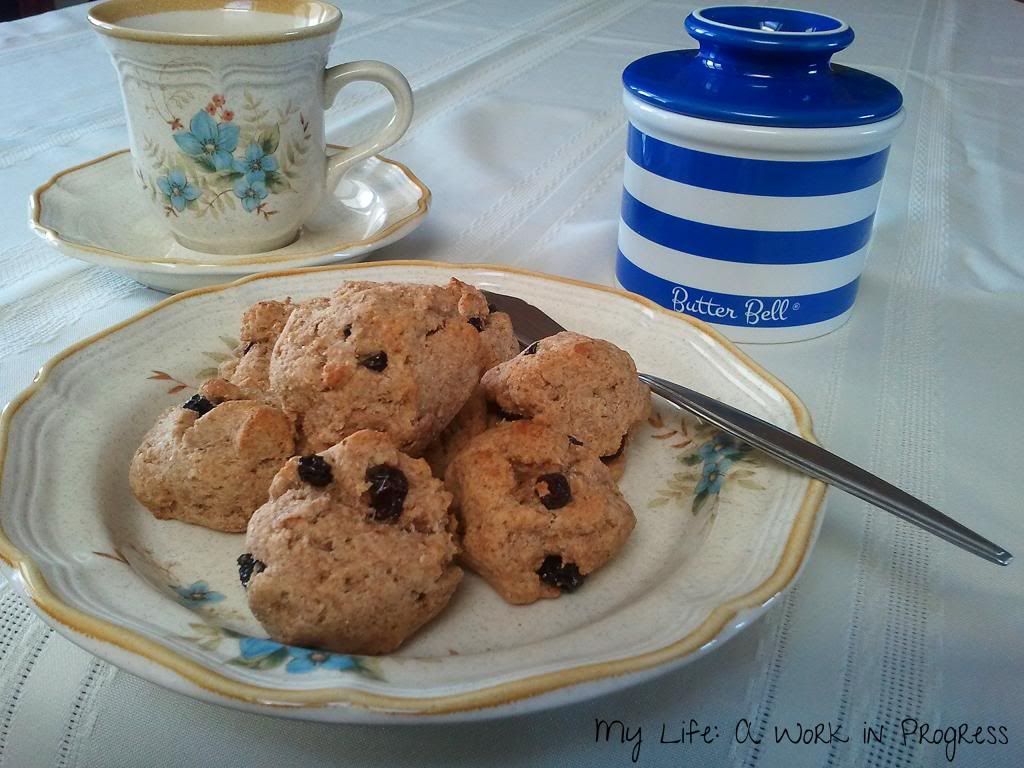
Mini-Scones Recipe

Maybe these aren’t real British mini-scones, but just like the “real” scone—they’re great with an afternoon cup of tea or coffee. They taste good alone or with a little something on the top; and they’re not too sweet. Even better than the “real” scone—these are easier to make.

Ingredients:

  • 2 cups flour (white or whole wheat or mixture—see note below*)
  • 3 teaspoons baking power
  • ½ teaspoon cinnamon
  • ¼ teaspoon nutmeg
  • ½ teaspoon salt (optional)
  • 1 cup milk (skim or 2%–see note below*)
  • ¼ cup honey
  • ¼ cup oil (I use canola)
  • ½ cup raisins

Combine ingredients; drop or form into tablespoon sized balls first and then drop* on sprayed baking sheet; bake at 425 degrees for 8 minutes or so. Do not burn; the scone top will not change much in color when done; the bottom will be brown. Makes about two dozen.

*If using white flour, these work well with skim milk. However, be sure to mix the dry and wet ingredients separately, and then combine just until mixed. The dough will be sticky and will not form into balls well, so just drop unto baking sheet. If using whole wheat flour, milk with more fat content (such as 2%) seems to make the final product less heavy. The dough is less sticky and can be formed into balls before putting on the baking sheet.

Do you like scones? What’s your favorite kind?

General Disclaimer- Floral

I received one or more of the products mentioned above for free using Tomoson.com. Regardless, I only recommend products or services I use personally and believe will be good for my readers.

Continue Reading

RedHot Buffalo Chicken Dip #gameday

Confession time- I don’t like team sports. I’d rather go hiking or skiing than play a football game or watch March Madness. But, if there’s going to be food, count me in! Tailgating parties have the best comfort food for me, and hot wings or buffalo chicken dip are at the top of my game day food list.

Frank’s® RedHot® sauce is celebrating its 50th birthday, and I received some RedHot swag because of it as well as two free product coupons. I used one of my coupons to purchase RedHot’s Hot Buffalo Wings sauce. Then I made this delicious, RedHot Buffalo Chicken Dip!

Ingredients:

  • 1 (8 oz.) package Cream Cheese, softened
  • 1/2 cup Blue Cheese or Ranch salad dressing*
  • 1/2 cup any flavor Frank’s RedHot Sauce
  • 1/2 cup crumbled blue cheese or shredded mozzarella cheese
  • 2 cans (12.5 oz each) premium chunk chicken breast in water, drained**

*After spending some summers and winter holidays in Buffalo, NY, I became a huge fan of the traditional buffalo wings and celery dipped in blue cheese. That’s why I chose to use the blue cheese salad dressing and the Hot Buffalo Wings sauce. However, I did use mozzarella instead of blue cheese, because I already had a huge bag in the fridge.

**I couldn’t find any 12.5 oz cans of chicken, but I did find and use 10 oz cans. It was still plenty of chicken.

Steps:

1. Heat oven to 350ºF. Place cream cheese into deep baking dish or casserole dish. Stir until smooth.
2. Mix in salad dressing, Frank’s RedHot sauce and cheese. Stir in chicken. If the chicken chunks are bigger than you like, use a fork to chop them up.
3. Bake 20 minutes or until mixture is heated through; stir. Garnish as desired. I served mine with homemade crackers, carrots, and celery.

Recipe notes:

This dip was super easy to make and so delicious! You can also make this in the microwave or slow cooker. To reduce calories, use neufchatel cheese instead of cream cheese and low-fat salad dressing instead of regular. For more tips, visit FranksRedHot.com.

FLASH Giveaway!

Giveaway starts at 4pm EST 2/19 (today) and ends at 11:59pm EST 2/21 (Friday). US only.

  • Frank’s RedHot Back-pack
  • Frank’s RedHot Drink Coozie
  • Frank’s RedHot Keychain
  • Frank’s RedHot Blinking Hot Lips
  • Frank’s RedHot Magnet
  • Coupon for product

If you agree to the terms and conditions listed directly below, keep scrolling and enter to win!

Terms & Conditions: Sweepstakes open to residents of the continental US. Must be 18 years or older. Void where prohibited by law. Two entrants allowed per household. Odds of winning depend on total number of eligible entries received. Once winner has been selected and emailed, winner will have 24 hours to respond or new winner will be selected. Winner’s name may be posted on this blog and other social media and Web sites. My Life: A Work in Progress is not responsible for prize fulfillment. Sweepstakes not associated with Facebook or any other social media platform. Entrance into the sweepstakes indicates acceptance of these terms and conditions.

Note: I received complimentary coupons for Frank’s RedHot sauce and some other promotional items but was not otherwise compensated for this post or giveaway.
Opinions Expressed Pink Button
Continue Reading

Pretzel ROLO Hearts #ValentinesDay #KidFriendly

These pretzel ROLO hearts are fun and easy to make…so easy, that your kids can help! Each “heart” is made from a pretzel, ROLO chocolate, frosting, and sprinkles. Toddlers can help by placing the chocolates on top the pretzels. Older children can add the frosting, and everyone can enjoy sprinkling their creations with Valentine’s Day colors.

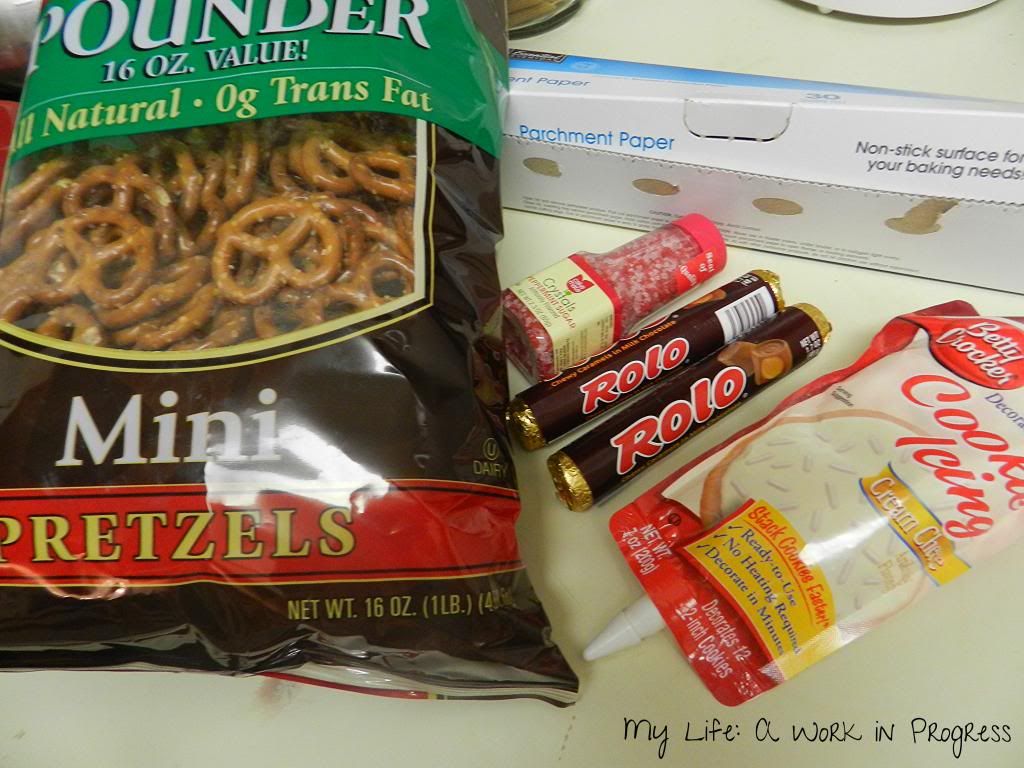
Supplies:

  • parchment paper
  • heart shaped pretzels*
  • frosting
  • sprinkles (red or pink)
  • ROLO chocolate

*I used mini pretzels by Snyder’s of Hanover. These pretzels are more heart shaped than other brands, and they also are thick, so they hold onto their shape even when the chocolate melts.

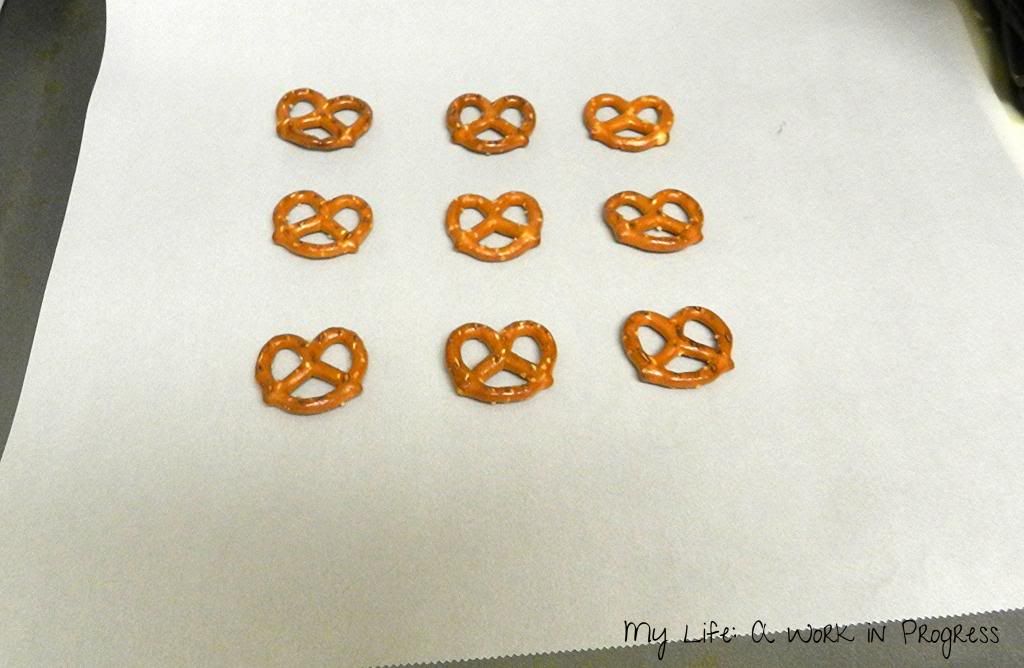
Turn the oven to 350 degrees. Cut and place a piece of parchment paper on a cookie sheet.

Arrange your pretzels on top of the sheet and parchment paper. How many pretzels you need depends on how many ROLOs you buy.

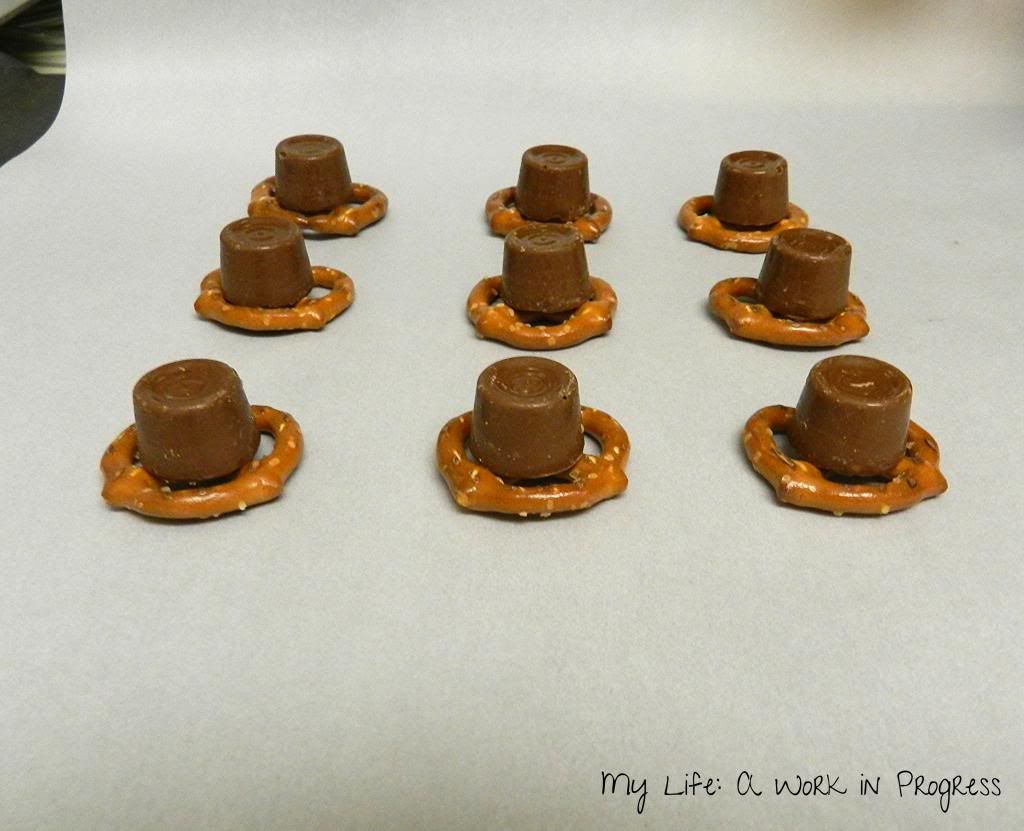
Next, place one ROLO on the center of each pretzel. When your oven is heated, put the pretzels in for about 5 minutes.

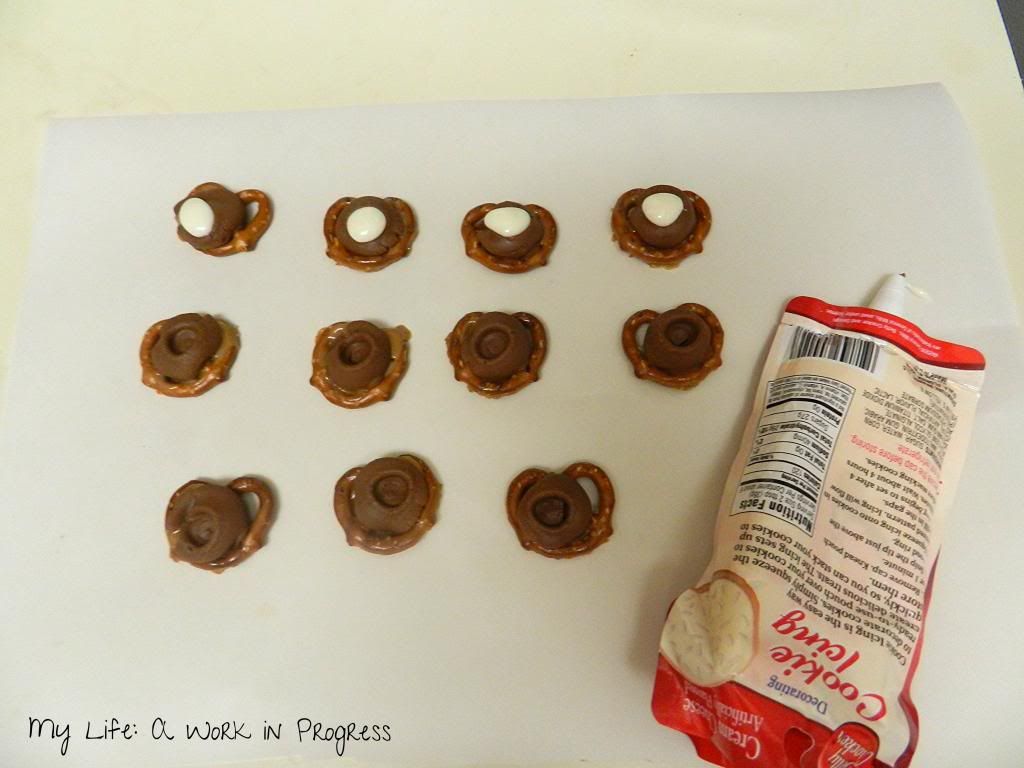
You want the ROLOs to melt. If they melt too much, and the caramel starts to spread out away from the pretzel (like in the photo below), that’s fine. Just wait for the hearts to cool; then you can break the caramel parts off, leaving your hearts intact.

Once your hearts are out of the oven, wait for them to cool. The melted ROLOs will have a circular indentation in the top. Fill these with your frosting. I used a cream cheese cookie icing that came in a squeeze pouch.

Before your frosting hardens, sprinkle your sprinkles over top.

And you’re done! Just wait a few minutes before eating, to make sure that the chocolate and frosting have completely hardened.

What are some of your favorite kid-friendly Valentine’s Day treats?
Continue Reading