DIY: Toy leash with snaps and clip (Part 2)

As I promised, I made another toy leash, correcting the mistakes from Part 1. Notably, I used belting instead of a thin ribbon. The belting feels the same as a dog leash to me, so it’s plenty thick and sturdy.

In Part 1, I put snaps on both ends. This time, I added a clip to one end and a snap on the other. The idea is I can clip a lightweight teether to my son’s clothes. This particular leash style may not work with heavy toys, because of the clip. It’ll yank and pull on the child’s clothes. However, you can clip it to the fabric part of a stroller, sling, etc. Check out Part 1 for info regarding snaps on both ends.

For this leash, I purchased a pack of suspender/mitten clips and a yard of belting in a turtle print. This belting print usually costs several dollars a yard, but I purchased a remnant for $1 that just happened to be exactly a yard long! I didn’t end up using the velcro pictured below. That’ll be for leash Part 3! I decided to use snaps instead.

Hmmm maybe I should’ve just cropped it out of the photo…

I didn’t end up using the velcro for this leash. I went with snaps instead.

I noticed that one end of the belting appeared to either be treated with something or possibly burned or glued? Either way, whatever had been done to it, kept the edge from fraying.

Burned or glued end?

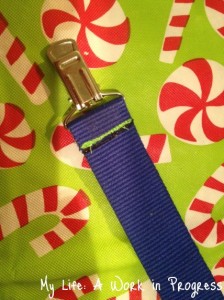
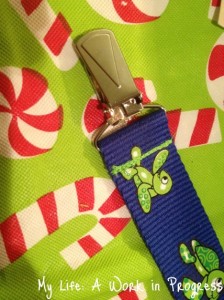
I decided to use this side to attach the toy to my son. I threaded this edge of the belting through the clip and folded under about 1/2″ of belting. Then I sewed the belting down as close to the edge as possible.

Sew the clip on

Make sure you sew over the area several times to thoroughly secure the belting together. I may have gotten carried away with this process:

Clip underside
Clip (slightly) prettier side

Now to the toy side.

This end was fraying. 🙁 I don’t have a serger and zig zagging the edge of the leash proved disastrous when sewing my first leash (see Part 1). I decided to just go with it…tuck it under, sew the sucker down, and hope the fraying doesn’t move past the stitching.
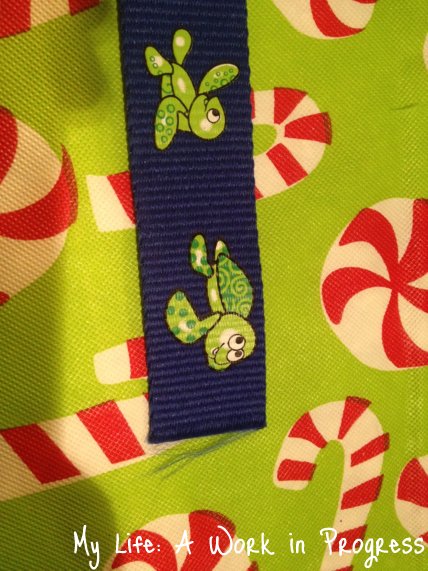
Frayed end

First, I folded under a teeny bit of belting and tried to sew as close to the edge as possible. FAIL.
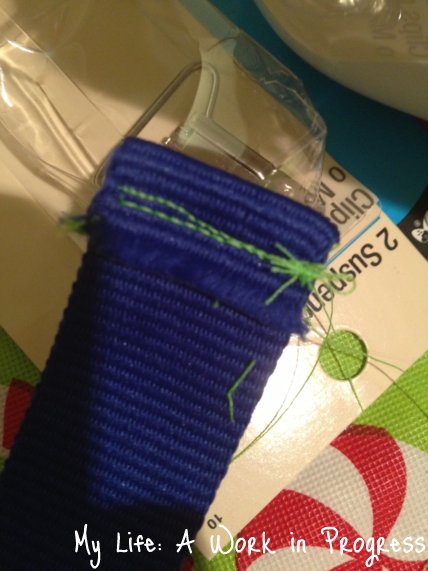
FAIL

That didn’t go so well. How did I fix the problem? With scissors!! I just cut the end off and started over. =D

This time, I tucked under 1/2″ of belting and sewed about a 1/4″ from the edge. Then I added the snaps. If I had heavy-duty metal snaps, I probably would have placed the left snap (see below) closer to the belting’s edge. As it was, I didn’t think the plastic snap was deep enough to fit through two layers of belting.
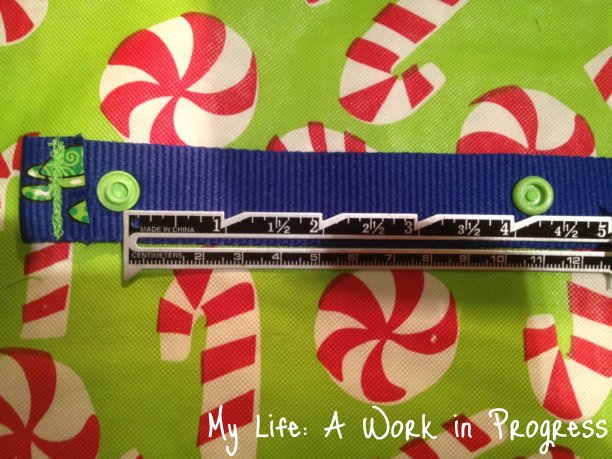
Place boy part and girl part snaps 4″ apart.

Ta da! That was easy.

I plan to buy another yard of belting, cut it in half, and make two leashes- each 1.5′ long. One leash will have velcro on both ends, and the other leash will have snaps on both ends. Options are good.

The finished leash:

The finished toy leash
What DIY projects have you been up to lately?
Continue Reading

Christmas Town: A Family Outing

Well, it’s been nearly a week since I’ve posted in the blogosphere. As a blogger, that’s not good at all. My excuse is I’ve been busy with family, cooking, cleaning, organization…the holiday in general! I don’t know if that’s a good excuse or not; I probably should’ve found some time anyway.

Moving on…

This past Saturday I had the opportunity to visit Christmas Town, Busch Gardens Williamsburg with family and friends. Despite the chilly weather, we had a wonderful time! The Williamsburg Christmas Town site is open in the afternoons and evenings select days this year from Nov. 23 to Dec. 31. If you have the chance to go, make sure you bundle yourself and your kids in lots of layers. If I could do it again, I’d bring another hat, leg warmers, and mittens for my son. As it was, we bundled him up tight!

Look at the baby burrito! 😉

One negative thing about the park: it’s not very nursing-mother friendly, like Disney World is. There was really no good place to nurse, and I personally do not like to nurse my son in a public restroom. I think I’ve only done it twice, maybe 3 times. While at Christmas Town, I ended up nursing him once sitting at some tables outside and then later inside of one of the shows, with a blanket draped over my shoulder. I’ve become much more comfortable at nursing in public over the last few months, but the noise around distracts Baby J. I wish Busch Gardens would build a baby care center with a mother’s room.

Most of the “thrill-seeking” rides are closed during Christmas Town, but there are plenty of family-friendly and kid-friendly rides still running. They also have holiday-themed shows and attractions, like Santa’s Workshop. There were quite a few things I wish we’d had the chance to do -like ride the train- but with such a large group, 3 small children, and 2 babies…we spent a lot of time waiting on each other, bathroom breaks, eating, etc. But it wasn’t bad at all! Spending time together as family and friends was the entire point!

Once the sun set, the Christmas lights were gorgeous and almost magical to behold. Without kids, I think Christmas Town would be a romantic place to visit at night.

Click on Photos to Enlarge:
Pompeii before dark
Pompeii after dark
Sesame Street Show

My son loved the Sesame Street show so much, he squealed, bounced, and waved his arms around like crazy during the singing!

Peace on Earth
Path to Ireland
To the left, Santa’s Workshop; to the right, the North Pole
Panorama Shots:

(I was excited when I realized the latest iPhone update allows me to take panorama shots!)

Pompeii Panorama
Lights Overhead
Panorama

Have you visited Christmas Town in Williamsburg or Tampa? What family outings do you have planned this holiday season?

Continue Reading