This may sound crazy to you, but I have never made Rice Krispies treats until now! My parents were health nuts long before it was popular. To give you an idea, I had my first chocolate bar when I was nine; it was so rich, I almost threw up afterwards. We rarely had salt or sugar in the house. I think the only times we did were when Mom was making something special for guests or a church potluck. We definitely never made Rice Krispies.
I wanted to make a special Easter-themed treat for Baby J, but baking with my oven is hit or miss. It had to be something no-bake, and eventually these Rice Krispies Easter Egg Treats crossed my mind. They are very easy and quick to make.

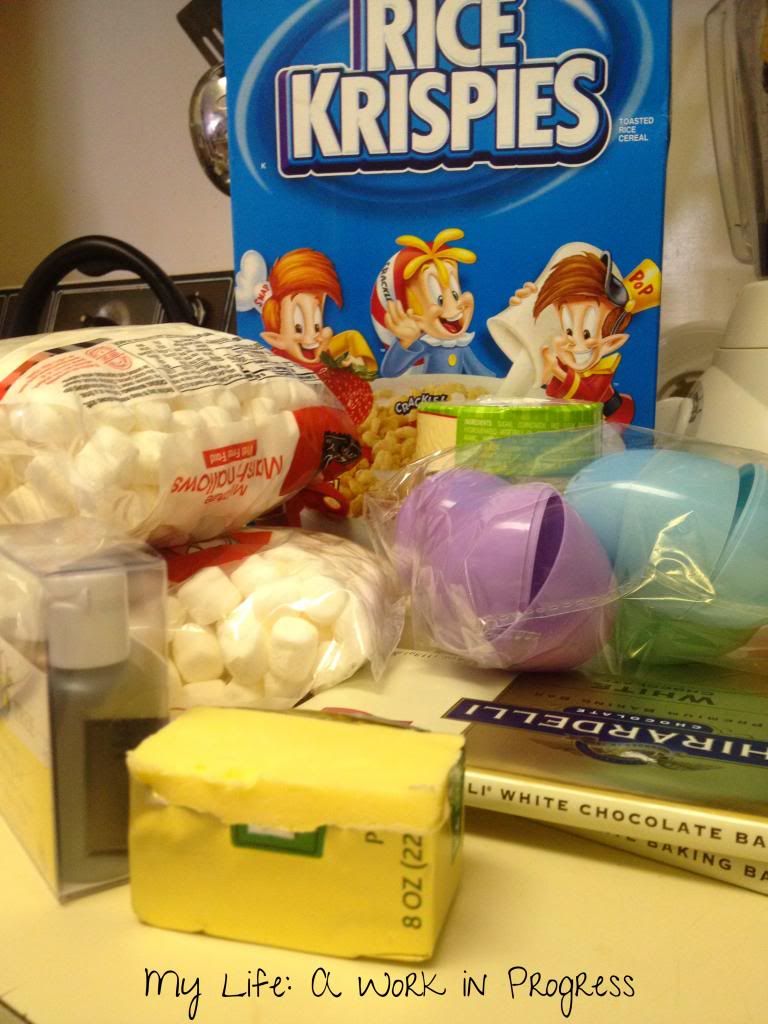
What you need:
- 4 cups of mini marshmallows
- 4 tablespoons of butter
- 5 cups of Rice Krispies cereal
- Empty plastic Easter eggs (washed and dried beforehand, since you never know where they’ve been!)*
- White chocolate (optional)
- Sprinkles (optional)
*I used large plastic eggs (I don’t have exact measurements, sorry), and the mixture filled up 10 of them.
Directions:
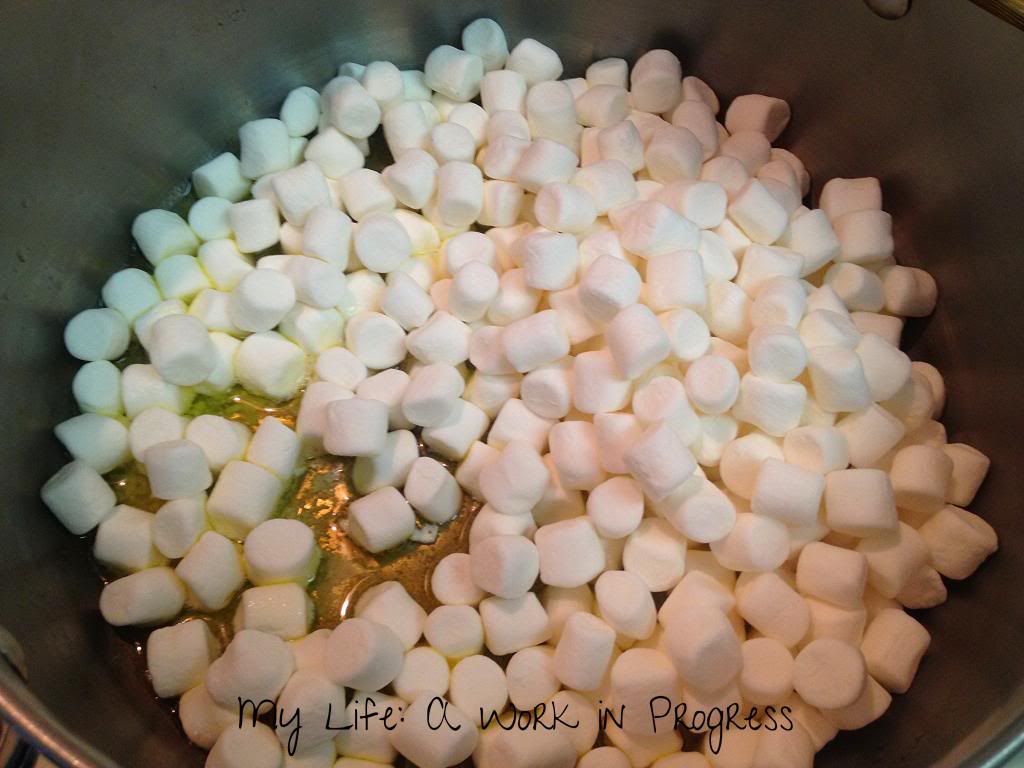
Place a large pot on the stove, with the burner at low heat. Melt the butter, then add the marshmallows in, stirring occasionally. Once the mixture is thoroughly melted and blended, turn off the burner and add the cereal. Stir.
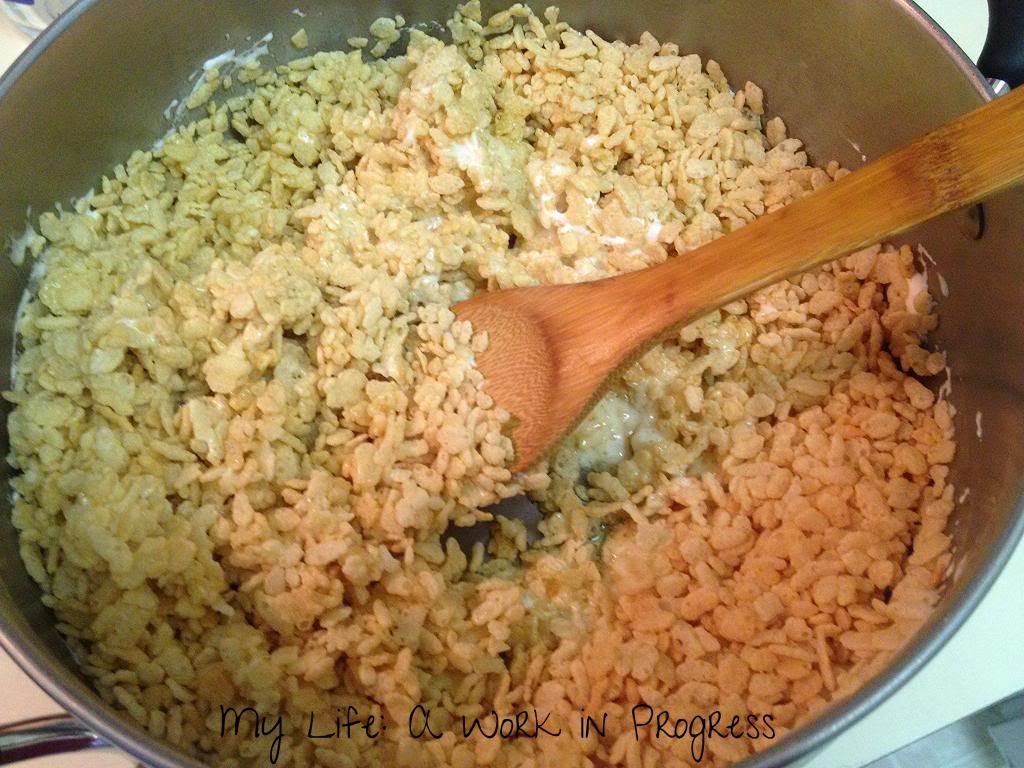
When the mixture has cooled enough for you to touch, grease the inside of a plastic egg with butter or oil. Stuff each side of the plastic egg with the Rice Krispies mixture; let the mixture overflow slightly. Then press the sides of the plastic egg firmly together, until it’s sealed. Let the plastic egg sit on a cookie sheet or the counter for about 30 seconds.
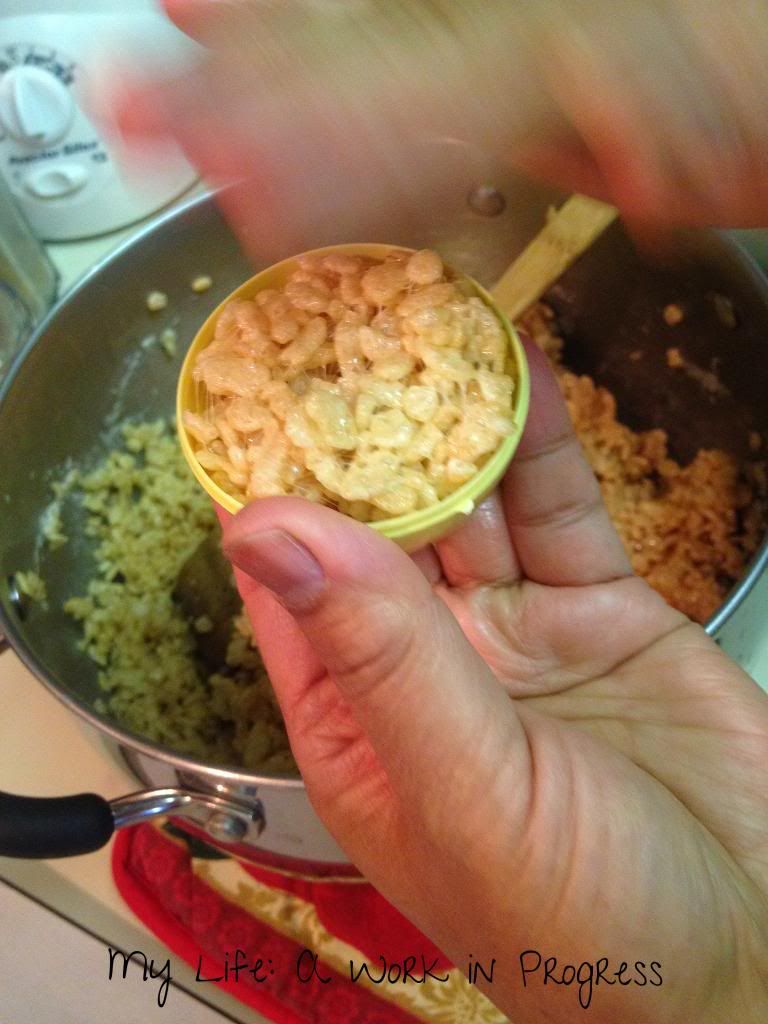
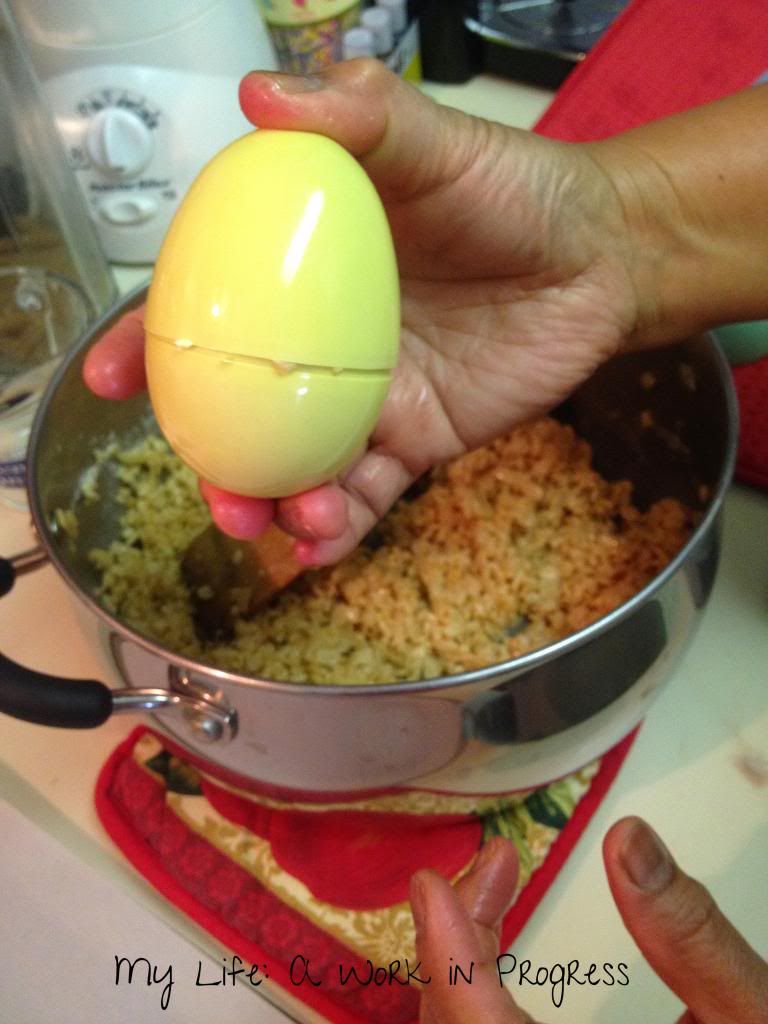

To remove the treat from the plastic egg, press your thumbs at the center of the egg, one on each side of the seam, and press gently until the egg pops open slightly. Then you can carefully pry the egg open all the way with your thumbnail or a fork prong.
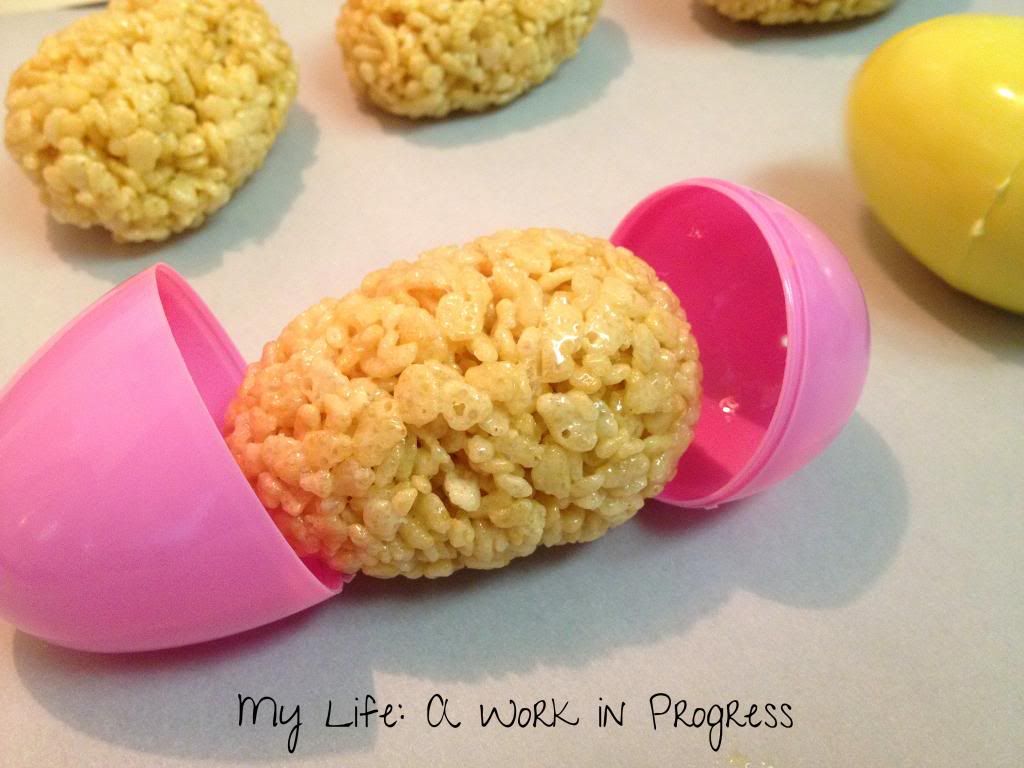
If at any point your mixture starts becoming too hard for the egg-shape to form, you’ll need to melt your mixture slightly on the stove top again. So work quickly! My mother in law and I were forming these as quickly as possible; many hands and small batches are best for this treat.
Decorating:
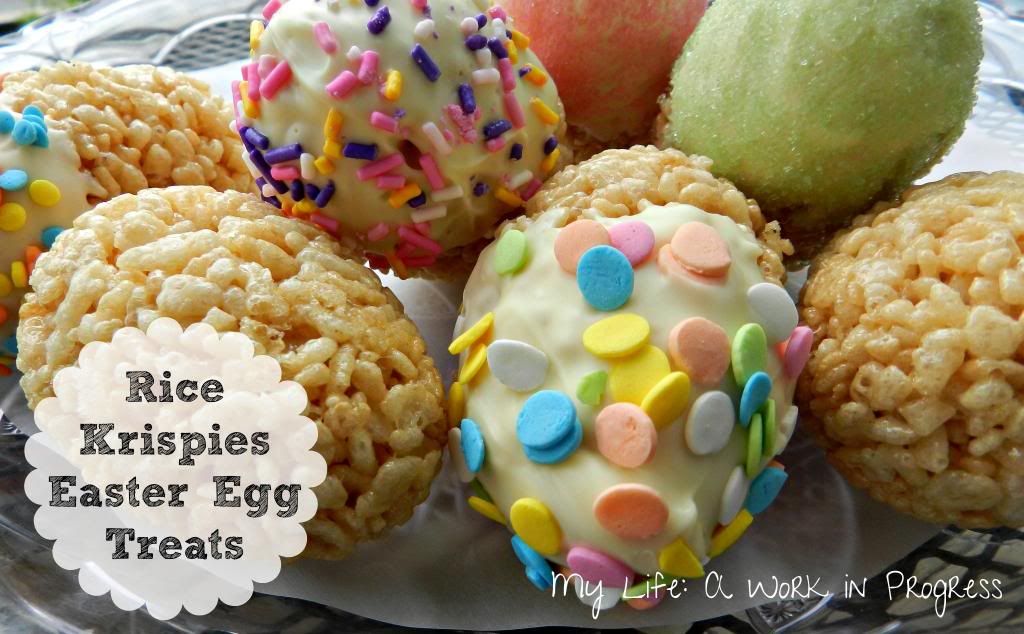
These are cute just as egg-shaped Rice Krispies treats, but this is how I decorated mine:
I melted a block of white chocolate in the microwave at 50 percent power (30 seconds at a time). After dipping an egg in the melted white chocolate, I sprinkled Spring-themed cupcake sprinkles over top. Then I placed the finished and decorated Rice Krispies Easter Egg Treats, one by one, into an empty egg carton with the decorated side up. The carton then went in the fridge. After the chocolate was firm, the treats were ready to eat!
Other Decorating Suggestions:
- Mix crushed, small Easter-themed candies in with your Rice Krispies mixture, before you form the eggs.
- Use cookie icing to draw fun designs on your eggs.
- These eggs would also taste delicious dipped in melted milk chocolate.
- Or, dip the eggs in white chocolate that has been dyed with food coloring into pastel colors.
What yummy treats have you had lately? Do you have a favorite way to “dress-up” Rice Krispies treats and make them extra special?
It’s an Easter hop! Have an Easter-themed craft, recipe, or other post you’d like to share? Link up below! Family-friendly only, please.

