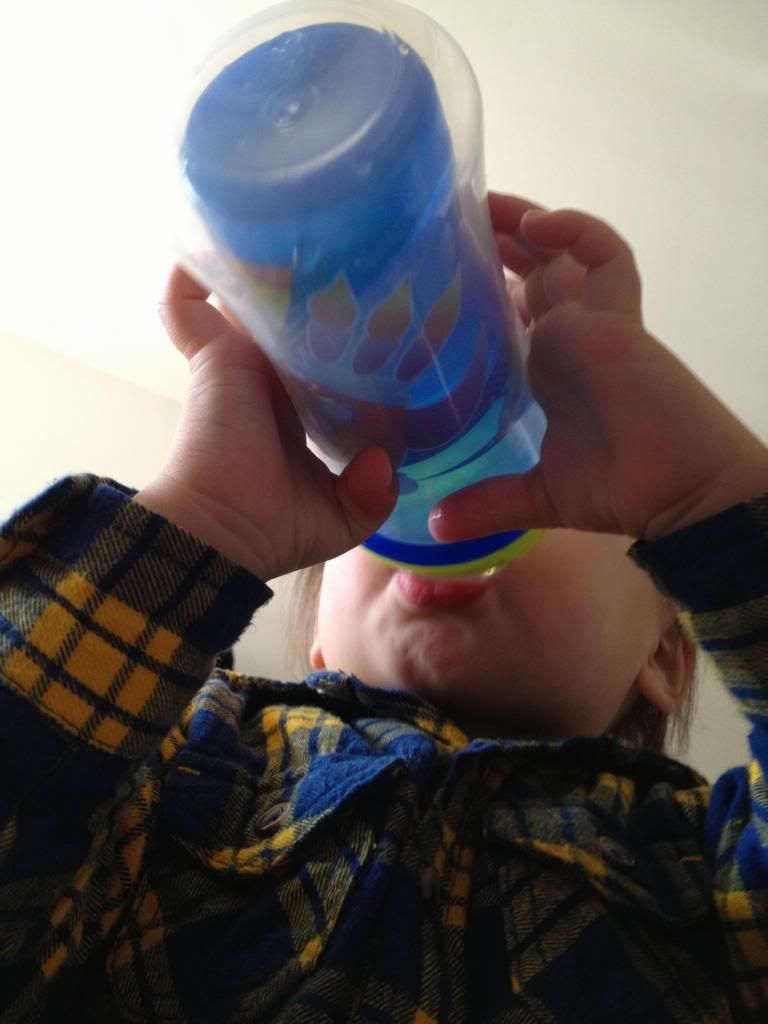
I have another fun Nûby product to share with you today! Nûby sent us the new No-Spill Insulated Cool Sipper to review. It’s the newest sippy cup in our cupboard and our favorite.
First, I love the Clik-It technology, and I’m so glad Nûby came out with a line of Clik-It cups. Just today I handed Baby J a sippy cup (it wasn’t a Nûby cup); he tipped it back to drink and dumped water all over himself, because I didn’t put the lid on properly. Oops. I’m just glad it was water and not milk. With the Clik-It cups this won’t happen. You know if you hear that “click,” the lid is on properly.
The cup is BPA-free and available in several fun colors.
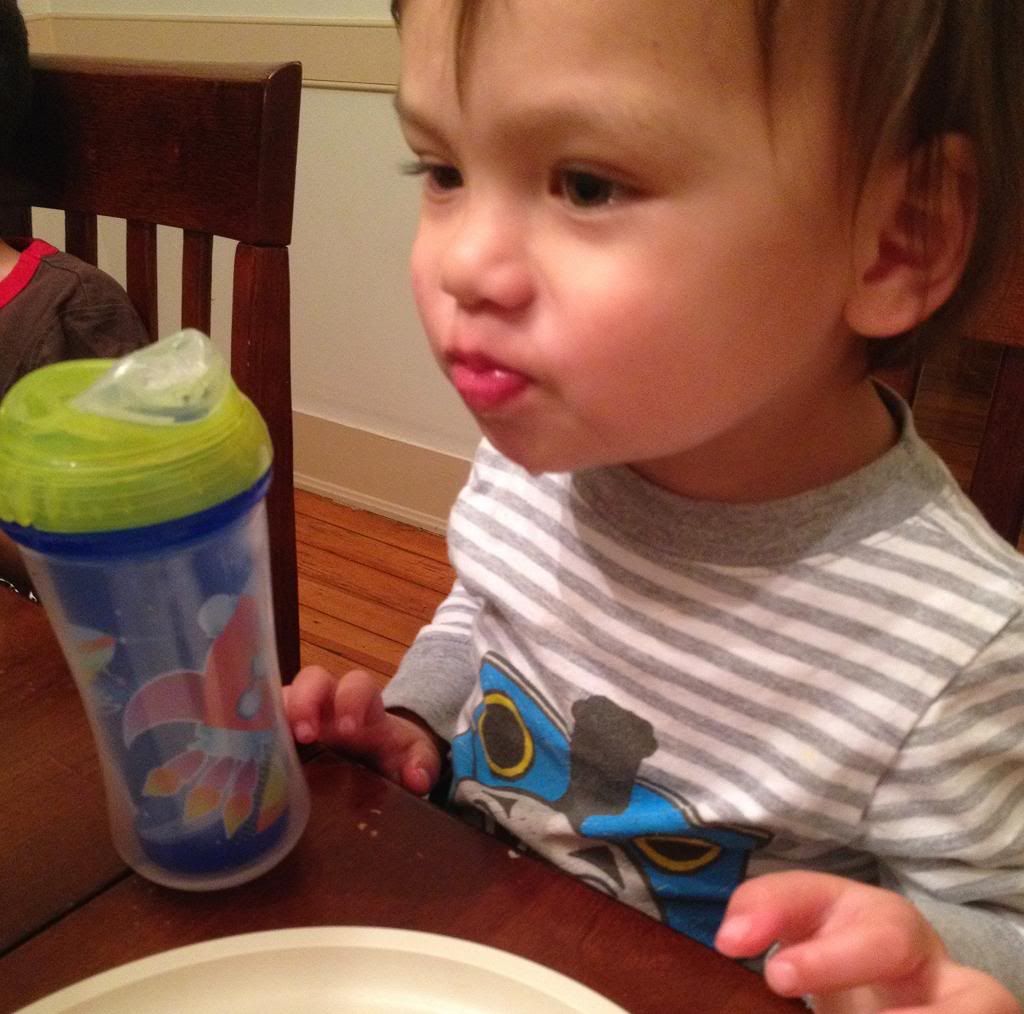
Because this cup is insulated, it also keeps drinks cooler longer than a regular sippy cup without a “sweating” cup that gets all over everything. It’s my favorite cup to toss in the diaper bag. I even chose it as the one cup Baby J and I took with us to Florida to visit Hubby. It’s usually the one we take to church too, so it’ll keep his water cool for several hours while he plays in the nursery.
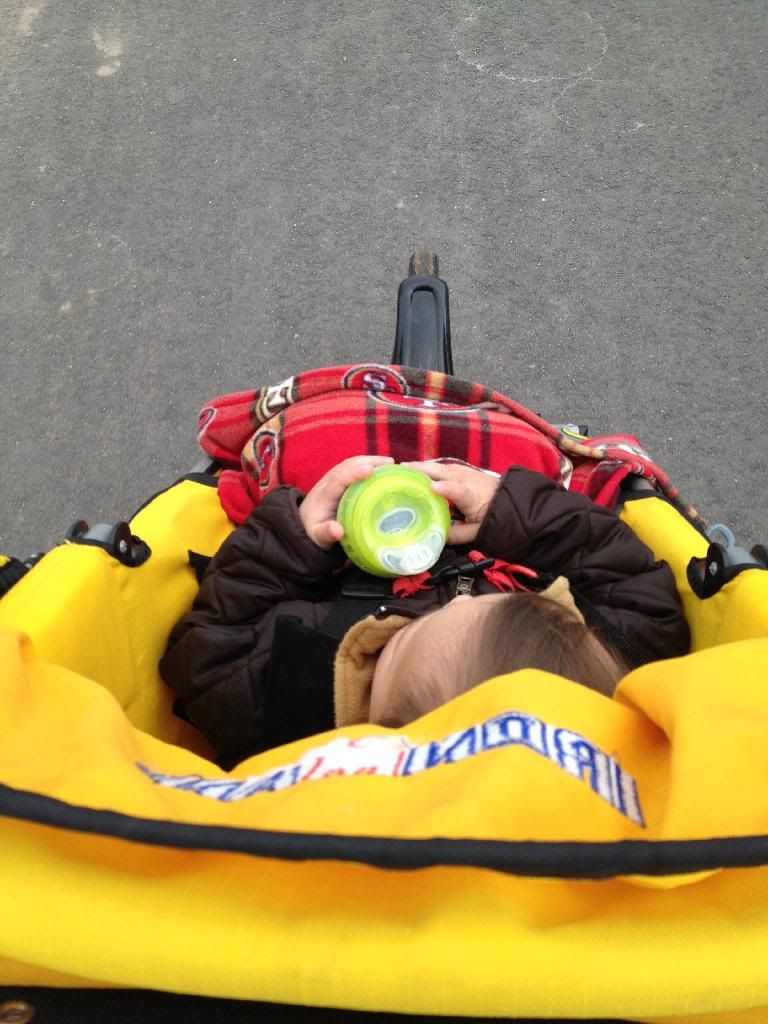
Jogging with Mama…Baby J gets thirsty too!
It’s important to get the spout into the lid properly, or the lid will leak…so watch for that. It’s a soft spout, by the way, unlike some of the other insulated cups I’ve seen. I’m very happy with this cup, and I wish all of Baby J’s cups had the Click-It feature!
You can buy Nûby’s Clik-It cups from Target.
Also, if you’re a parent (or grandparent) of young kids, I highly recommend that you follow Nûby on their social media accounts. They constantly host fun giveaways:
Baby J will be 2 years old next month, and we haven’t established that many family traditions yet. The biggest reason is that his dad has been gone so much (all of which will change this summer, when J starts shore duty- woohoo!), and I just haven’t felt like celebrating holidays on my own.
But this Easter, Baby J and I are going up North to visit his aunt, uncle, cousins, and grandmother. So I’m making an effort to celebrate this holiday!
I’ve seen cute little felt Easter bags at several stores recently, and it occurred to me that a bag would be a fun, easy craft to make with Baby J. Because he’s so little, I did do most of the work on my own, but I let him help me “place” the decorations on the bag and pretend to glue them on. After the bag was finished, he ran off with it and kept trying to shove his cars and trucks inside, so apparently the bag was a hit.
To make your own easter bag, you’ll need the following:
Glue gun and glue
5-7 pieces of 9″x12″ felt in multiple colors*
Coordinating thread and needle (or sewing machine)
Scissors
Easter coloring sheets
Ruler
Marker or pen
*I used 2 pieces of blue felt for the bag itself, and then chose 5 other colors for the decorations. I did have plenty of leftover fabric, so you could probably make do with fewer pieces. If you have extras…save them for another craft!
We bought our felt pieces from Michaels, but I’ve seen them at Hancock Fabrics, as well.
“Instagramming” our shopping trip…Our selection (I let Baby J help pick)
Steps:
1. Do a web search for “free easter coloring pages printable” or a similar search term.
For our craft, I gathered several images from this collection of printable Easter egg color sheets, a flower coloring page, and a bunny coloring sheet. The great thing about this bag is you can customize it to whatever design you want! If you’d rather design a religious Easter bag instead of secular, there are a number of free religious coloring pages online (crosses, lilies, etc.).
2. Print out your selected pages and cut out the drawings. Then using the cut-out drawings and a marker or pen, trace designs on your felt (make sure to keep 2 whole pieces of felt untouched on the side, to make the bag itself).
If you need to, use pins or tape to keep the cut-outs secure, while tracing them.
3. Cut out your felt decorations.
Time to make the bag!
4. Cut a one inch strip of fabric off the top of each fabric rectangle. These strips will be the bag handles.
5. Pin each end of the straps to the wrong side (inside) of the bag. Pin them 2″ in and 1/2″ down. **
Make sure the straps aren’t twisted. Also any markings that are leftover from tracing should be facing the inside of the bag.
**If you’re planning on using the bag for heavier items, pin the straps 2″ in and 1″ down. When you get to step 5, you will sew the straps in two places- at 1/4″ and 1/2″. This will make the straps more secure, but it’s not necessary if the bag’s only holding candy and small toys, etc.
Pin at 2″ from the top edges.
6. Sew the straps on at a 1/4″ (half way). Once the machine needle is secure and all the way through the fabric, it’s fine to remove the pin that was holding your fabric together.
Sew over the strap several times to secure and strengthen it. I sewed back and forth for a total of four times.
7. Pin the sides and bottom of your bag together, then sew at a 1/2″.
8. Turn your bag right side out, and start gluing on your decorations.
We tried using a natural craft glue first, but I had trouble getting the decorations to stay on, so after Baby J was in bed, I used a glue gun.
Once the glue is dry, your bag is ready for use!
I wonder if mommy’s herbs will fit in here?
What Easter crafts have you made? Do you have any family traditions (from any holiday) that you’d like to share?
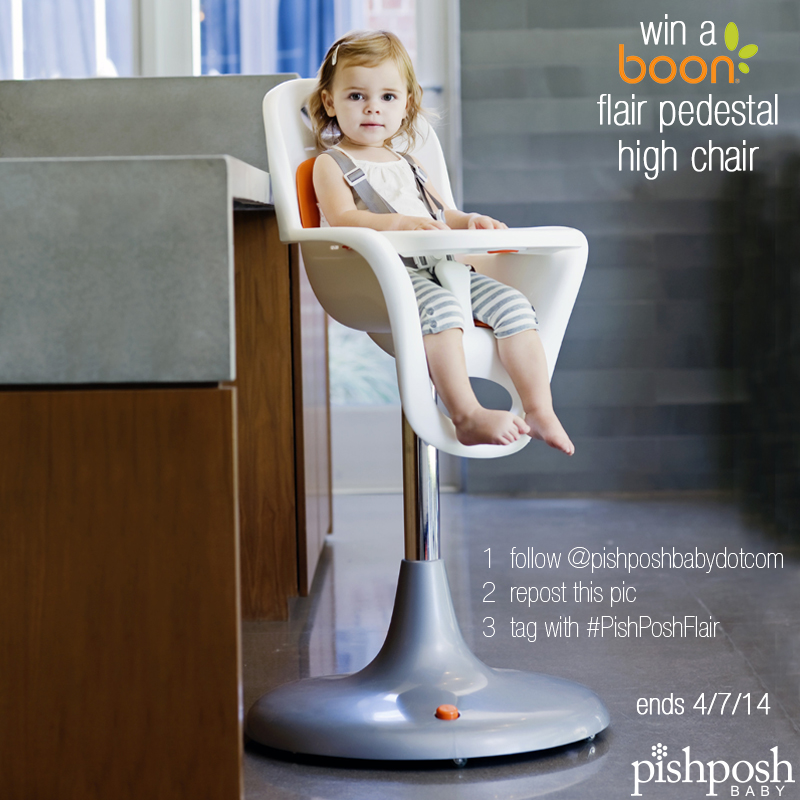
At the request of fans, PishPoshBaby is now allowing fans to upload a picture of a messy baby or tot in a high chair, instead of reposting this picture daily. Keep reading for the details….
This high-chair has a soft, waterproof pad that can be removed for easy cleaning. Safety features include a five-point harness and restraining post. The pedestal base is sturdy and slides smoothly under tables. The chair will glide in any direction, and the hands-free braking system allows you to easily lock the chair in place. The sophisticated pneumatic lift system makes it easy for parents to adjust the seat’s height. It’s easy to clean too! No cracks or crevices.
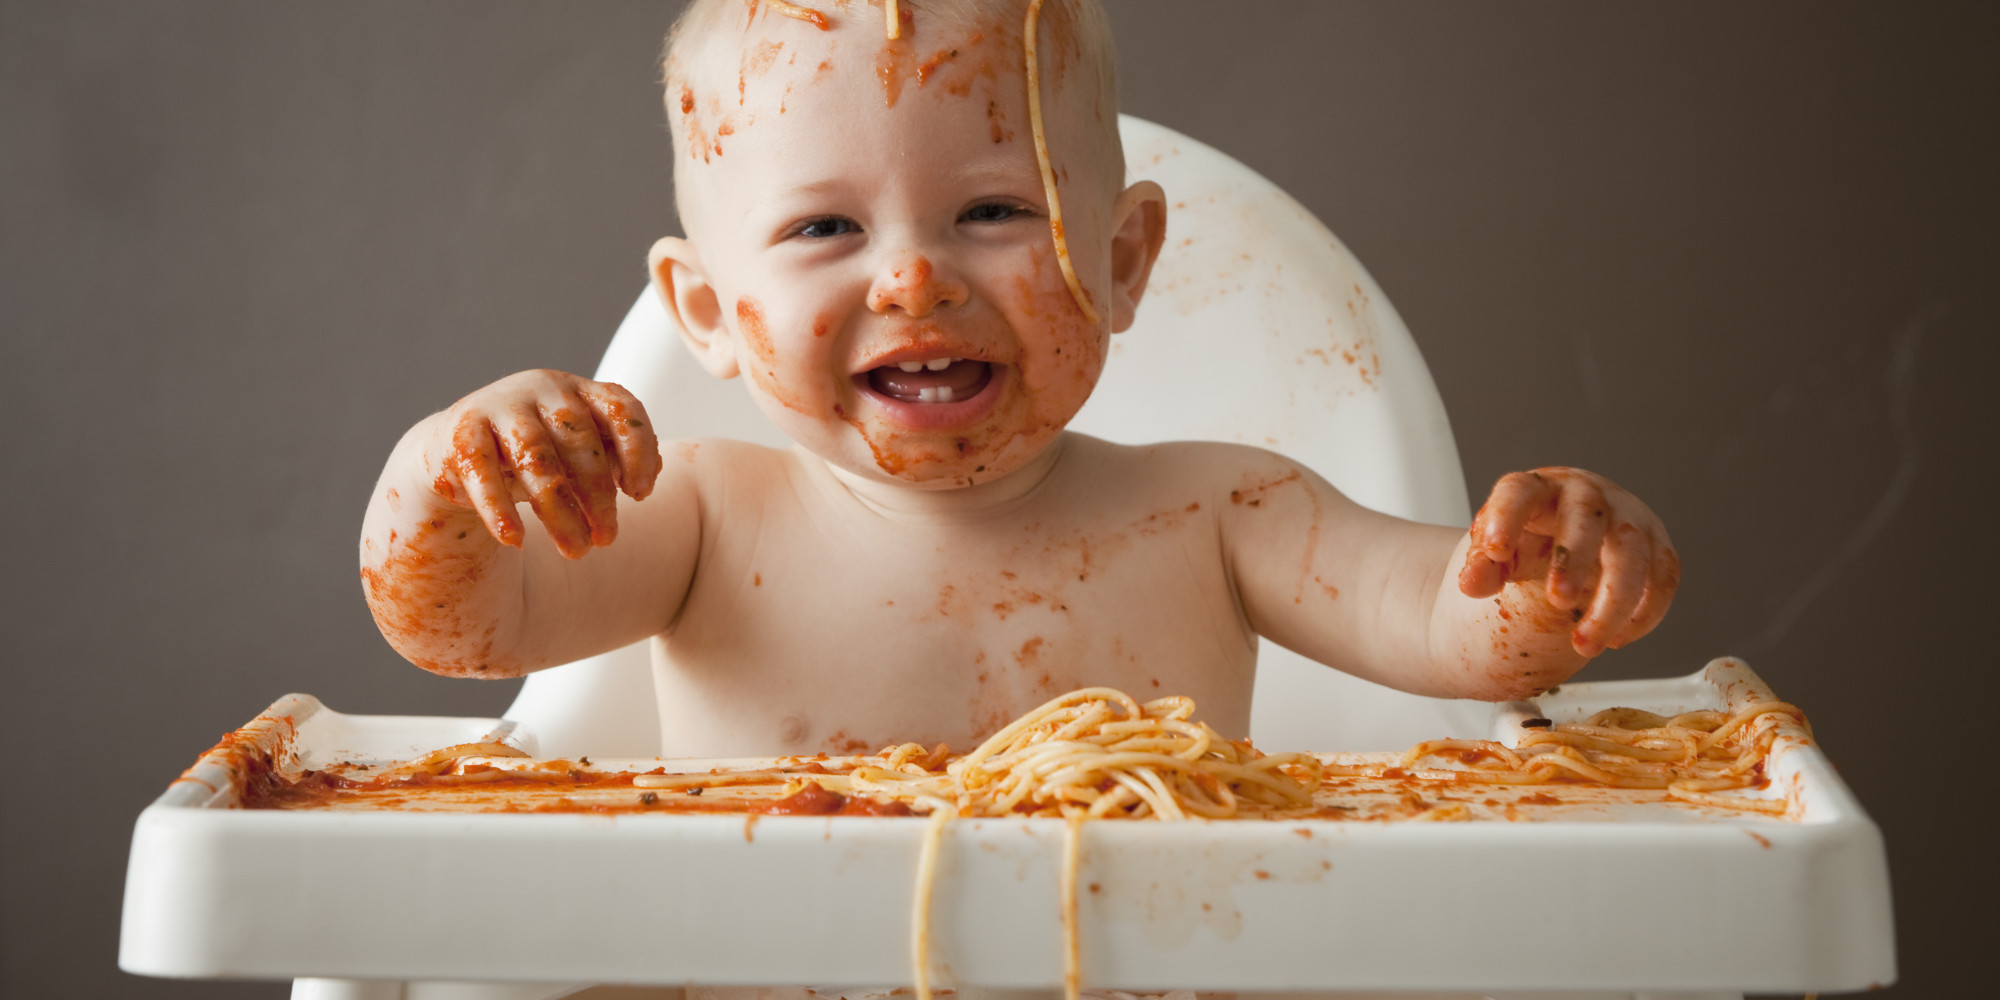
Post a picture of any baby or toddler eating the “messiest meal in history.” See the photo below for reference. You can post up to once a day.
Use the hashtag #pishposhflair when you post your photo.
The winner will be drawn at random. If the winner has more than the maximum number of entries (one for each day of the giveaway), he/she will be disqualified, and PishPoshBaby will redraw.
Ifyour Instagram account is private, you will need to make it public the day PishPoshBaby draws the winner, so they can verify your entries.
Example photo:
Note: I was compensated for posting about and promoting this giveaway. Any opinions stated above are my own and may not reflect yours.