
This “tutorial” is so easy and self-explanatory, that I suppose it doesn’t deserve a tutorial. But I’ve decided to compile posts anyway that use snaps in DIY projects, because snaps are AWESOME! You can do so many things with them! Check out this list that KAM Snaps put together on their Web site.
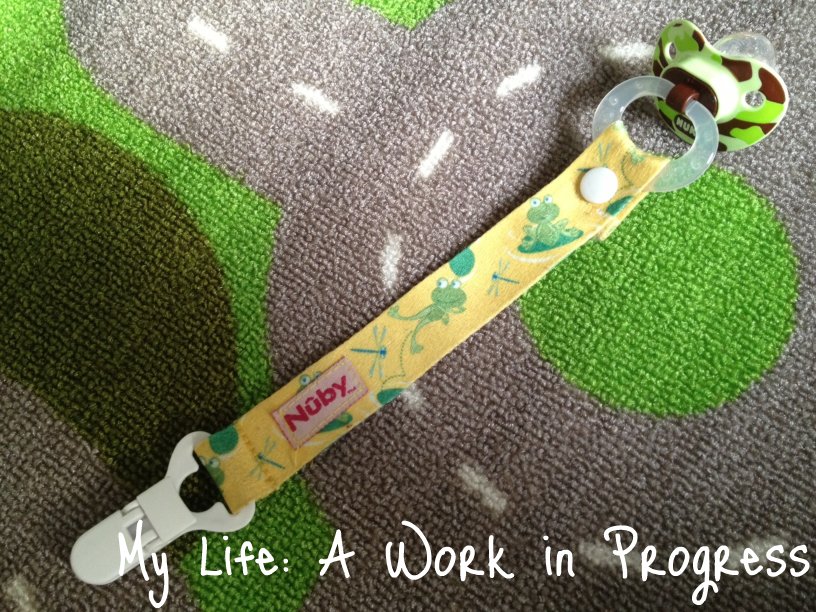
When my son is tired, he loves his paci; and I love that he loves his paci. Trust me. I spent the first two painful months of his life as his pacifier, so I LOVE his paci. Keeping the paci on his little person is not always an easy thing. We have at least three pacifier holders (because they keep disappearing), but it’s disappointing how quickly the hook and loop fastener wears down and stops working. It would be a very bad day for Baby J and for myself, if we’re outside the home and the paci fell off because of the worn fasteners and was subsequently lost! So I decided to fix the holders…and even make them better (in my opinion).

******
If you don’t have snaps and pliers, but want to repair the velcro on your pacifier holders, buy something like this:

Velcro (or another hook & loop fastener brand) is not as cool as snaps, but it’ll work. You’ll have to use a seam ripper to remove the old Velcro and then sew the new strips on. A sewing machine will work fastest, but you can obviously sew by hand if you don’t have a machine.
******
On to the snaps!
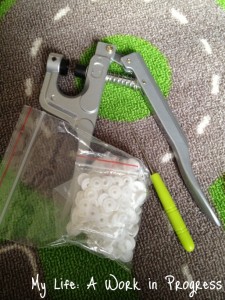
I purchased Dritz Babyville Boutique Snap Pliers and snaps during an online sale a few months ago, and I love them! They’re working great for me. I recently discovered the same Babyville pliers along with packs of white snaps for sale at Hobby Lobby. You can also check local fabric stores. Otherwise, they’re easily available on the Web.
To complete this project, you’ll need a set of snaps, an awl, and pliers or a press.
Click on photos to enlarge:
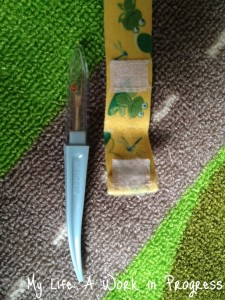
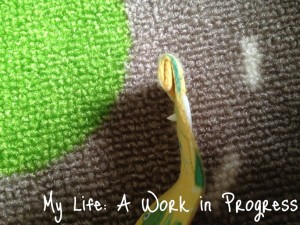
It’s best to remove the old hook and loop first, although you could work around it if needed. A seam ripper is the best thing to use when errrrr ripping seams. Unfortunately, I have to use my seam ripper much more often than I would like.
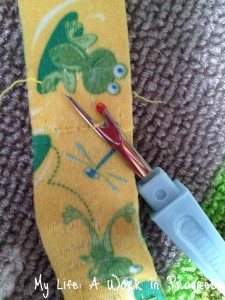
Tear out that velcro (without destroying the pacifier holder)!!!
While doing this, I discovered that a piece of the Velcro was sewn down with the tucked end of the fabric. What this means is that if I removed all of the Velcro, the sewn down end, would become loose and the fabric could potentially unravel/fray at the very end.
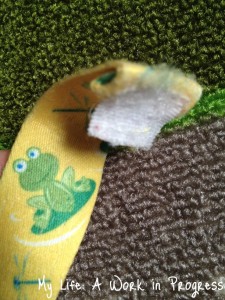
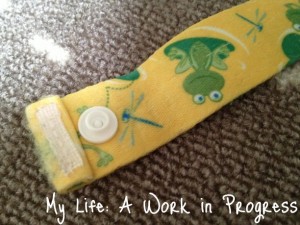
Since this was supposed to be a no-sew project, and I didn’t want to dig out the sewing machine that has been hidden away since we had company for the holidays, I decided to leave half the Velcro on the holder.

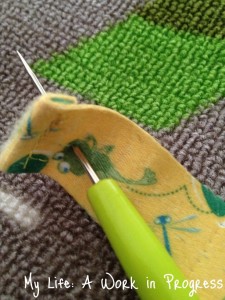
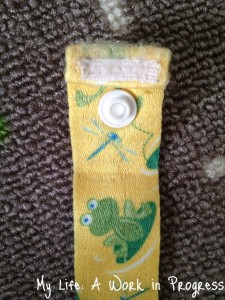
Now it’s time to put your snaps on. I’d highly recommend first pulling out a paci to see where your snaps need to go exactly. Once you’ve determined where you want the first half of the snap, pierce a hole there with your awl.
Then poke the snap cap through the hole.
Make sure it’s poking through in the right direction. That may seem like a no-brainer, but when it’s late at night (or very early), I’ve made mistakes like this.
Place a stud (male part) over the poky end of the cap.
Slide your pliers over the set, until they’re completely level with the cap/stud. Gently squeeze the pliers just a little bit until there is a click. There needs to be a click. This tells you that you have the cap and stud evenly inside of the pliers. If they’re not even within the pliers, you could ruin the set and even ruin the paci holder.
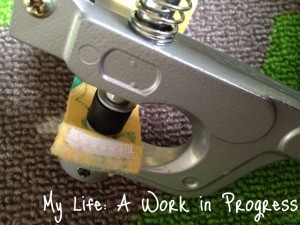
Once you hear it click, give the pliers three or four firm squeezes. This will flatten the prong from the cap. Your cap/stud should now look like this:
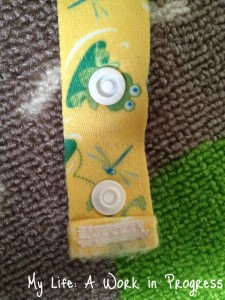
Repeat these steps wherever you want the correlating side of the snap to be. Instead of a stud, you’ll need to use the complementing socket (female).
I was well supervised during this project.

Have you completed any DIY projects lately? I’d love to hear about them!
Note: Affiliate link present.