CLOSED Giveaway: Holly Jolly Jubilee 2012- win an AI2 cloth diaper and custom onesie #HJJubilee12
 Welcome to the Holly Jolly Jubilee giveaway blog hop, hosted by Formula Mom and Fabulous Finds by Tiffany! This is one of my favorite hops, since it’s holiday themed!
I have to confess something. I keep nagging Hubby about his interest in Christmas when Thanksgiving isn’t even over yet, but I’m just as excited…especially since we have a new little one to start traditions with!
Here on My Life: A Work in Progress, you have the opportunity to win two adorable gifts for the little one in your life, thanks to my awesome sponsors, AsherLiz Designs and Mama Loves!
AsherLiz Designs:
Stephanie is the creative WAHM (working-at-home mom) behind AsherLiz Designs, offering cloth diapers and accessories.
“Hi, I’m Stefanie! I started CDing with my youngest and quickly became addicted! One of the reasons I decided to go with CDs was to save a little money. So naturally, that lead to me making the diapers myself. Soon after, AsherLiz Designs became a reality! The name is inspired by my kids, and everything I offer in my store, I use with my kids too.”
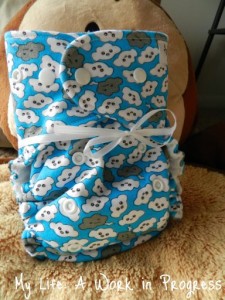
One lucky reader will win an AsherLiz Designs all-in-two (AI2) cloth diaper in a holiday print! Read my review here.
Mama Loves:
 I’m also thrilled to introduce the mama behind Mama Loves, a wonderful little online boutique for “things a mama loves.” I first met Angel about 6 years ago, when I was a young teacher wet behind the ears. She helped me survive my first year of teaching, and I’ve always been grateful! Now, as I’m a new mommy, she’s still showing me the ropes!
Angel Lee is a first time mom to an adorable two year old who doesn’t care at all about any of the sweet things mama makes her. Angel lives in perpetual hope that someday her daughter will care, but in the meantime she will keep sewing clothes for her and for other little girls like her.
Angel makes and sells ornate jeweled wine glasses, upcycled toddler clothes, car organizers and more. The wine glasses are gorgeous, but probably my favorite product Angel offers is the “Daddy dress,” from an upcycled man’s shirt. You can provide your own Daddy shirt or Angel will. I can’t wait to have a little girl and have her wear a Daddy dress! It would be especially perfect for our little one to remember Daddy when he’s on deployments.
For this giveaway, the winner has a choice of a custom boy’s onesie, shirt, or tie or a girl’s onesie dress or twirly skirt in a holiday theme. Options are awesome!! Decisions are difficult. :/
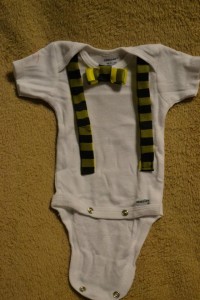
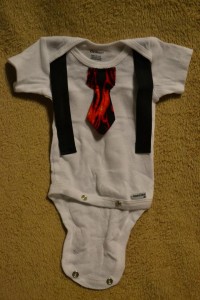
Check out these stylin’ sample boy onesies:
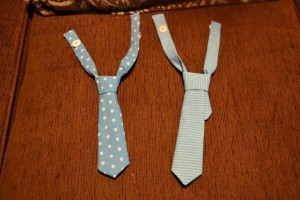
Prize information for boy selection: a Christmas themed onesie, Christmas themed shirt or tie. After winning you will be contacted to give sizing information and to make your fabric selection. May choose bow tie or neck tie styles.
I love these girly pieces below!

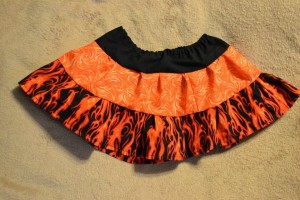
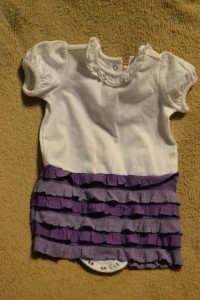
Prize information for girl selection: Choice of toddler twirly skirt in Christmas colors and patterns or onesie dress in Christmas colors and patterns. After winning you will be contacted to give sizing information and to make your fabric selection.
Disclosure: Formula Mom, Fabulous Finds by Tiffany, My Life: A Work in Progress, and the Holly Jolly Jubilee bloggers are not responsible for sponsors that fail to fulfill their prizes. Sorry, this giveaway is open to U.S. residents only. You must read and agree to the Terms and Conditions (located through the link at bottom of the Rafflecopter form) to enter. One winner will be chosen at random via Rafflecopter and Random.org. The winner will be sent an email and will have forty-eight hours to respond, or another winner will be chosen.
Winner:
Entry #3158 Jenna F.
DIY: Toy Leash with Snaps (Part 1)
**Updated Nov. 10
Making a leash for a toy sounds relatively simple, so it may seem surprising that I have a Part 1 for this project. However, I can already see definite room for improvement, so I’ll be trying this project again! I also would like to make a toy leash with velcro instead of snaps, and leashes that attach to my son’s clothes instead of the stroller/high chair/baby carrier/etc.
Recently, a co-op group I’m apart of was purchasing leashes for Sophie the Giraffe to keep the toy attached to things…and not constantly falling on the floor. Genius! Why do I never think of these things? Sometimes I feel completely uncreative. Well, thought I…how difficult can it be to make a toy leash?
So I set about making my own…
I perused the ribbon section at the local Jo-Ann Fabric and Craft Store. I found a spool of adorable monkey faces ribbon. I was a little torn between the monkey ribbon (which seemed a little thin) and a thicker, ribbed baseball ribbon. I went with the monkeys.
I arrived home and proudly showed hubby my purchase.
“Isn’t that a little thin?” -Hubby
I set about to prove him wrong!
Unfortunately, I failed.
Tip #1
Think LEASH. Purchase a very thick ribbon or something with which you’d feel confident securing a medium-size dog to a fence post.
Tip #2
Don’t zig zag the ends. You’ll make the unraveling worse.
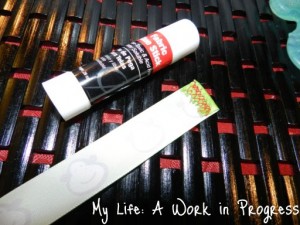
The ends of the ribbon looked like they were fraying. I knew that with fabric, you can sew a zig zag stitch across the end, and that will keep the unraveling at bay. This is a terrible idea for ribbon. Don’t do it.
Click on the Photos to Enlarge:
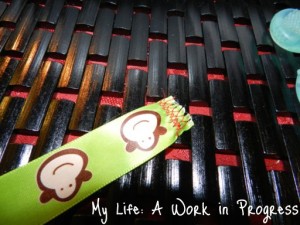
Oh dear. How do I fix this??
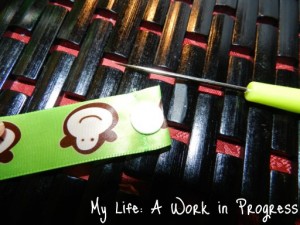
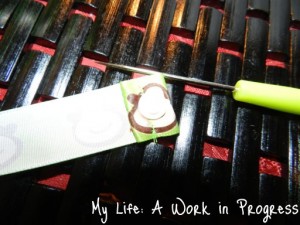
I decided to fold over the end to hide the edge. This ended up working out well, since the folded over part of the ribbon acted as reinforcement for the snap.
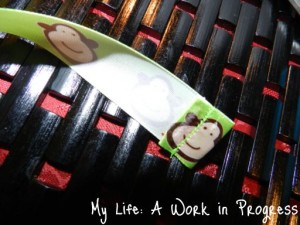
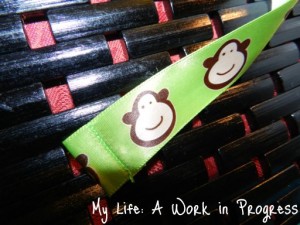
I should’ve folded over a bigger piece of ribbon. You’ll see why in a second.
The snap right on top of the stitch isn’t aesthetically pleasing. Next time, I’ll fold over more ribbon.
As you can see above, I applied the “boy” side of the snap (the stud) to the end of the ribbon.
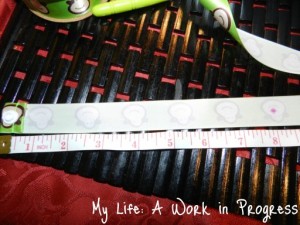
I wanted one of the loops of the leash to be quite large, so I could attach it to different sized bars: the stroller, the high chair, the carrier, etc. I measured out 8″ total and marked it with a washable fabric marker. I then applied the other half of the snap (the “girl” part). I did not reinforce this part of the ribbon, which I regretted as soon as I tested snapping and unsnapping this side of the leash. I could feel and see the ribbon fabric weakening. It’s just not strong enough.
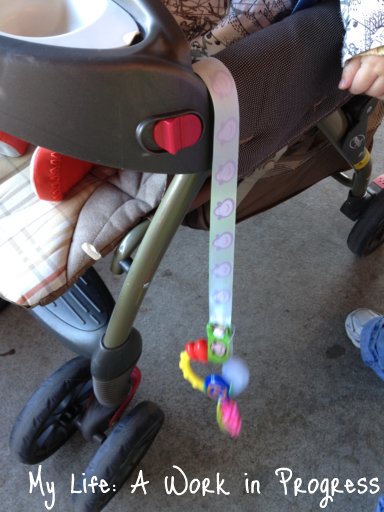
At this point, I still hadn’t measured and cut the entire length of ribbon, so I went ahead and did that. With the loops attached, the leash ended up being about 20″. I have no idea if this is a good length or not. I’ll find out tomorrow when we go to the Farmer’s Market, and I use the leash with a teether and my son’s stroller!
For the opposite end (this is the side attached to toys), I made the loop a little smaller. I reinforced the end and followed my earlier steps.
Then I turned my attention the last snap placement.
Since I now knew that the ribbon needed to be reinforced under the snaps, I cut out and folded over a piece of ribbon to sew on the leash. This would serve as snap reinforcement.
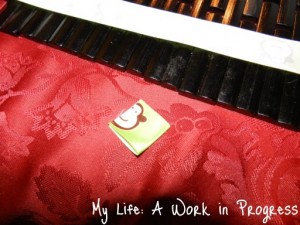
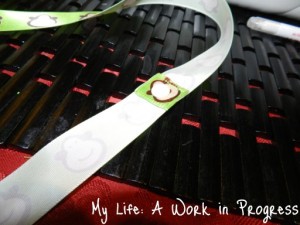
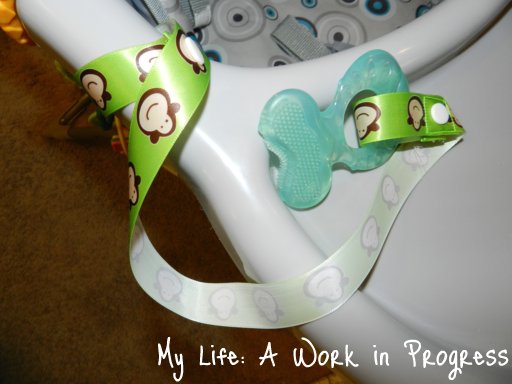
I have to apologize about a couple of things. First of all, I know this really isn’t a tutorial. My directions aren’t clear; I realize that. To be honest, I really didn’t know what I was doing, until the moment I did it, and even then…
When I post the next installment, I’ll include step by step instructions and measurements.
Also, if you do not have access to snap tools and snaps, I think this leash would work well with velcro. You can even hand sew velcro on the leash, if you don’t have a machine. Also, I think velcro will work well on a thinner ribbon like this, since pulling the velcro apart won’t put such a stress on the fabric (as opposed to pulling snaps apart).
Tomorrow morning I will test drive this leash by letting my son use it…trial by fire! I’ll post pix afterwards, and let you know how it goes.
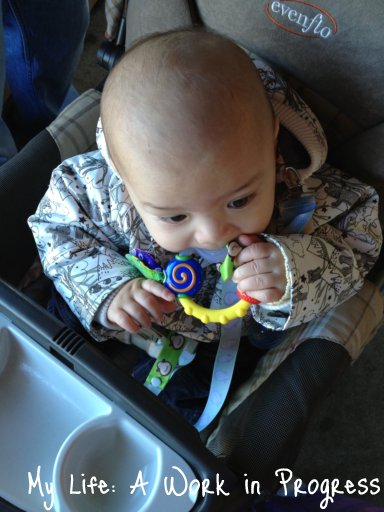
Update: I used the toy leash today with my son’s current favorite teether and his stroller while we were at the local farmer’s market. Success!
