Rice Krispies Easter Egg Treats

This may sound crazy to you, but I have never made Rice Krispies treats until now! My parents were health nuts long before it was popular. To give you an idea, I had my first chocolate bar when I was nine; it was so rich, I almost threw up afterwards. We rarely had salt or sugar in the house. I think the only times we did were when Mom was making something special for guests or a church potluck. We definitely never made Rice Krispies.

I wanted to make a special Easter-themed treat for Baby J, but baking with my oven is hit or miss. It had to be something no-bake, and eventually these Rice Krispies Easter Egg Treats crossed my mind. They are very easy and quick to make.
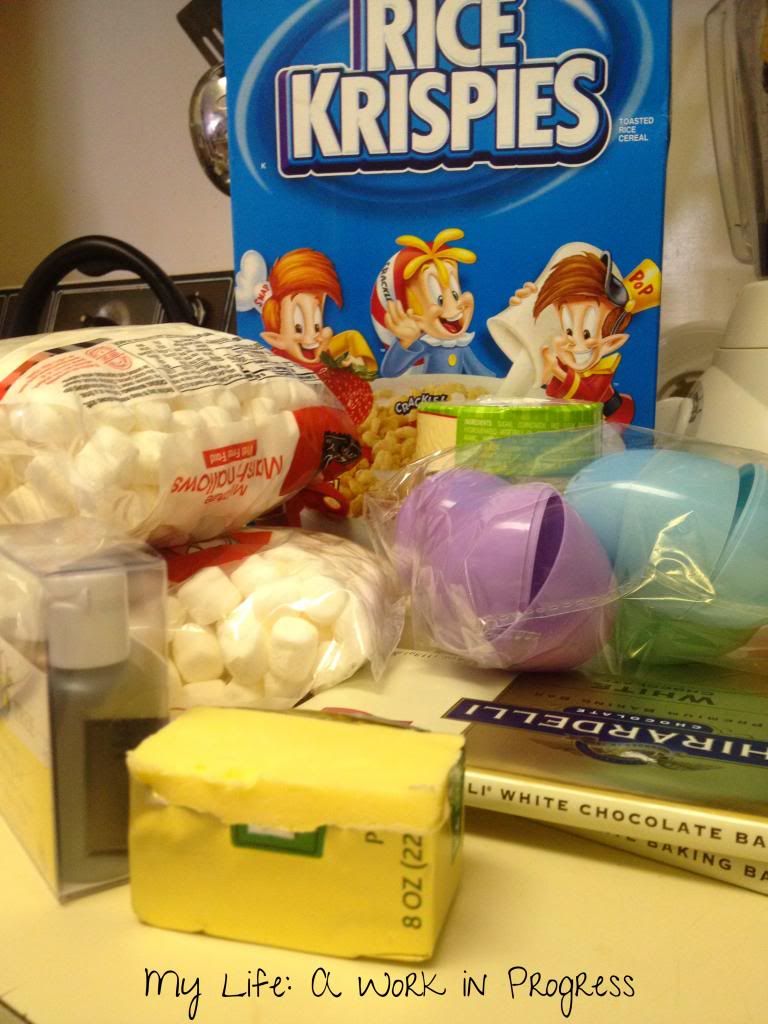
Rice Krispies Easter Egg Treats- My Life: A Work in Progress

What you need:

  • 4 cups of mini marshmallows
  • 4 tablespoons of butter
  • 5 cups of Rice Krispies cereal
  • Empty plastic Easter eggs (washed and dried beforehand, since you never know where they’ve been!)*
  • White chocolate (optional)
  • Sprinkles (optional)

*I used large plastic eggs (I don’t have exact measurements, sorry), and the mixture filled up 10 of them.

Rice Krispies Easter Egg Treats- My Life: A Work in Progress

Directions:

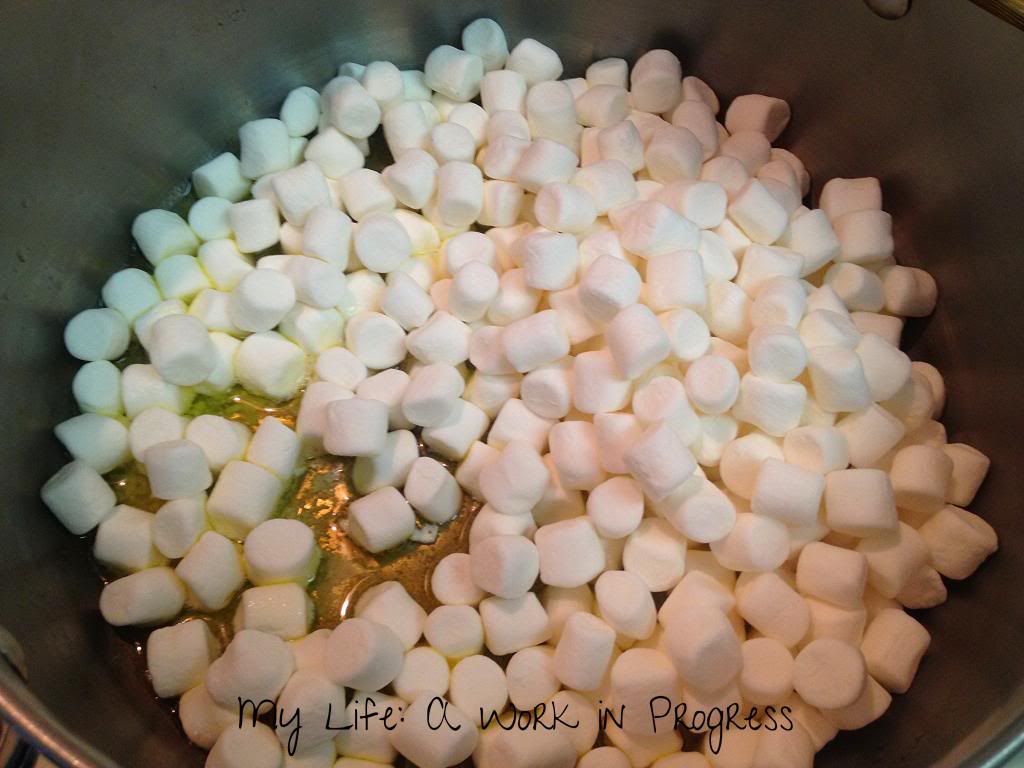
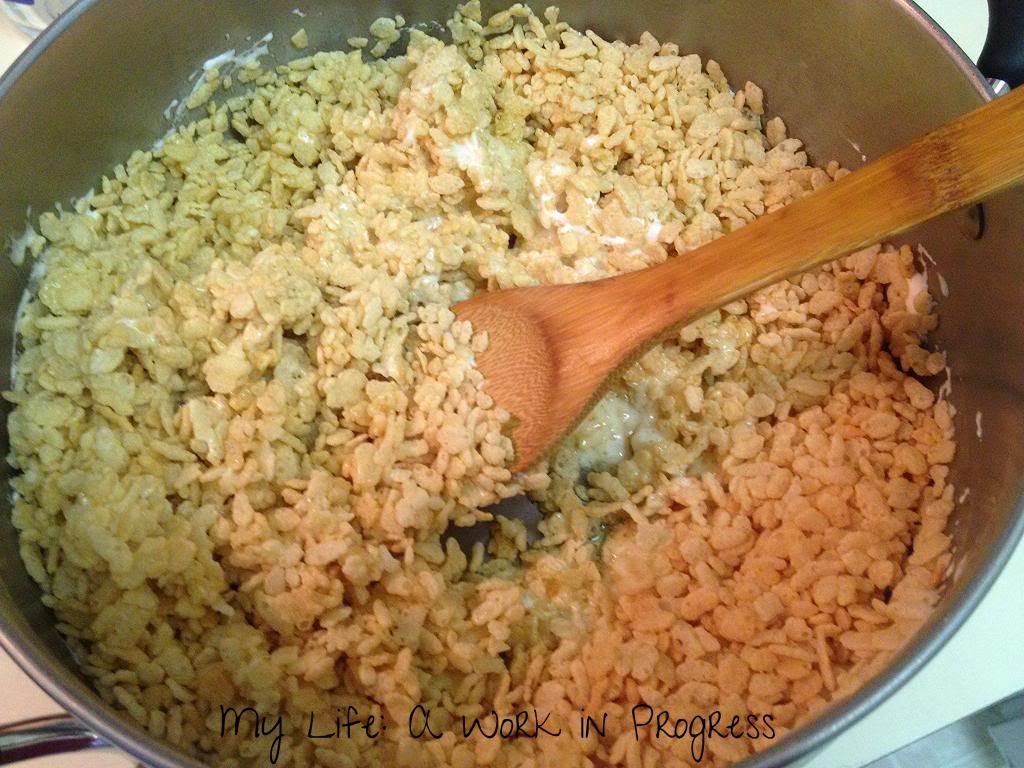
Place a large pot on the stove, with the burner at low heat. Melt the butter, then add the marshmallows in, stirring occasionally. Once the mixture is thoroughly melted and blended, turn off the burner and add the cereal. Stir.

Rice Krispies Easter Egg Treats- My Life: A Work in Progress

 Rice Krispies Easter Egg Treats- My Life: A Work in Progress

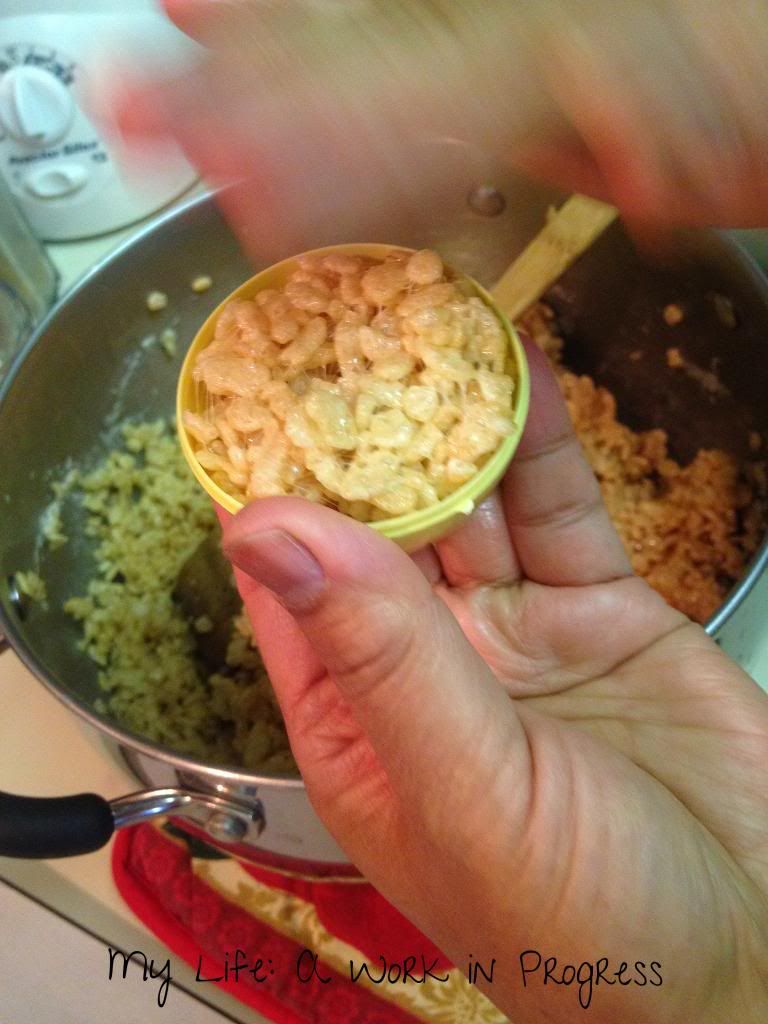
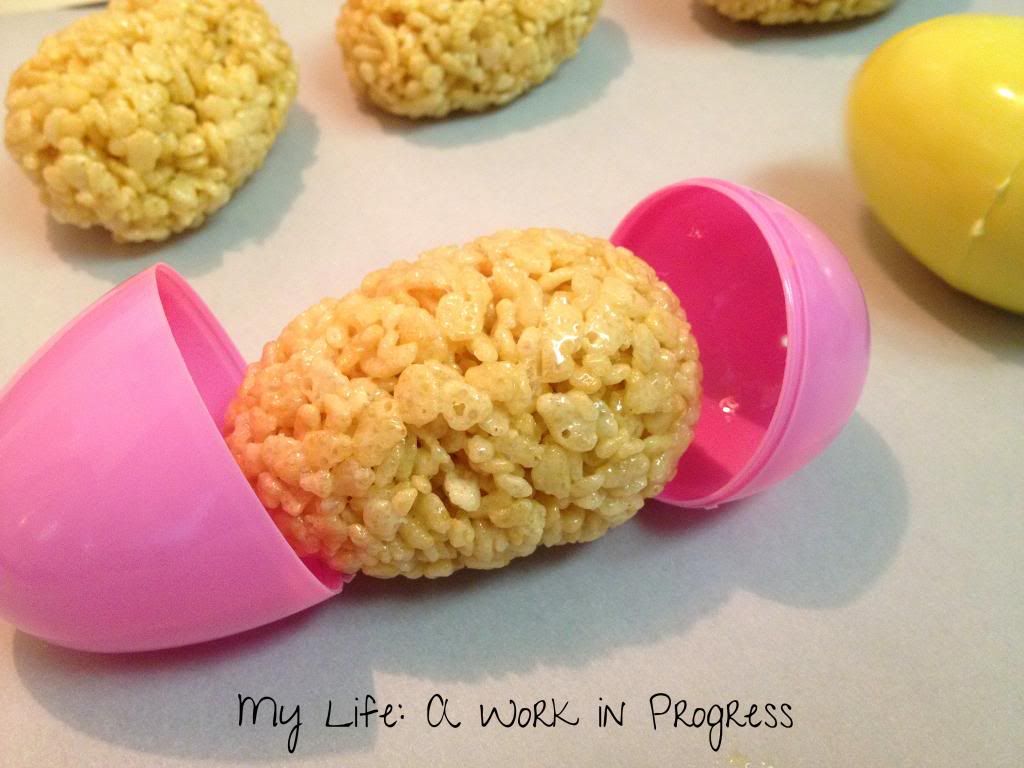
When the mixture has cooled enough for you to touch, grease the inside of a plastic egg with butter or oil. Stuff each side of the plastic egg with the Rice Krispies mixture; let the mixture overflow slightly. Then press the sides of the plastic egg firmly together, until it’s sealed. Let the plastic egg sit on a cookie sheet or the counter for about 30 seconds.

 Rice Krispies Easter Egg Treats- My Life: A Work in Progress

Rice Krispies Easter Egg Treats- My Life: A Work in Progress

 Rice Krispies Easter Egg Treats- My Life: A Work in Progress

To remove the treat from the plastic egg, press your thumbs at the center of the egg, one on each side of the seam, and press gently until the egg pops open slightly. Then you can carefully pry the egg open all the way with your thumbnail or a fork prong.

Rice Krispies Easter Egg Treats- My Life: A Work in Progress

If at any point your mixture starts becoming too hard for the egg-shape to form, you’ll need to melt your mixture slightly on the stove top again. So work quickly! My mother in law and I were forming these as quickly as possible; many hands and small batches are best for this treat.

Rice Krispies Easter Egg Treats- My Life: A Work in Progress

Decorating:

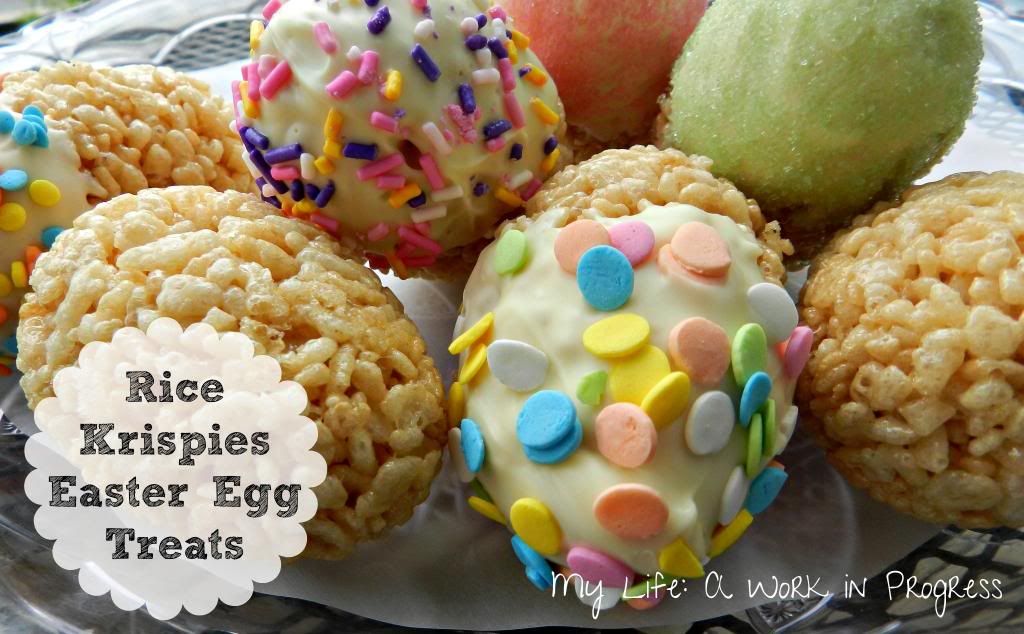
These are cute just as egg-shaped Rice Krispies treats, but this is how I decorated mine:

I melted a block of white chocolate in the microwave at 50 percent power (30 seconds at a time). After dipping an egg in the melted white chocolate, I sprinkled Spring-themed cupcake sprinkles over top. Then I placed the finished and decorated Rice Krispies Easter Egg Treats, one by one, into an empty egg carton with the decorated side up. The carton then went in the fridge. After the chocolate was firm, the treats were ready to eat!

Other Decorating Suggestions:

  1. Mix crushed, small Easter-themed candies in with your Rice Krispies mixture, before you form the eggs.
  2. Use cookie icing to draw fun designs on your eggs.
  3. These eggs would also taste delicious dipped in melted milk chocolate.
  4. Or, dip the eggs in white chocolate that has been dyed with food coloring into pastel colors.
What yummy treats have you had lately? Do you have a favorite way to “dress-up” Rice Krispies treats and make them extra special?

It’s an Easter hop! Have an Easter-themed craft, recipe, or other post you’d like to share? Link up below! Family-friendly only, please.


Continue Reading

Tortino di yogurt ai Baci (yogurt and Baci chocolate loaf cake)

Dozens of press releases end up in my inbox almost daily about new products being released, inventions being patented, conventions, interviews, etc. A few weeks ago, an email about Baci Perugina confections along with included recipes and photos caught my eye. Who doesn’t love chocolate, right? I sent a quick response and was sent some Baci of my own to try out in recipes.

 Baci chocolates- Find out more on My Life: A Work in Progress

Baci means “kisses” in Italian. Each chocolate has a message of love wrapped around the individual candy. The outside of these confections are dark chocolate, and the inside is made of gianduia, a whipped chocolate filling blended with chopped hazelnuts, and then topped with a whole hazelnut. These little chocolates have a lot packed in them!

The recipe below was developed by Viola Buitoni of the famed pasta and chocolate family.

Tortino di yogurt ai Baci (yogurt and Baci loaf cake)

by Viola Buitoni

Ingredients:

  • 6 to 8 Baci
  • 3 cups all purpose flour
  • 1 tablespoon baking powder
  • 1 cup brown raw sugar
  • pinch of salt
  • grated zest of an orange
  • 3 eggs
  • 1 six-ounce container plain full fat yogurt
  • 1/2 cup extra-virgin olive oil
  • powdered sugar

Directions:

Unwrap and chop the Baci, and then line a loaf pan with parchment paper. In a bowl, whisk the flour, baking powder, sugar, salt and zest together. Mix in the eggs, then the yogurt, and finally the olive oil. Next, mix the chopped chocolate into the batter and pour the mixture into the lined loaf pan.

Yogurt and Baci chocolate loaf cake. Find the recipe on My Life: A Work in Progress
Bake at 375ºF for about 45 to 50 minutes, until a toothpick inserted in the center comes out clean. Unmold the cake from the loaf pan and let cool on a rack. Dust with powdered sugar and serve.

 photo d42b79a6-2455-4513-974c-786351ce1bda_zps594526d6.jpg

I made this loaf cake for Christmas day dinner with family. It was moist and dense with plenty of chocolate. Personally, I love the taste of yogurt in baked goods; it’s sweet and tart. The orange zest gave really exotic overtones. This is definitely something I plan to make again! You can learn more about Baci at Perugina.com.

Would you try this loaf cake? What are some of your favorite baked desserts?

Note: I received complimentary chocolates to test out some recipes. I was not otherwise compensated.

Opinions Expressed Pink Button

Continue Reading

Don’t trifle with this trifle!!!! (my favorite dessert)

My favorite dessert is the English trifle. Although there are many variations, the trifle essentially is a layered cake and custard dessert. I’ll share with you the way I learned to make it as a child.

A trifle is usually made in a glass bowl to showcase the dessert’s layers. As usual, I don’t have the right tools (er, bowl) for the job, so I’m using a stainless steel measuring bowl that is neither see-through, glass, nor attractive.

The ingredients for my trifle are whipped cream, strawberry jam, vanilla pudding, angel food cake, and crushed pineapple in juice.

Note: As you can see in the photo, I’m using pineapple chunks in heavy syrup. This does not work as well as the crushed pineapple, since you can’t really spread it; but Hubby grabbed the wrong can.

It’s easy to make this dessert lower in fat, by purchasing low-fat, fat-free, or sugar-free ingredients.

Slice the angel food cake into three same-size pieces. Place one piece in the bottom of your bowl.

Drain your crushed pineapple and save the juice. Spoon the pineapple juice onto your bottom cake layer, pressing down with the spoon to help the cake absorb the juice.

Evenly spread a third of the crushed pineapple over the cake. Then follow with the strawberry jam, and finally the vanilla pudding.

Place the second cake layer on top. Then start with your pineapple juice, and repeat the previous steps. Then place the third and last piece of cake on top. Cover the entire thing with whipped cream. You’ll probably have stuff falling down into the center at this point, and that’s fine. I just cover the hole with whipped cream.

You don’t have to put a topping on it, but if you do, fresh fruit is great. I had some walnuts I wanted to use up, so I sprinkled those on top. Then, place in your fridge to get nice and chilled until you’re ready to serve it. I think it tastes even better when left in the fridge overnight. Everything really has a chance to mix together then.

Here’s what it looks like scooped in your bowl:

You can skip the jam or preserves and make the trifle with all fresh fruit. Blueberries and banana slices would be yummy too. I’ve heard of trifles being made with chocolate ingredients. Around Thanksgiving, a pumpkin trifle would be great to try too!

The traditional trifle recipes actually call for sponge cake sliced in large chunks, and that’s an easy step to add, if you’d like. The result would be the same. They also call for sherry, but fruit juice is a very tasty non-alcoholic substitute. If you’re ambitious, here’s a recipe for a more traditional version.

As you can see, this dessert is very easy to make and has endless possibilities! Give it a try, and let me know how you like it!

Continue Reading