Using a digital kitchen scale for baking (MIRA review)

Disclosure: I got this product as part of an advertorial.


Did you catch my first post on using a digital kitchen scale? In that post, I focused on using a kitchen scale for portion control. The servings you eat affect your waistline and your wallet. Today I’m writing about using a digital kitchen scale for baking.

Have you ever come across a recipe that used grams or ounces instead of cups and tablespoons? If you have, chances are it was a recipe that originated overseas. Most household kitchens in the US don’t have a scale. I did some web searching to figure out why that’s so. King Arthur Flour has a fascinating (well, it was to me, anyway) section that discusses the history of baking measurements in the States. The site suggests that in the early 1800s, it was easier for Americans- especially those heading west in search of a homestead- to measure items with a “teacup” or “butter the size of an egg” and so on. Early American recipes and old cookbooks contain these types of measurements.

Sometimes recipes geared towards North America still have the weights written in next to the measurements (like the recipe I use below). Why does it matter? Why use a scale?

There’s a reason why measuring is important for recipes, especially when baking. Measuring cups and spoons just aren’t accurate enough. I usually blame my oven when something I bake doesn’t turn out as expected, but after learning more…I wonder if perhaps my measurements are off from the start.

To begin with, not all measuring cups are the same size. I’d never even taken this into consideration before researching. I would bake a cake and use one brand of measuring cups for flour and pull out a different brand to measure my sugar. The proportions are probably going to be off, unless you use the exact same measuring cup for measuring each ingredient.

Second, ingredients themselves can vary in size. A cup of flour in Southern Florida is going to contain more moisture and be fluffier than a cup of flour in dry Arizona (or winter in the North East). So if it’s humid, you’ll probably need to fill up your measuring cup a little more, and if it’s dry outside- the opposite.

The weight of flour, however, is something you can rely on, year round. So use that kitchen scale! It’s the same concept for most foods- dates, prunes, raisins, chopped carrots, sugar, grated cheese, and so on.

How much does a cup of flour weigh? Well, that’s debated. King Arthur Flour recommends 4 1/2 ounces, and that’s what they use in their recipes. TheKitchn.com, a popular home kitchen site, has a list of flours -all purpose, bread, whole wheat, pastry, etc.- and their recommended weights for each.

If the recipe you’re using gives a weight (or perhaps it’s listed in the beginning of a cookbook), always default to that. Other than that, you’ll most likely develop your own preference as you use your scale more.

For more on the accuracy of kitchen scales and why many people like them, read this article from the New York Times.

And I’m not going to waste this opportunity to promote my favorite brown sugar cookie recipe! These are my second favorite kind of cookies ever. They are in no way healthy, but they are SOOOOO TASTY. The recipe is for “Chewy Brown Sugar Cookies” from SeriousEats.com. Keep scrolling to see how I use a digital kitchen scale to measure my dry ingredients.

For this recipe, I used a MIRA Glass Digital Kitchen Scale (in gray). As I mentioned in my previous kitchen scale post, the tare function means you can “zero out” the weight of whatever bowl or plate, etc., you place on the scale.

In the photo below, I’d just added brown sugar. My egg and melted butter were already in the bowl. I pressed the “on/off/tare” button once, and it reset the scale to zero. Then I started scooping in my brown sugar until the scale read 330 grams.

If you don’t want to weigh in grams, just press the “unit” button. This scale also weighs ounces/pounds, millilitres, fluid ounces, and grams. Like the MIRA stainless steel scale, this glass one has an automatic shut off function and can weigh up to 11 pounds.

So after baking my cookies, guess how many dishes I had to wash? Just what you see in the photo below, plus my cookie sheet. Not bad, eh?

By the way, in case you’re wondering which scale I’m going to keep and which scale is going to make it into the kitchen of my sister-in-law-the-avid-home-baker…I’m keeping the stainless steel scale. They both work equally well. The glass scale is a little larger, and it looks classier. But I feel that the stainless steel top would be a little sturdier if I drop anything on it, and I’m a total klutz!

They’re both lovely, and I would recommend checking them out on (affiliate link>) Amazon. There are different colors available for the glass scale, which I think is pretty cool. The orange one is my favorite. 🙂

So what do you think? Did you learn something new about kitchen scales and measuring cups? Would you be willing to use one in your kitchen?

Note: I received one or more of the products mentioned above for free using Tomoson.com. Regardless, I only recommend products or services I use personally and believe will be good for my readers.

Continue Reading

Tortino di yogurt ai Baci (yogurt and Baci chocolate loaf cake)

Dozens of press releases end up in my inbox almost daily about new products being released, inventions being patented, conventions, interviews, etc. A few weeks ago, an email about Baci Perugina confections along with included recipes and photos caught my eye. Who doesn’t love chocolate, right? I sent a quick response and was sent some Baci of my own to try out in recipes.

 Baci chocolates- Find out more on My Life: A Work in Progress

Baci means “kisses” in Italian. Each chocolate has a message of love wrapped around the individual candy. The outside of these confections are dark chocolate, and the inside is made of gianduia, a whipped chocolate filling blended with chopped hazelnuts, and then topped with a whole hazelnut. These little chocolates have a lot packed in them!

The recipe below was developed by Viola Buitoni of the famed pasta and chocolate family.

Tortino di yogurt ai Baci (yogurt and Baci loaf cake)

by Viola Buitoni

Ingredients:

  • 6 to 8 Baci
  • 3 cups all purpose flour
  • 1 tablespoon baking powder
  • 1 cup brown raw sugar
  • pinch of salt
  • grated zest of an orange
  • 3 eggs
  • 1 six-ounce container plain full fat yogurt
  • 1/2 cup extra-virgin olive oil
  • powdered sugar

Directions:

Unwrap and chop the Baci, and then line a loaf pan with parchment paper. In a bowl, whisk the flour, baking powder, sugar, salt and zest together. Mix in the eggs, then the yogurt, and finally the olive oil. Next, mix the chopped chocolate into the batter and pour the mixture into the lined loaf pan.

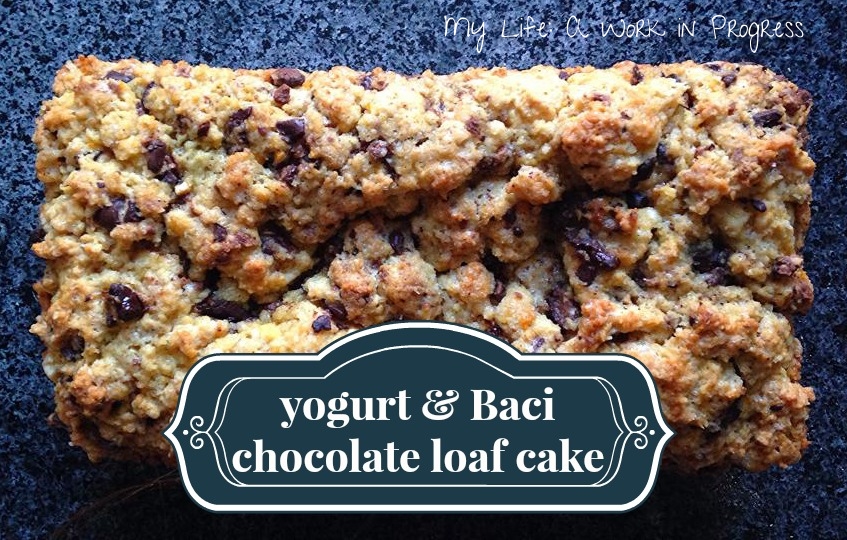
Yogurt and Baci chocolate loaf cake. Find the recipe on My Life: A Work in Progress
Bake at 375ºF for about 45 to 50 minutes, until a toothpick inserted in the center comes out clean. Unmold the cake from the loaf pan and let cool on a rack. Dust with powdered sugar and serve.

 photo d42b79a6-2455-4513-974c-786351ce1bda_zps594526d6.jpg

I made this loaf cake for Christmas day dinner with family. It was moist and dense with plenty of chocolate. Personally, I love the taste of yogurt in baked goods; it’s sweet and tart. The orange zest gave really exotic overtones. This is definitely something I plan to make again! You can learn more about Baci at Perugina.com.

Would you try this loaf cake? What are some of your favorite baked desserts?

Note: I received complimentary chocolates to test out some recipes. I was not otherwise compensated.

Opinions Expressed Pink Button

Continue Reading

Sugar free Pumpkin Bars #SweetFuture

This is a Sponsored post written by me on behalf of Truvia® Natural Sweetener . All opinions are 100% mine.

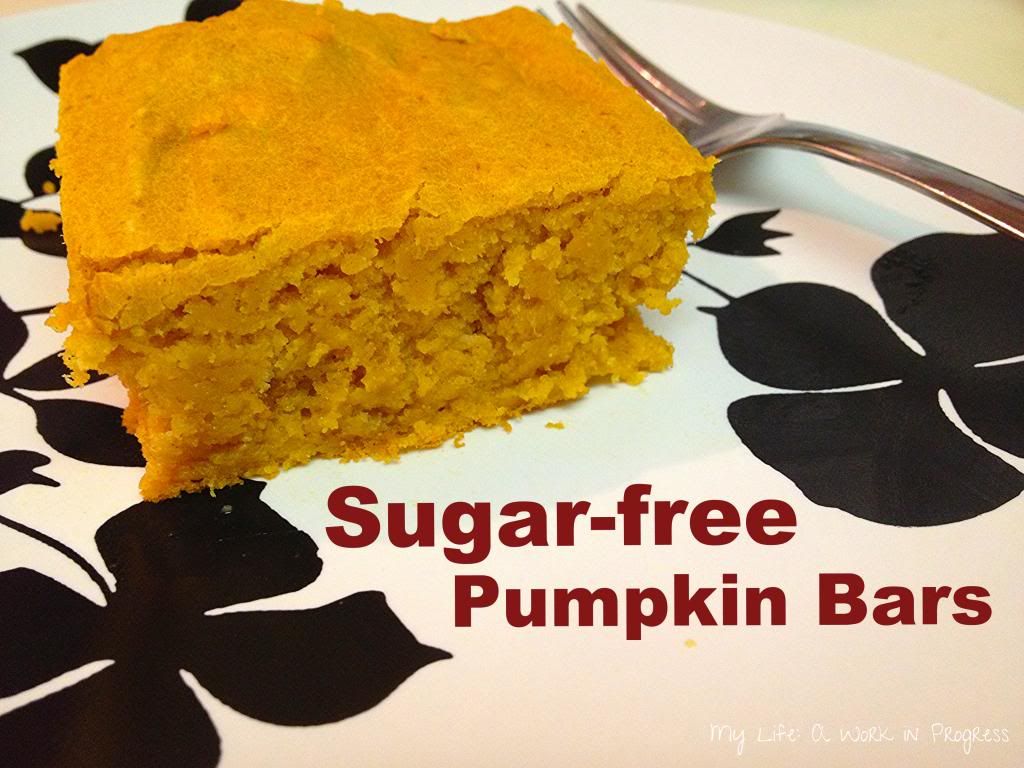
I’ve been more active in the kitchen lately, taking advantage of the fall produce now readily available, like squash and pumpkins. One thing I’ve been meaning to do is update last year’s pumpkin bar recipe and jazz it up a bit. These pumpkin bars are sweet and moist with nuances of ginger and orange. Yum!

Sugar-free Pumpkin Bars at My Life: A Work in Progress

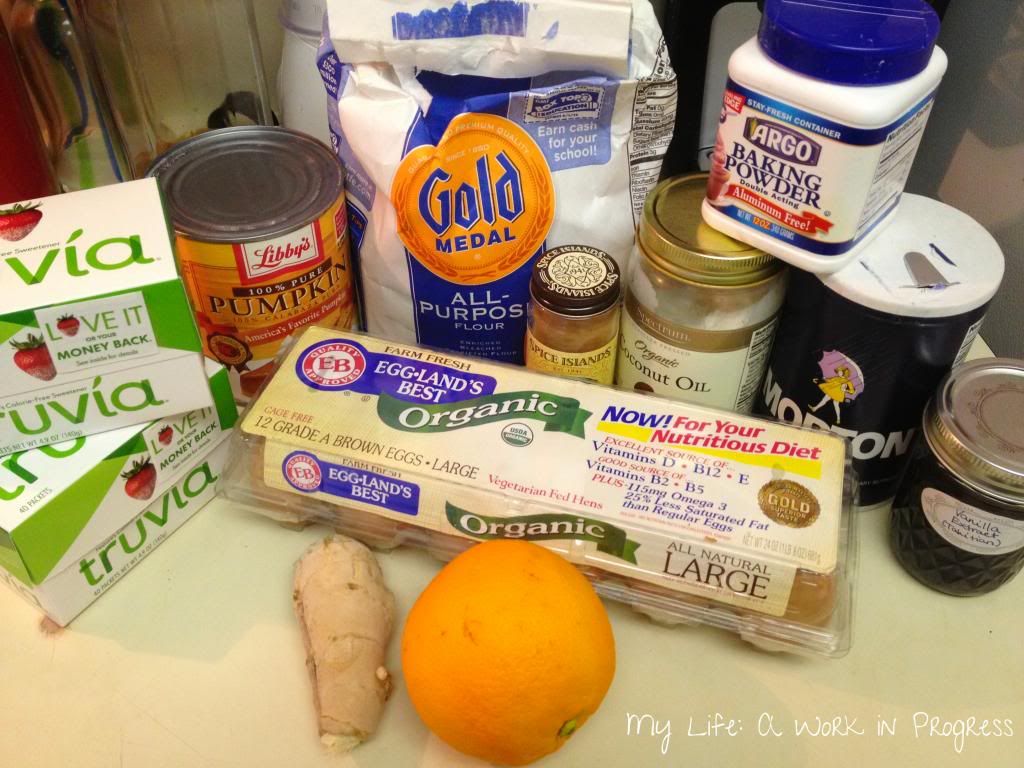
It may look like a lot of ingredients in the photo above, but it’s really not! Most of what’s pictured are seasonings to expand the flavor. The ingredients you need for these sugar free pumpkin bars are:

  • 15 ounces pumpkin puree
  • 4 eggs
  • 1/2 cup coconut or olive oil
  • 1/2 cup Truvia® natural sweetener (about 30 packets)
  • 2 cups all-purpose flour
  • 3 teaspoons baking powder
  • 2 teaspoons ground cinnamon
  • 1 teaspoon salt
  • 1 teaspoon ground ginger
  • 1 teaspoon vanilla extract
  • Zest from one orange

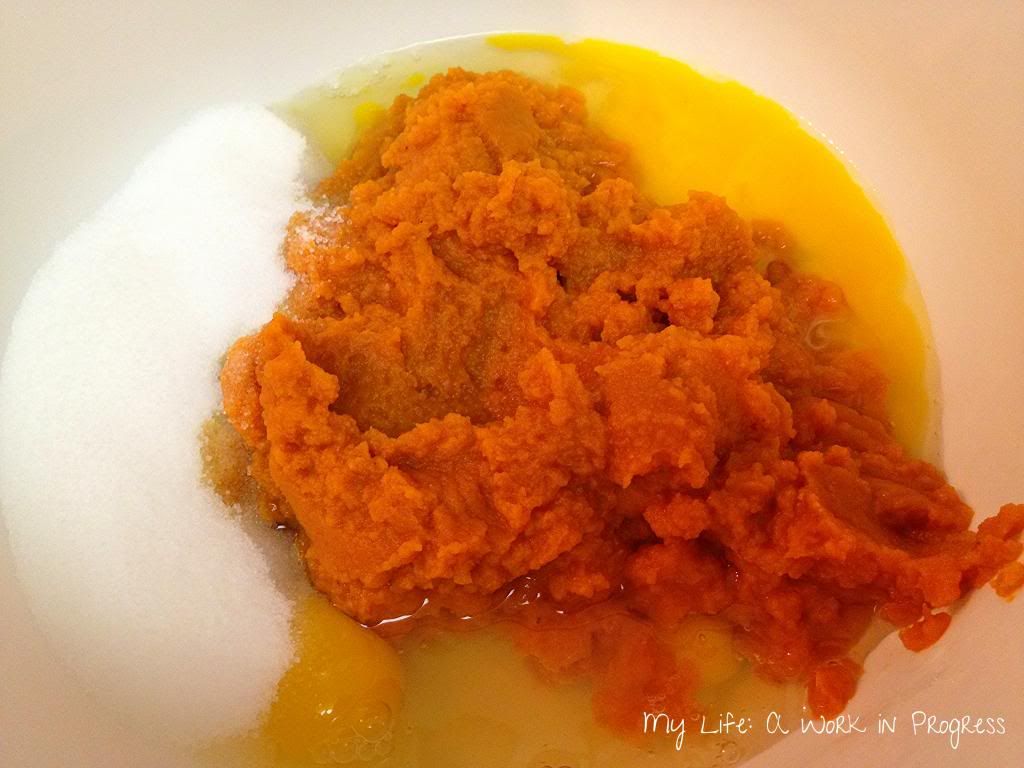
Step One:

Preheat oven to 350 degrees. Mix together your eggs, oil, Truvia®, and pumpkin.

 photo ebf223c0-eea0-444d-985e-7d2428aabc50_zpsc68a1cc9.jpg

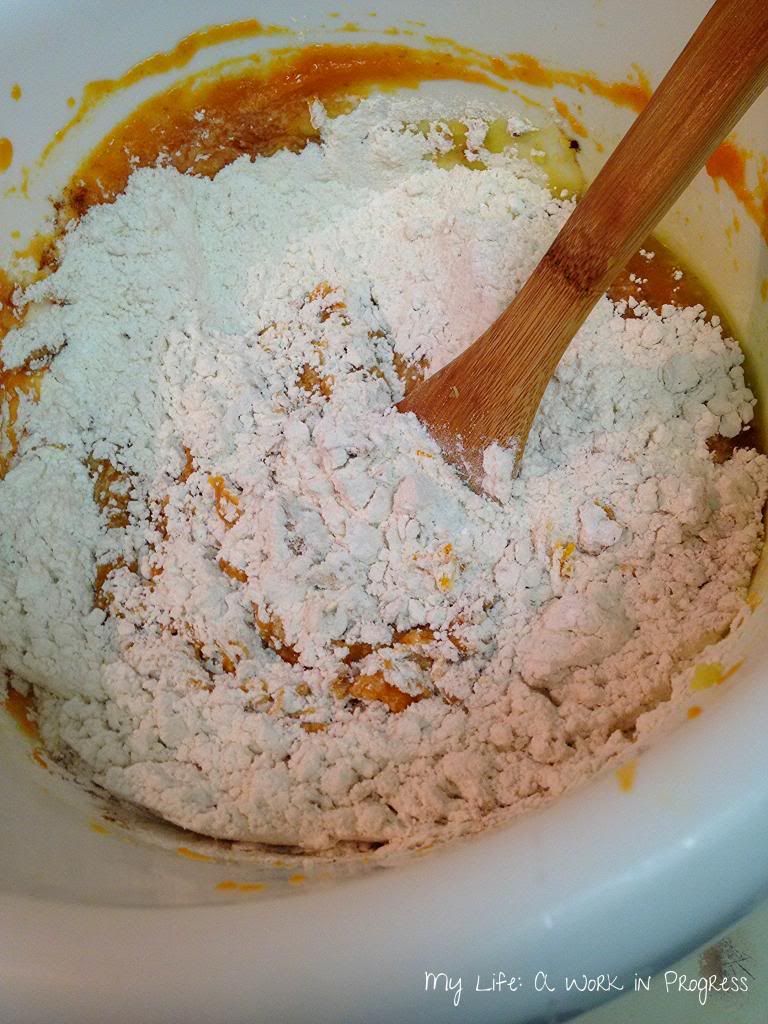
Step Two:

Add in the rest of your ingredients and mix together.

 photo 809e8ac5-b4f7-434b-aa86-2695069f0881_zps9402ca26.jpg

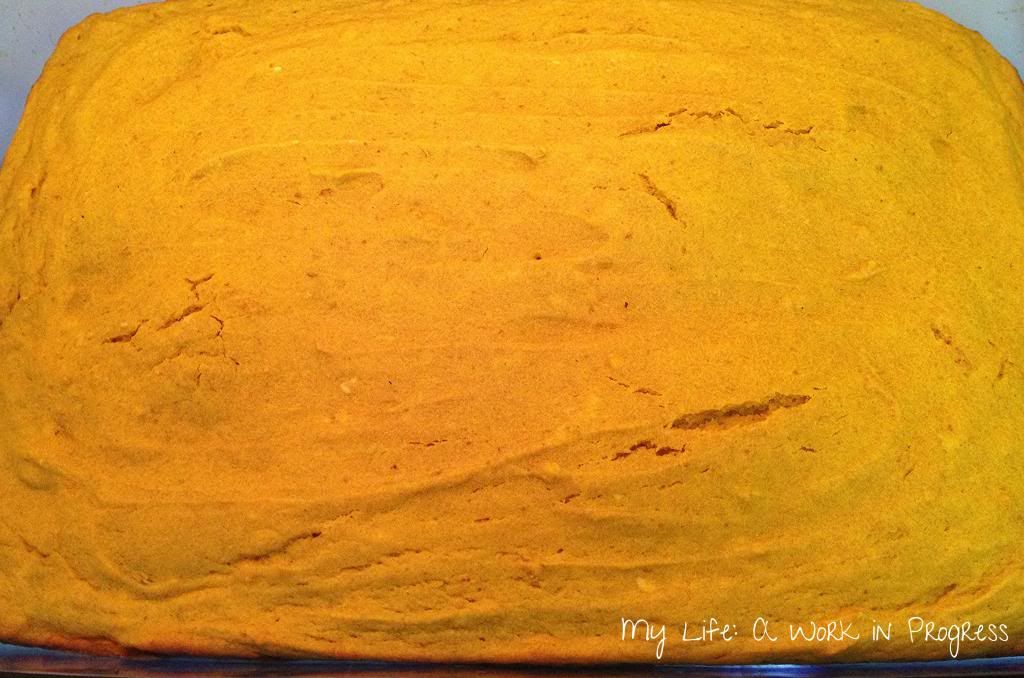
Step Three:

Pour mixture into greased 9×13 cake pan. Bake for about 25 to 30 minutes or until the middle has set.

 photo 84652810-d34c-44b7-ae51-de6eb59224a3_zpsd67d69cd.jpg

Step Four:

Let cool, slice, and enjoy!

 photo 1c750143-98a4-4702-a82f-2e128e1c590d_zpsa652db9b.jpg

The Truvia® brand has partnered with World Food Program USA to help poverty-stricken families in Bolivia. More than 40 percent of Bolivian families struggle on a daily basis to provide food for their children. Additionally, many families suffer from health issues caused by the widespread use of primitive stoves.

The “Sharing a Sweet Future” charitable initiative has already provided nutritionally-balanced school meals to nearly 35,000 Bolivian school children.Learn even more about the Truvia® brand’s initiative here.

Want to help? Here are some ways to learn more and to help spread the word about this initiative:

    1. Share the Truvia® brand’s video on Facebook to support their Sharing a Sweet Future initiative. $1 feeds 4 kids.
    2. Follow Truvia on Twitter and tweet about the initiative.
    3. Share the Truvia® brand’s video to support their Sharing a Sweet Future initiative. $1 feeds 4 kids.
    4. Check out the Truvia® “Sharing a Sweet Future” Facebook App.

Visit Sponsor's Site

Continue Reading