Last week I posted about my experiences making a pocket diaper for my son. I learned from the mistakes I made and applied them to an all-in-one diaper. If you’re unfamiliar with what exactly an all-in-one (AI1) diaper entails, read this post. This style of cloth diaper is the closest to a disposable.
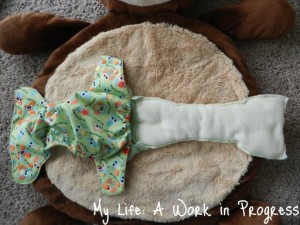
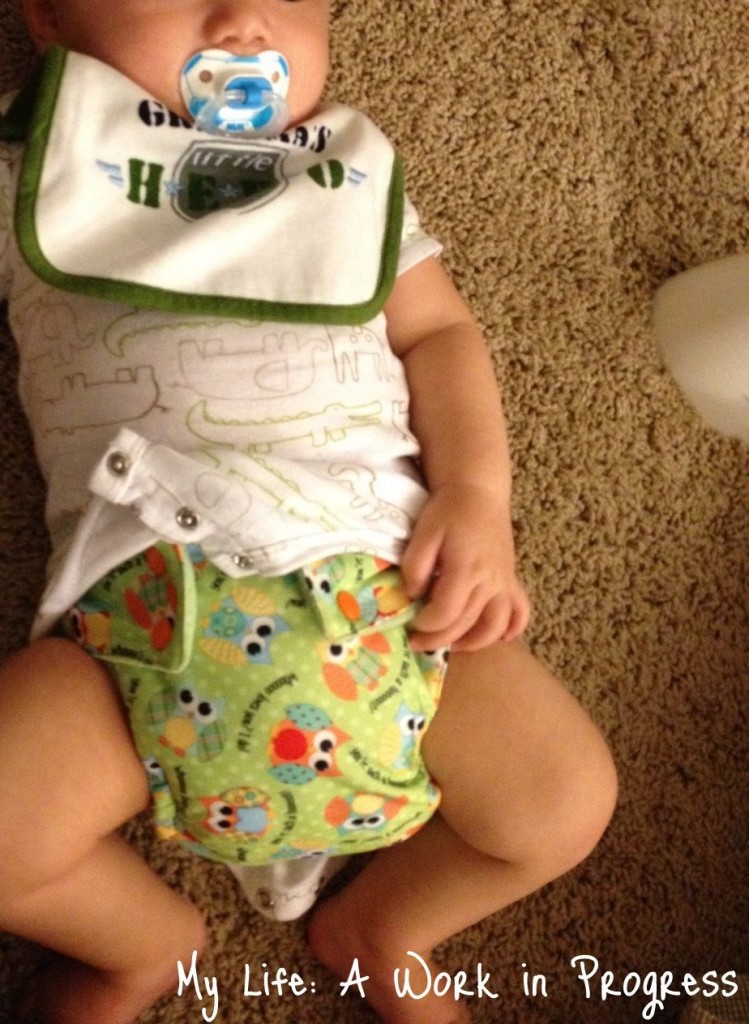
The pattern was similar to the pocket diaper I sewed, but I added an attached insert. There’s still a pocket, so I can add absorbency, if I want, but the diaper can be used as is. Just snap the diaper on the baby, and he’s good to go!
Click on Photos to Enlarge
This medium-size diaper fits babies approximately 18-28 lbs.
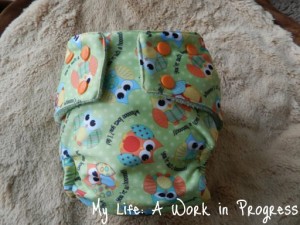
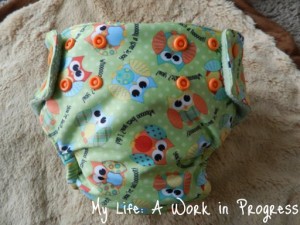
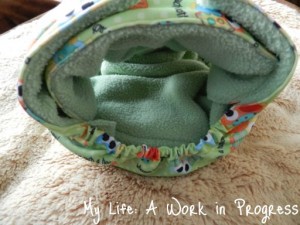
This AI1 diaper features a PUL outer and fleece inner. I upcycled a fleece blanket to make the lining.
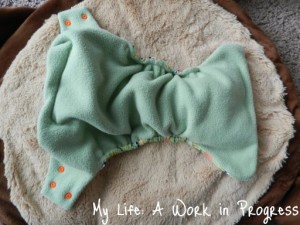
A note on fleece: micro-fleece is wonderful for the inside layer of a diaper since it wicks moisture away from skin. However, regular fleece (blizzard, anti-pill) can do the opposite and repel moisture. Since I’d used pieces of this particular blanket before to make a stay dry insert, I was confident this piece of fabric would allow the liquid to pass through into the insert and keep the moisture off my son’s skin.
The pattern instructions called for two inserts to be stacked on top of each other and both sewn into the diaper. I think the bamboo batting I used for inside of the insert must have been much thicker than what was intended for this project, because there was no way I was getting both inserts sewn into the diaper. They were too thick. I also had difficult sewing just one insert to the lining, probably because the regular fleece I used is quite thick. I ended up attaching the insert on one of the shorter ends, instead of sewing it all the way down lengthwise.
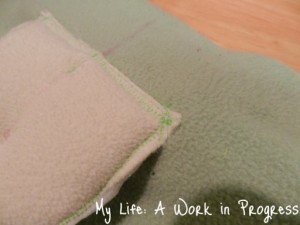
Besides the insert difficulties, I struggled with one of the legs. I’m not sure what happened, to be honest, but somehow it turned out twisted:
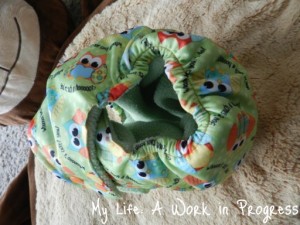
I decided to take the top stitching out around the legs and resew. The fewer holes in PUL, the better. But with the way the leg is above, it wouldn’t maintain a waterproof seal around my son’s leg anyway, so I figured I might as well try to fix it.
It was slightly improved afterwards (but still looking jacked up):
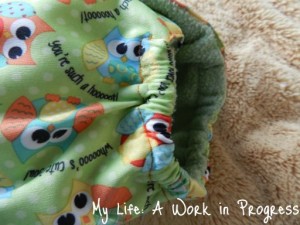
My best guess is that it has something to do with how I originally sewed the elastic onto the fabric. Next time, I’ll try be more careful while sewing the elastic on.
I decided to only put elastic on one side of the pocket, the back side of the diaper. This way if I add another insert into the diaper for extra absorbency, it will theoretically come out of the pocket on its own in the wash.
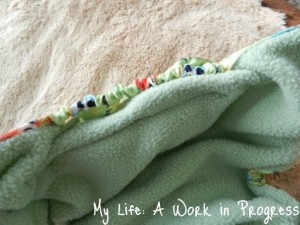
I love how soft, squishy, and absorbent-looking this diaper is!
Tips:
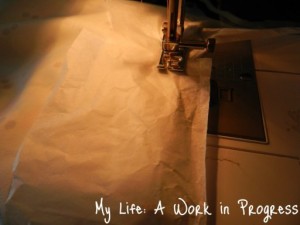
PUL can be very difficult to sew with, since it doesn’t feed well through the machine. Place some tissue paper over it (or under it), and this will solve the problem.
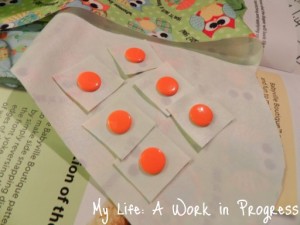
When placing snaps, always reinforce the PUL under the snap. You want this diaper to be completely waterproof. You can either glue an entire yoke of PUL fabric on the inside, before placing the snaps; or, you can just use small squares of fabric. These can be glued on as well, if you want them to lie flat.
There you have it! Next up on my sewing agenda: a cotton-topped pocket diaper with a hidden PUL layer.

6 Comments
You might have just sewn a little too close to the elastic 🙂 Hard to tell from the pics though <3
That’s probably what it was! I made another diaper yesterday, and I was very careful to steer clear of the elastic while topstitching around the legs, and they turned out wonderful this time!
Just tack it down on either side?
I’ve found that NOT top stitching around the legs it creates a softer and closer fit around baby’s legs.
Hi Maira, thanks for the advice! I’ll try that next time.
My grandma made all of my brother’s diapers out of Grandpa’s old pj’s. 🙂 They were flannel. I love your design.