“Eat Your Oats”- Four delicious, easy oatmeal recipes #healthy #glutenfree

My co-writer, Ruth, is back today, bringing some of her yummy oats recipes! For those of you who don’t eat gluten, oats are themselves gluten-free but often cross-contaminated with wheat, barley, or rye before they reach your table. Several companies like GF Harvest, Holly’s Oatmeal, and Bob’s Red Mill sell oatmeal that is tested to be uncontaminated. The oatmeal should be labeled as “gluten-free.” If you’re a diagnosed celiac or suspect you may be, always consult with your doctor first. – Elisebet 

Oats, or at least oatmeal, is one of those comfort foods that should bring to mind family breakfasts around the table on winter mornings. In some cultures today, as well as earlier history in others, it’s considered a holiday treat or dessert!
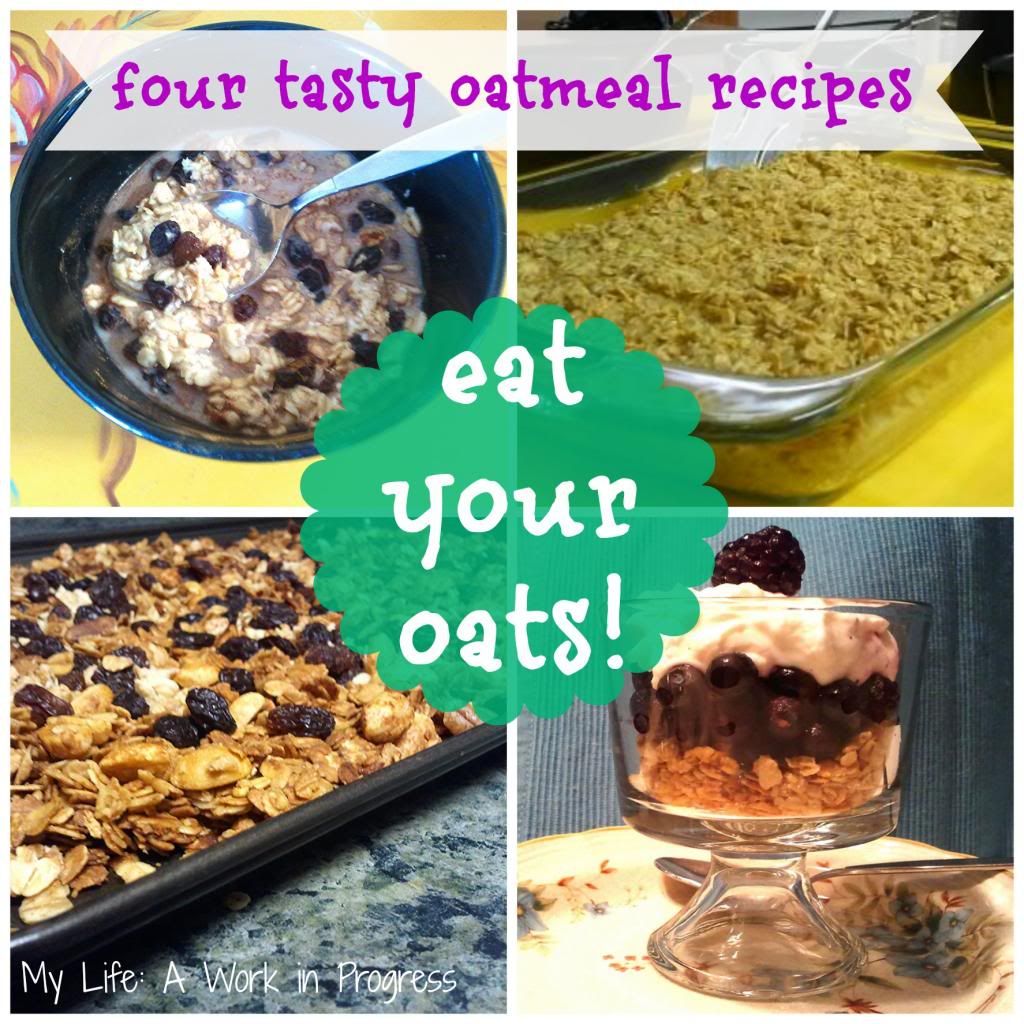
Regardless of your memories or experience with this “hearty” grain, it is one of the heart-healthy foods. That means it’s low in saturated fats, low in cholesterol and sodium, and has no trans-fats. Plus, oats are high in dietary fiber and valuable minerals. This grain has been cultivated on our North American shores since the time of the Puritans.

Oats have always been a staple in my home. Cookies and muffins are well-known favorites—both make great breakfasts for the family on-the-go. There are a myriad of other possibilities, however, so try some of the recipes we’ve provided. Experiment and create variations that fit your family’s tastes. Get more of this valuable grain in your diet. Eat your oats!
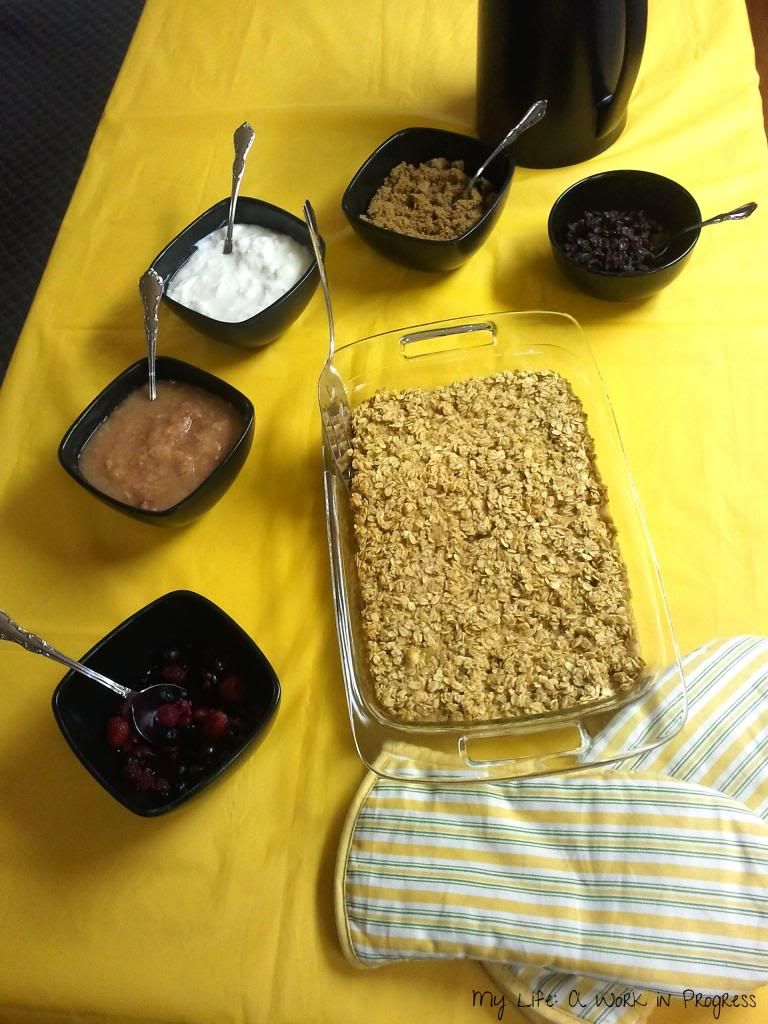
Basic Baked Oatmeal

  • 6 cups old fashioned oats
  • 1 cup brown sugar
  • 1 T. baking powder
  • 1 cup oil
  • 2 cups milk
  • 4 eggs
  • 1 t. salt (optional)
  • 1 t. vanilla extract (optional)

Beat the eggs, add the oil and milk; stir the baking powder into the sugar and then add to the wet ingredients with the oats.  Mix together well and pour into a greased 9×13 inch pan and bake for about 25 minutes (toothpick should come out clean) at 350 degrees. Spoon into dishes (or cut into squares first); add milk or yogurt and fresh fruit, as desired.

Once you’ve got the basics down—start experimenting with what your family likes best. Replace part of the oil with applesauce. Reduce the sugar or try honey or maple syrup instead as a sweetener. Add raisins, nuts, blueberries or other fruit to the mix before baking.

Granola Yogurt Parfaits

Kids love making these, but I’ve also found them my favorite company breakfast dish served alongside a quiche. If you can find mini-trifle glasses (I purchased mine from Walmart), everyone can make their own and include as much or as little of any ingredient that they desire. Alternatively, layer the ingredients in a glass bowl and let everyone dig in. It’s a fun, tasty dessert or breakfast that is pleasing to the eye.

  • 2 cups of granola (recipe included)
  • 2 cups yogurt (I like to purchase non-fat, plain Greek yogurt with live cultures)
  • 2 cups berries (fresh or thawed frozen)
  • Honey for sweetening the yogurt layer (optional)
  • Applesauce (alternative to the fruit layer)

Makes four mini-trifle dish servings. Double the ingredients for a regular size trifle and make six layers instead of three.

Basic Homemade Granola (or Muesli*)

At least 5 cups of oats plus a total of 2 cups from the following:

  • chopped nuts
  • wheat bran
  • wheat germ
  • seeds (sunflower, sesame, pumpkin, flax)
  • wheat or barley-based purchased cereals such as a shredded wheat or wheat berry
  • spices (cinnamon, nutmeg)

At least 1/3 cup of oil plus a total of 2/3 cup from the following:

  • honey
  • molasses
  • maple syrup
  • peanut butter
  • brown sugar (2 T. fruit juice with ½ c. sugar)

After baked and cooled, add any dried fruits desired.

Stir the liquid ingredients together, add to the dry and mix thoroughly. Bake at 300 degrees on a large greased cookie sheet (or two 15×10 inch), stirring frequently, for 30 minutes or so until oats are dry and just golden—don’t burn them; though if you prefer a crispier granola, baking will be slightly longer. Allow the mixture to cool, add dried fruit, and store in a covered container. You may be able to leave your granola at room temperature depending upon your liquid ingredients and how crispy; otherwise, store in the refrigerator.

*For muesli (uncooked oat cereal), use the dry ingredient proportions listed for the granola, then add 1 cup of dried fruit and ¼ cup brown sugar (no liquids and no baking). Store in a sealed container in the fridge or keep at room temperature for a month.

Overnight Oatmeal

Usually the overnight oatmeal recipes that you find are for steel cut oats which work for a Crock-Pot make-the-night-before breakfast. Regular oats, however, generally cook too fast for overnight Crock-Pot cooking. Of course, instant oats can be cooked in a microwave for a quick meal, but I like to use regular oats, and neither family-size nor single portion regular oats are that easy to microwave. I  have to keep turning on and off the microwave to get a creamy porridge consistency without the oats boiling over.

So, try this trick. Place ½ cup oats for each portion you desire in a bowl and pour an equal amount of milk over; cover and refrigerate overnight. In the morning add your flavoring. I like to use raisins and cinnamon without any sweetener. No additional milk or cooking is needed. The oatmeal has a lovely, creamy texture and, if you like, may be warmed up briefly in the microwave.

How do you like your oatmeal? What’s your favorite hot or cold breakfast?
Continue Reading

Review: Cook’n Recipe Organizer (Giveaway too! 3/6-16 US/CAN)

Disclosure: I got this product as part of an advertorial.

This was a tough review to write, because there’s so much to write about! I can’t possibly include everything, so I’m just trying to highlight what I found important to know. Simply put, the Cook’n recipe software allows you to manually type in and save your own recipes, as well as grab recipes from the Internet. It also helps you meal plan, prepares your shopping list, and shares nutritional information.

When I first opened the program, I was intimidated and thought the software would be difficult to use. It really only took me about 10 minutes to get the hang of it, clicking through and browsing tabs. If you hover your cursor over an icon a little box will pop up, identifying that icon. That helped. There are also video demos on the Cook’n website.

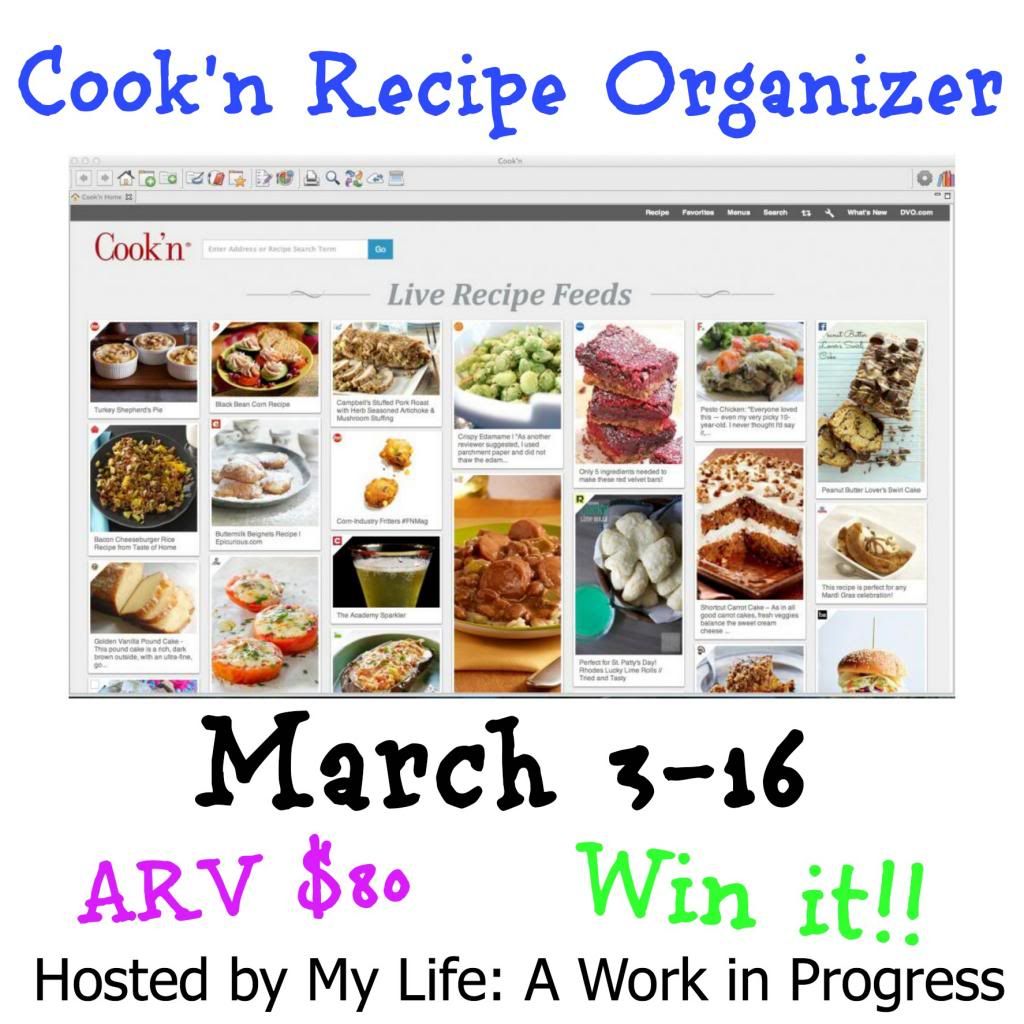
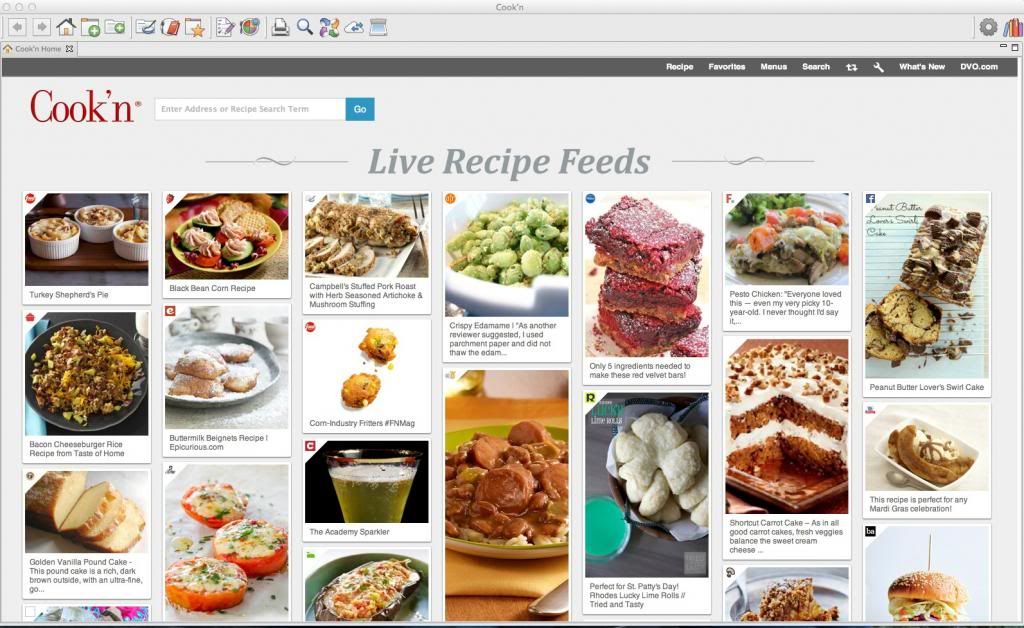
The recipes are arranged in specific categories: breakfast, desserts, main dishes, salads, sides, sandwiches, soups, and “my favorite recipes.” The software comes pre-loaded with dozens of recipes, but if you’re not sure what to make, Cook’n has a Live Recipe Feed to give you ideas. The feed shows recipes popular on the Internet. You also can search for a recipe from this page.

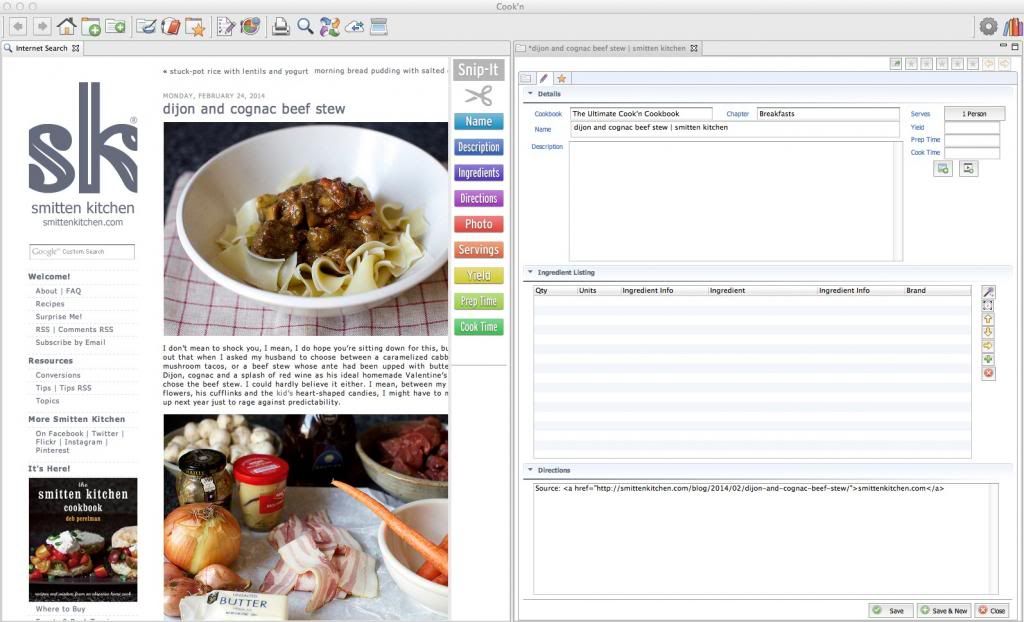
I searched “beef,” and found a recipe on SmittenKitchen.com that I wanted to save with my new software. Because of the way the Smitten Kitchen website is formatted, the recipe won’t automatically import into Cook’n. But that’s why Cook’n has a Snip-It bar. I can use that to move portions of the recipe into my Cook’n software. For example, I just highlight the ingredients on the Smitten Kitchen recipe. Then I click “Ingredients” on the Snip-It bar. Cook’n then immediately imports the ingredients into my new recipe card. It’s really easy! Just make sure you save any recipes you import, and into the right category.

Use the “Snip-It” bar to import recipes from blogs.

The importing or “capture recipes” option did work with MyRecipes.com, FoodNetwork.com, and Food.com. No need for the Snip-It bar; Cook’n just automatically imported the recipe when I clicked the icon. I’m sure there are other recipe sites this feature will work with too, but these three are the ones I tried.

Besides typing in your own recipes or manually importing recipes off the web, you can also buy Cook’n compatible cookbooks off their website. Download and import them directly into your Cook’n library.

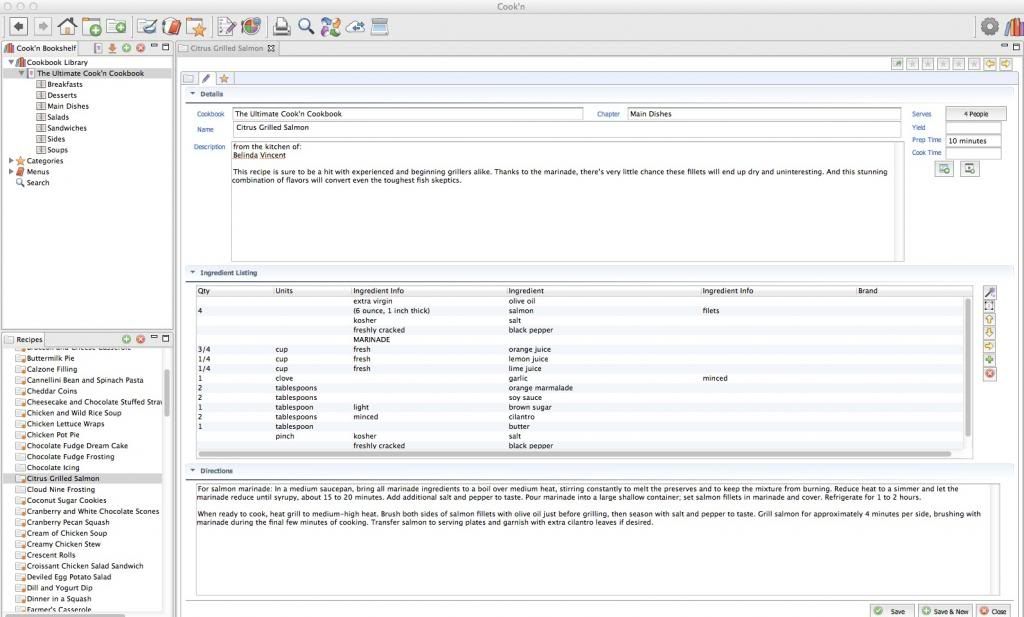
Edit mode

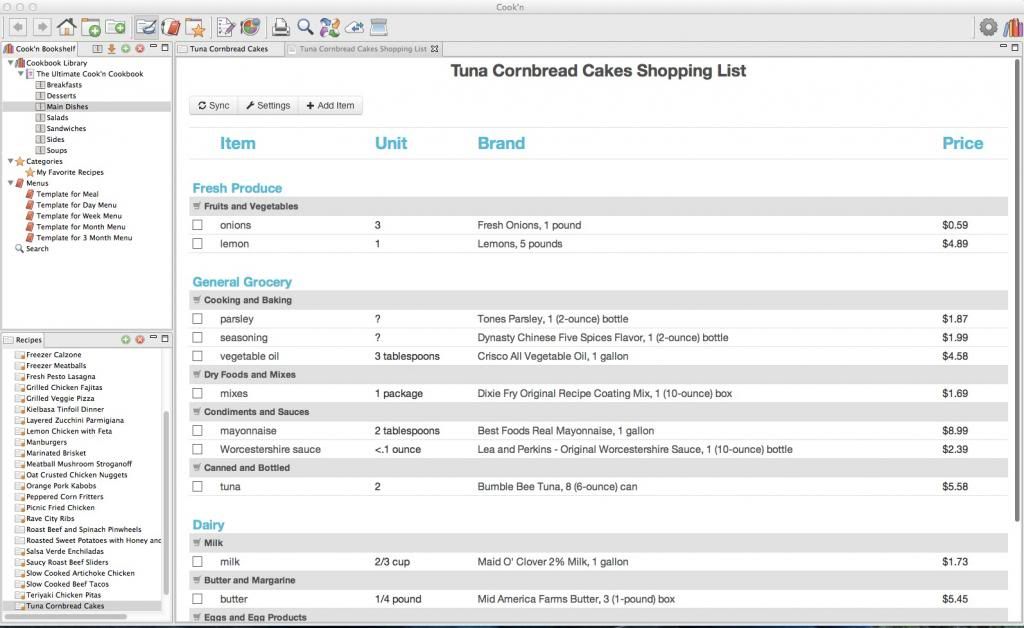
Cook’n also prepares your shopping list and determines nutritional data, even for the recipes you download off the web! Just make sure you have the right number of servings in the recipe info, or your nutritional value is going to come out skewed. (I was confused for a minute why my tuna burger had more than 1,700 calories! I had the servings set to 1, instead of 4.)

There are a few other things I want to mention. You can scan your paper recipes into Cook’n. The software won’t be able to read the nutritional info or create a shopping list, but at least you’ll have all your recipes in one central location. Also, print your recipes from Cook’n or create a family cookbook to be printed. (Wouldn’t that make an awesome present for your son or daughter who’s moving out?) And don’t forget, (I know I mentioned it briefly at the beginning), but this software can also help you menu plan: daily, weekly, monthly, or even by 3 months at a time. Cook’n also has a cloud. After creating an account, you can upload your recipes to the cloud (could take minutes to hours, depending on your files); then you can access the recipes from your mobile devices.

I’m really impressed by this software. I have recipes scattered all over the place, on the web and my countertop. This is an easy way to bring them all together in one location. I also love the idea of creating a family cookbook of favorites. And as someone who monitors the nutritional data of nearly everything I put in my body, I love that this software does it for me. I used to sit down with a calculator and determine calories and saturated fat, etc., on my own.

Both the download and the CD are currently $79.95 each, so I’m glad I received a free copy to review. It seems like a lot, but if you look at it as a family investment that you can use for years, that spreads the cost out. The program does have a lot to offer.

I think this software would make a great Christmas present too. I did notice that the cost to upgrade to the latest version is almost as much money as just outright buying the new version as a new customer. Maybe the upgrade is the same as the new software. Anyway, I would suggest to Cook’n to consider making upgrades a little more affordable to repeat customers.

To learn more about Cook’n, visit them on the web at dvo.com. You can also follow them on Facebook and Pinterest for giveaways, coupon codes, and recipes.

Want to win a free download?

Giveaway:

Thanks to Cook’n, I’m giving away one free download of the Cook’n Recipe Organizer version 11. This giveaway runs from March 6-16, and is open to US and Canadian residents. Please read the full terms and conditions, listed below. If you agree, keep scrolling down and enter to win!

Terms & Conditions: Sweepstakes open to residents of the US and Canada (excluding Quebec). Must be 18 years or older. Void where prohibited by law. Two entrants allowed per household. Odds of winning depend on total number of eligible entries received. Once winner has been selected and emailed, winner will have 48 hours to respond or new winner will be selected. If winner is Canadian resident, he or she must answer skills question before receiving prize. Winner’s name may be posted on this blog and other social media and websites. My Life: A Work in Progress is not responsible for prize fulfillment. Sweepstakes not associated with Facebook or any other social media platform. Entrance into the sweepstakes indicates acceptance of these terms and conditions.

Note: I received one or more of the products mentioned above for free using Tomoson.com. Regardless, I only recommend products or services I use personally and believe will be good for my readers.

Opinions Expressed Pink Button

Continue Reading

Make your own breadcrumbs- It’s healthier!

Breadcrumbs or panko are a staple in my kitchen. I should point out that the two aren’t exactly the same. Panko is a Japanese style of bread crumbs, made from crustless bread. But I use both panko and regular breadcrumbs for the same purposes, so I’m going to talk about them interchangeably in this post.

How do I use them in my kitchen? Well, tiny breadcrumbs are great as a binding agent for veggie burgers, quinoa burgers, sweet potato burgers, meatballs, and so on. They also work well as a breading for fish or chicken. In the past, I just kept a shelf-stable container in my pantry and would reach for it as needed.

This last October, I participated in an Unprocessed Food Challenge. Since I already eat mostly unprocessed* foods, I initially didn’t believe it would be much of a challenge for me. I went about my daily cooking, without giving the challenge much thought (I know; I was being cocky).

But then one day, I was cooking dinner and decided to peek out of curiosity at the back label on my Progresso Plain Bread Crumbs before using. I figured it couldn’t be that bad…it’s just breadcrumbs…but I had better check just in case, since I was participating in the challenge.

I was shocked!

In my mind, breadcrumbs shouldn’t have over 30 ingredients (many of which I can’t pronounce), including high fructose corn syrup and corn syrup and honey and molasses and sugar. I get that preservatives are used for shelf-life. I understand that we need to have foods that are shelf-stable for a number of serious reasons (like natural disasters). I also realize that some of the “chemical-sounding” words in the ingredient list are actually (synthetic) vitamins that have been added back into the flour to enrich it. But really? That’s the best they could do for breadcrumb ingredients?

Before buying a container of food that logically should contain minimal ingredients, check the back. In most circumstances, fewer ingredients is better, so how many are there? What are they?

Another option is to make your own breadcrumbs. If you have bread that’s going stale, use your food processor to grind the bread up into breadcrumbs (and homemade bread is the best choice in this case, otherwise you run the risk of your breadcrumbs still being full of junk). Just tear up your bread into chunks, toss into the food processor, and pulse for about a minute, until they all have a fine consistency.

These homemade bread crumbs can be frozen in a sealed container. Just reach right in and dig out what you need, when you need it. Making your own breadcrumbs is also a great way to use up stale bread and save some money!

My bread crumb experience was a wakeup call to me, that I hadn’t been eating as well as I’d thought. I do occasionally use a can of soup, gravy mix packet, pre-made pie crust, etc., in my cooking, but when I do so, I know that I’m using processed foods. The shock was realizing that unhealthy foods could be hiding in my kitchen. What do I reach for, thinking it’s a healthy choice for my family, when it’s really not?

This year I challenge you to read those labels more often. Don’t assume something must be healthy. Check and know for sure!

Have you ever been surprised after reading ingredient labels? What foods do you try to make from scratch rather than buy prepackaged and processed?

*When I’m talking about “processed” foods being unhealthy, I don’t include foods like nuts, milk, oats, olive oil, cheese, etc. All of these foods are processed to some extent, but are still healthy, at least in moderate quantities. When I say “processed” foods, I’m generally talking about your prepackaged meals like Hamburger Helper, sugary cereals, hot dogs, pre-formed burgers, french fries, etc. These foods are heavily processed, and the ingredient lists are usually a little scary.

Compensated Pink Opinions Expressed Pink Button

Continue Reading
1 4 5 6 7 8 22