Rice Krispies Easter Egg Treats

This may sound crazy to you, but I have never made Rice Krispies treats until now! My parents were health nuts long before it was popular. To give you an idea, I had my first chocolate bar when I was nine; it was so rich, I almost threw up afterwards. We rarely had salt or sugar in the house. I think the only times we did were when Mom was making something special for guests or a church potluck. We definitely never made Rice Krispies.

I wanted to make a special Easter-themed treat for Baby J, but baking with my oven is hit or miss. It had to be something no-bake, and eventually these Rice Krispies Easter Egg Treats crossed my mind. They are very easy and quick to make.

Rice Krispies Easter Egg Treats- My Life: A Work in Progress

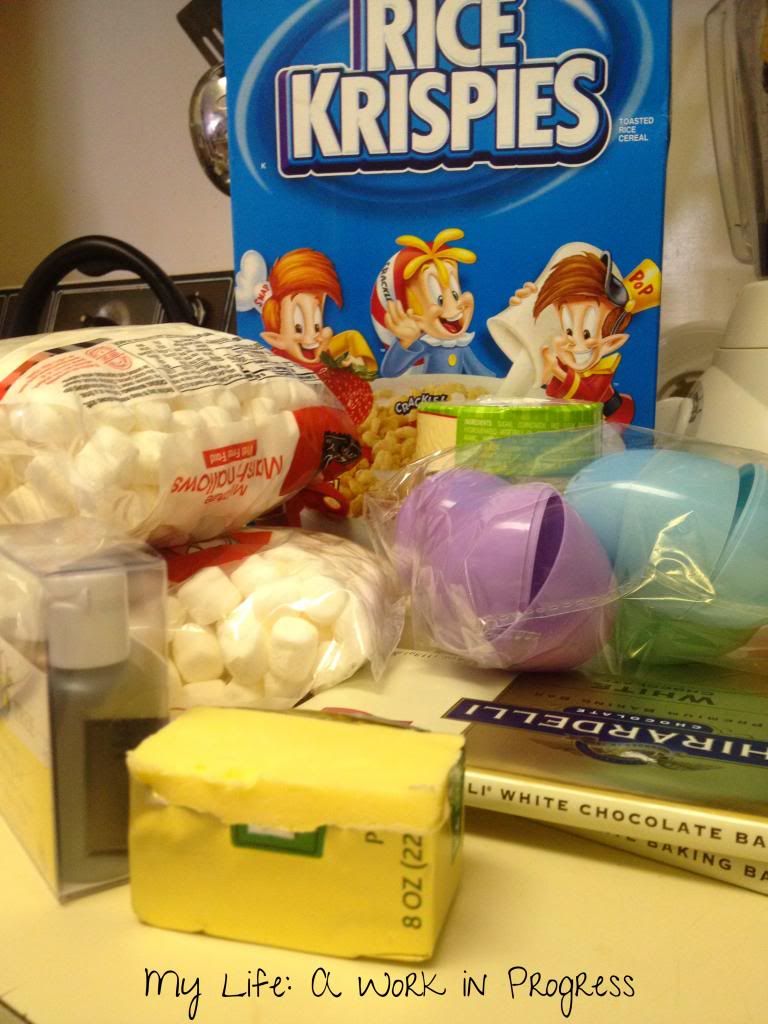
What you need:

  • 4 cups of mini marshmallows
  • 4 tablespoons of butter
  • 5 cups of Rice Krispies cereal
  • Empty plastic Easter eggs (washed and dried beforehand, since you never know where they’ve been!)*
  • White chocolate (optional)
  • Sprinkles (optional)

*I used large plastic eggs (I don’t have exact measurements, sorry), and the mixture filled up 10 of them.
Rice Krispies Easter Egg Treats- My Life: A Work in Progress

Directions:

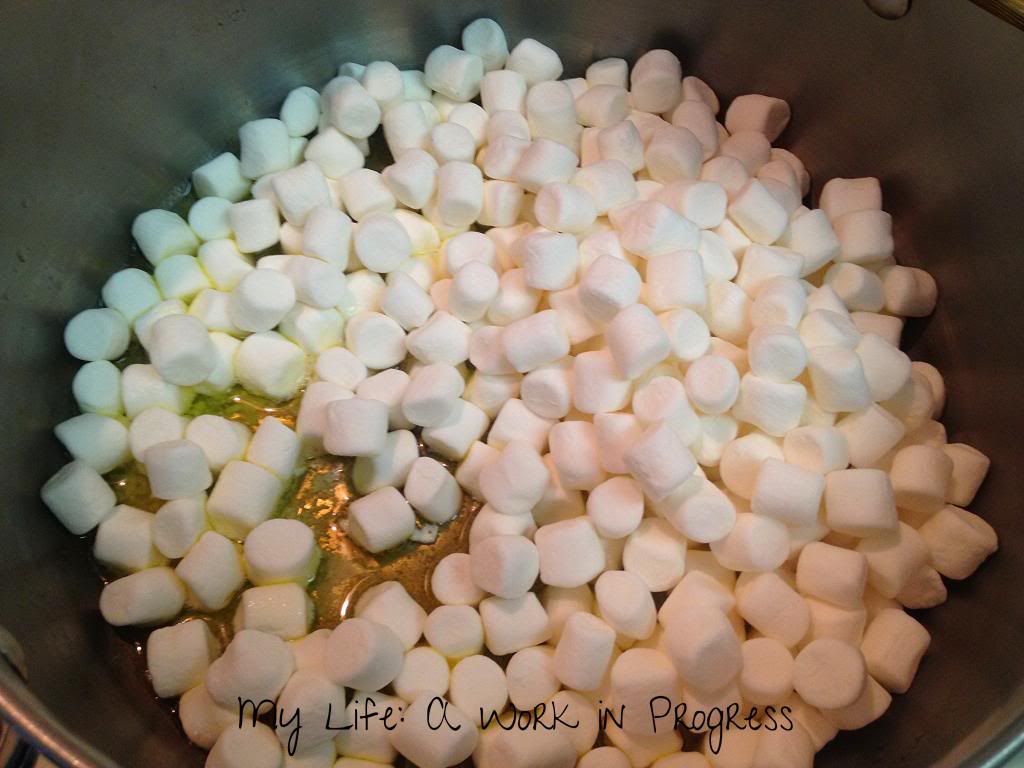
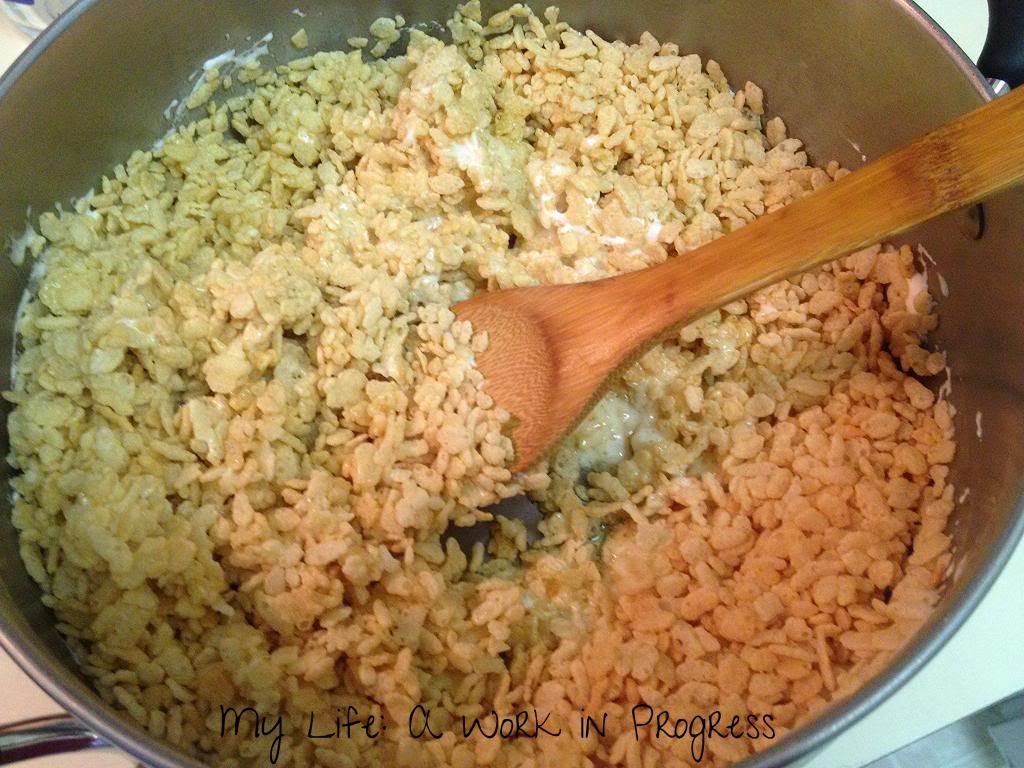
Place a large pot on the stove, with the burner at low heat. Melt the butter, then add the marshmallows in, stirring occasionally. Once the mixture is thoroughly melted and blended, turn off the burner and add the cereal. Stir.
Rice Krispies Easter Egg Treats- My Life: A Work in Progress

 Rice Krispies Easter Egg Treats- My Life: A Work in Progress

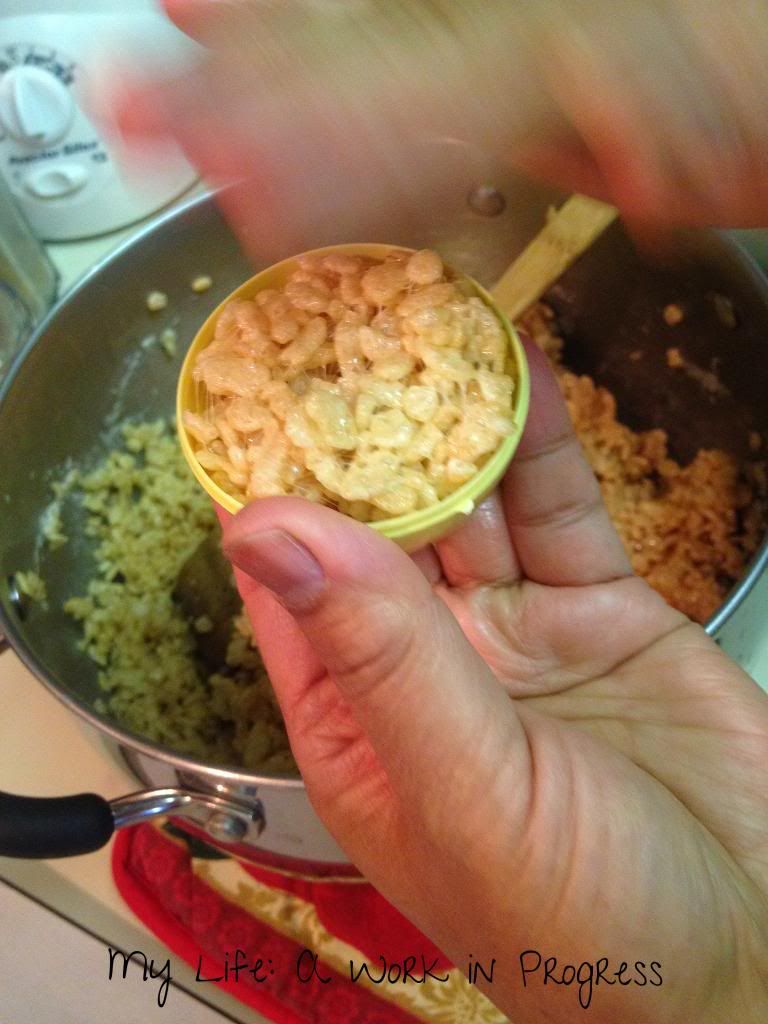
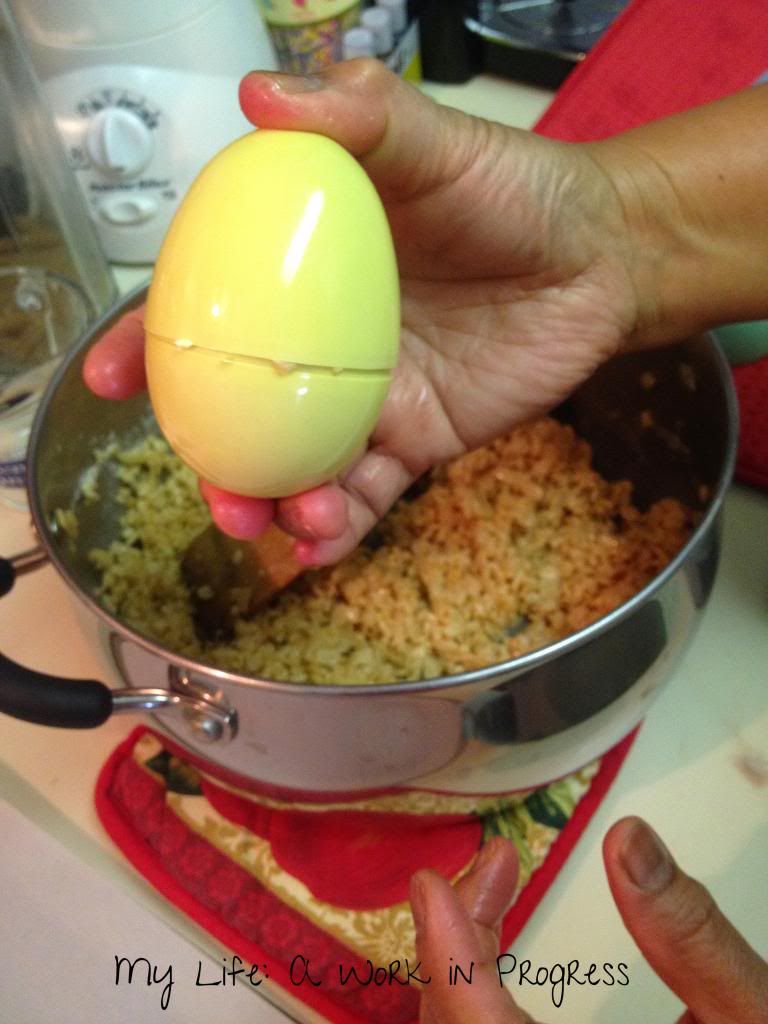
When the mixture has cooled enough for you to touch, grease the inside of a plastic egg with butter or oil. Stuff each side of the plastic egg with the Rice Krispies mixture; let the mixture overflow slightly. Then press the sides of the plastic egg firmly together, until it’s sealed. Let the plastic egg sit on a cookie sheet or the counter for about 30 seconds.
 Rice Krispies Easter Egg Treats- My Life: A Work in Progress

Rice Krispies Easter Egg Treats- My Life: A Work in Progress

 Rice Krispies Easter Egg Treats- My Life: A Work in Progress

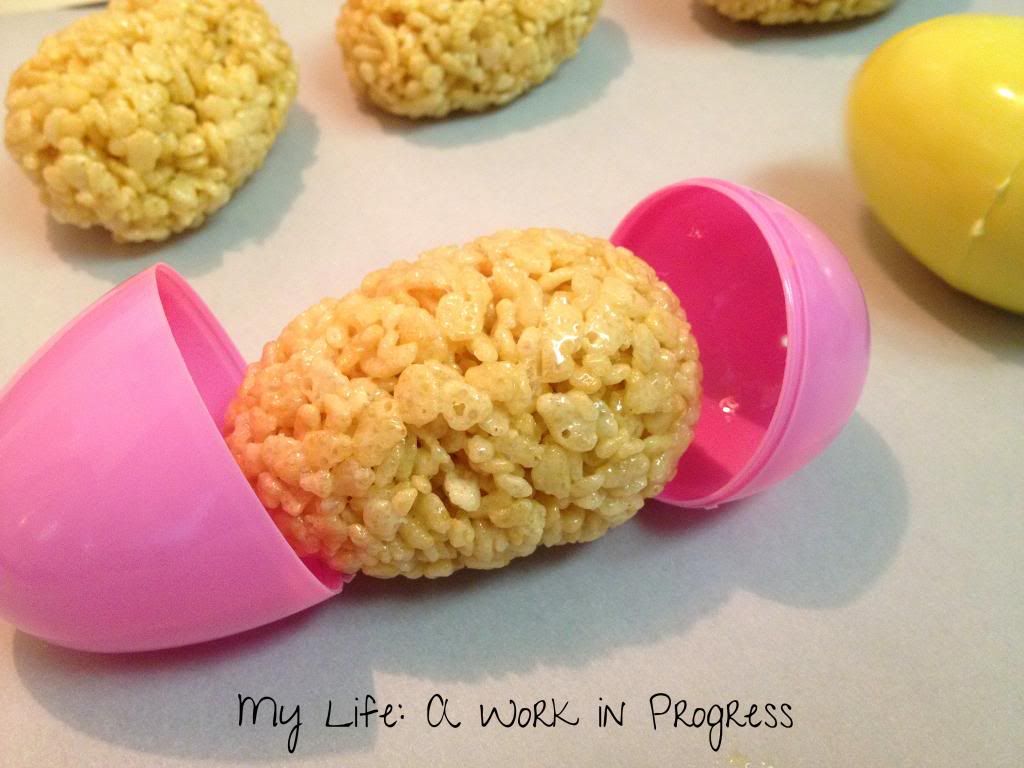
To remove the treat from the plastic egg, press your thumbs at the center of the egg, one on each side of the seam, and press gently until the egg pops open slightly. Then you can carefully pry the egg open all the way with your thumbnail or a fork prong.
Rice Krispies Easter Egg Treats- My Life: A Work in Progress

If at any point your mixture starts becoming too hard for the egg-shape to form, you’ll need to melt your mixture slightly on the stove top again. So work quickly! My mother in law and I were forming these as quickly as possible; many hands and small batches are best for this treat.

Rice Krispies Easter Egg Treats- My Life: A Work in Progress

Decorating:

These are cute just as egg-shaped Rice Krispies treats, but this is how I decorated mine:

I melted a block of white chocolate in the microwave at 50 percent power (30 seconds at a time). After dipping an egg in the melted white chocolate, I sprinkled Spring-themed cupcake sprinkles over top. Then I placed the finished and decorated Rice Krispies Easter Egg Treats, one by one, into an empty egg carton with the decorated side up. The carton then went in the fridge. After the chocolate was firm, the treats were ready to eat!

Other Decorating Suggestions:

  1. Mix crushed, small Easter-themed candies in with your Rice Krispies mixture, before you form the eggs.
  2. Use cookie icing to draw fun designs on your eggs.
  3. These eggs would also taste delicious dipped in melted milk chocolate.
  4. Or, dip the eggs in white chocolate that has been dyed with food coloring into pastel colors.
What yummy treats have you had lately? Do you have a favorite way to “dress-up” Rice Krispies treats and make them extra special?

It’s an Easter hop! Have an Easter-themed craft, recipe, or other post you’d like to share? Link up below! Family-friendly only, please.



Continue Reading

Overnight Oats

Have you made overnight oats yet? I’ve been making it for years, but noticed it’s been gaining popularity online recently.

Oats are high in fiber and can help lower cholesterol. They also contain protein as well as vitamins and minerals like iron and magnesium. And they are gluten-free too, provided you buy the right ones. Many brands of oats possibly come into contact with wheat, so if you need to eat GF, look for oats that have GF marked right on the package. Bob’s Red Mill and Trader Joes both sell GF-certified oats.

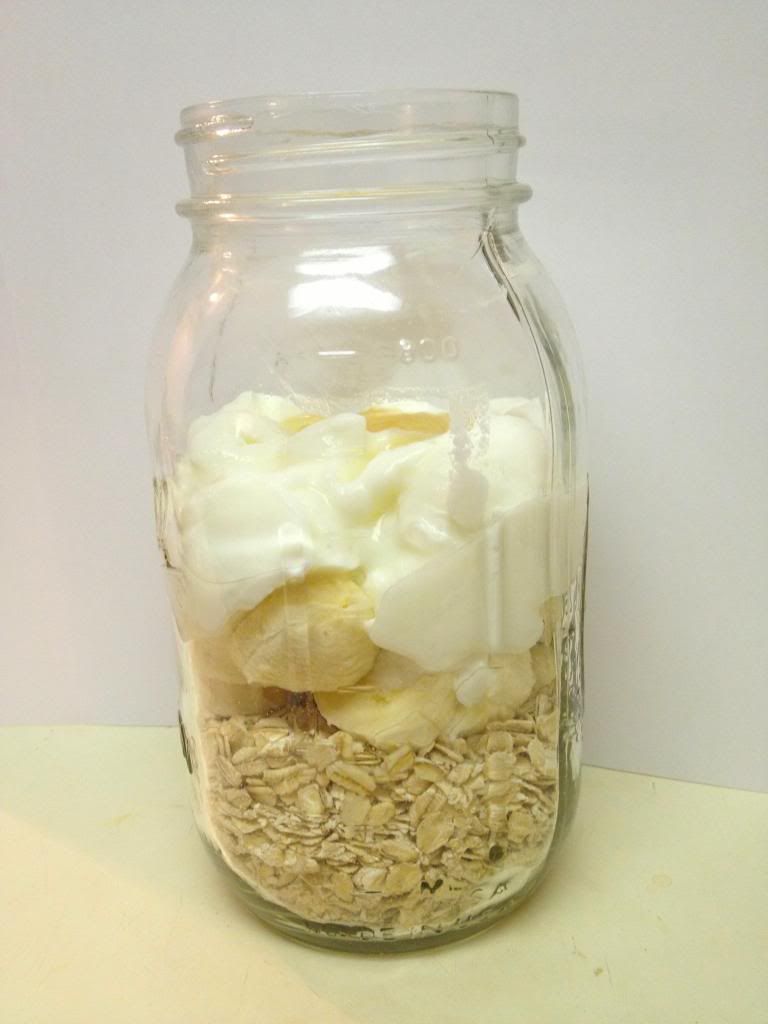
The overnight oats concept is really simple and customizable. The night before (or several hours before you plan to eat it) you mix your rolled oats with milk (or another liquid) and let it all sit. The oats soak up the liquid, soften, and expand, without any cooking involved.

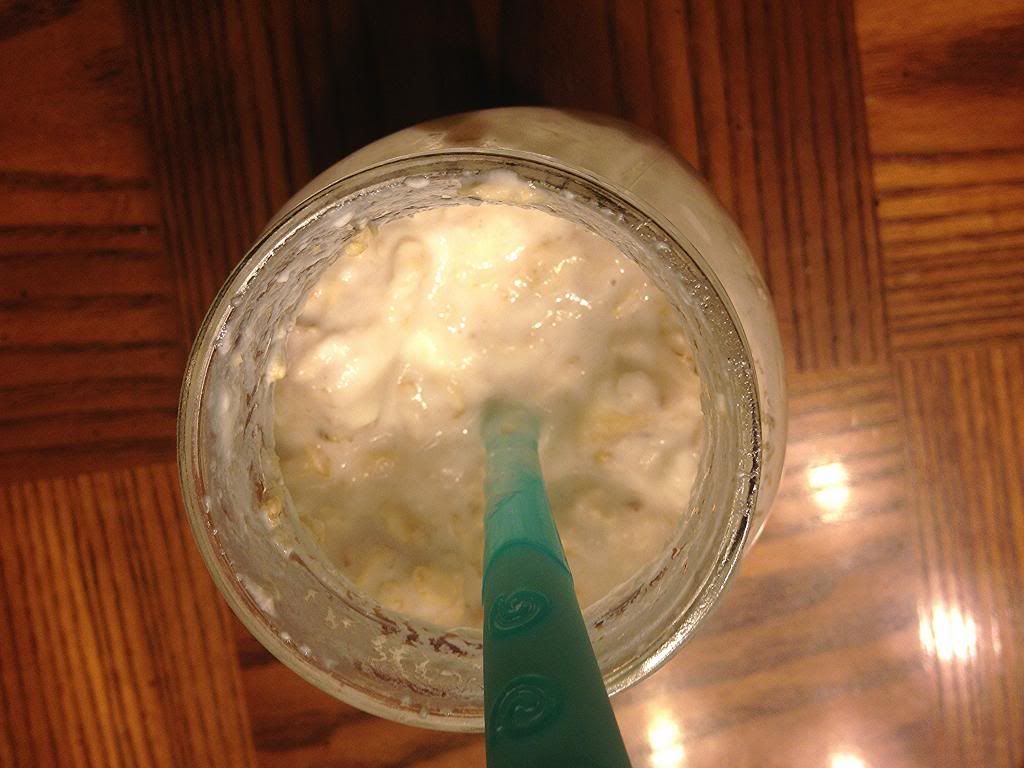
Before adding almond milk

You can take it to the next level by adding in yogurt, fruit, and spices like cinnamon or vanilla extract. It may take you a couple times to decide how much of each ingredient you want to use. For my overnight oats, I like to use a cup of rolled oats, half a banana (sliced),1 tablespoon of honey, and about a 1/2 cup of plain yogurt.

Whatever ingredients you choose, I recommend stirring the mixture well before letting it sit, and again before you eat it.

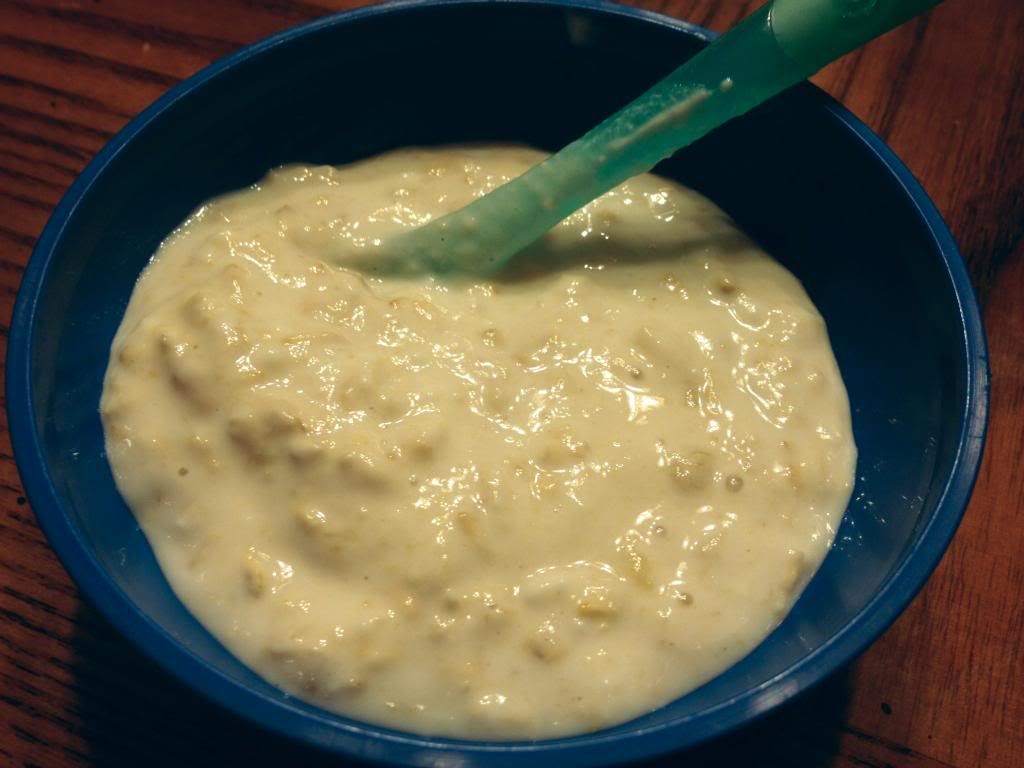
All ready to eat the next morning

A tupperware-type container with a lid will work for overnight oatmeal, but I like to use my mason jars for as much as possible, including these oats. Why? Because they look cool and are fun, obviously! 😉

Eat your oats straight from the jar…
or spoon/pour them into a bowl.
How do you eat your oats?
Continue Reading

Review: Butter Bell Crock (and a mini-scone recipe too!)

Disclosure: I got this product as part of an advertorial.

My co-writer, Ruth, is back today! She received the Original Butter Bell® Crock to review. Owned and distributed by L. Tremain, this crock allows butter to be kept safely at room temperature for up to 30 days and has been featured on The Food Network. Keep reading for Ruth’s review and scone recipe. -Elisebet

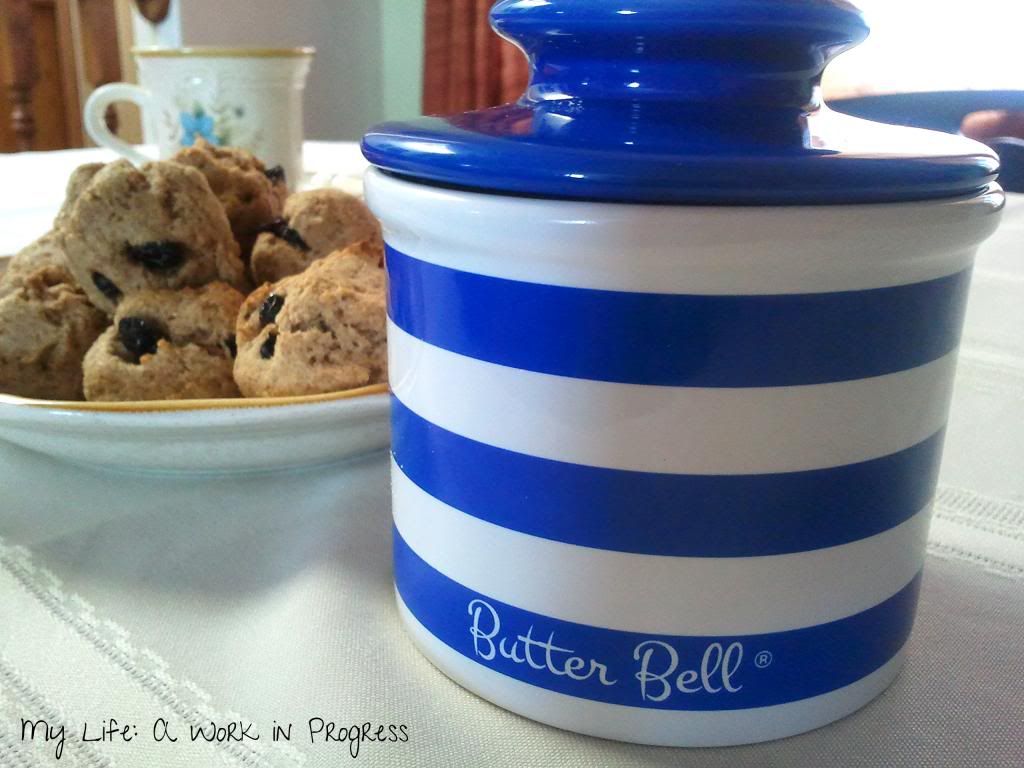
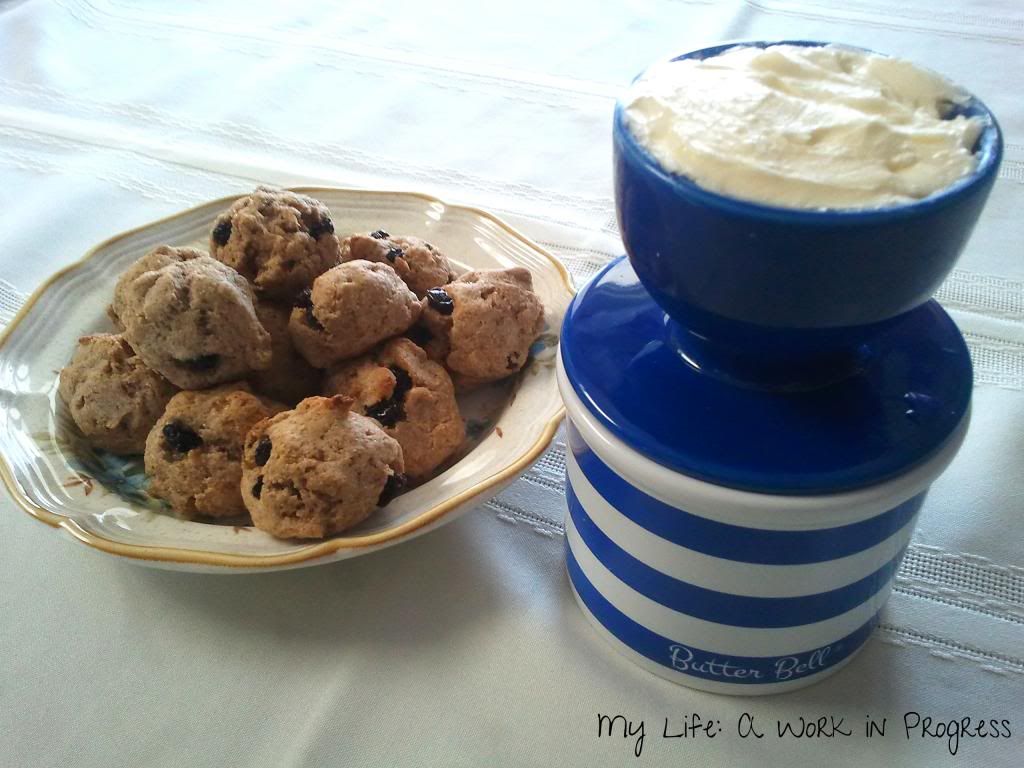
If you are serving real butter for that Sunday company dinner or on your breakfast toast, then you are going to want a Butter Bell® crock among your kitchen tools. The concept is simple. The crock’s lid is a one-half cup receptacle holding one stick of butter. The lid sits upside down into the crock bottom in which you have placed one-third cup of cold water. The lid forms a tight seal on the bottom while the cold water moves up around the sides of the immersed oval lid. The butter stays fresh and spreadable at room temperature, as long as you’re changing the water out every three days.

The Butter Bell crock has worked as advertised in my kitchen for the last few weeks. The instructions warn not to set the crock near a heating source or in direct sunlight. If your kitchen heats to an unusual temperature (no air conditioning in the summer in Florida?), then I could foresee a problem. The only inconvenience for me was squishing the stick of butter into the lid. Even that didn’t take much time, and if I had started with a soft butter as instructed, it probably wouldn’t have been an issue.

My husband told me he’s been using less butter on his bread since we’ve had this crock. Previously he’d cut butter from a cold slab in the fridge, but now that it’s soft and sitting out on the table, he’s able to easily get a smaller amount, and exactly what he needs.

When I checked online, there were more than 35 attractive colors and designs for the Butter Bell crock with prices ranging from $19.46 to $24.95. They are 4″ in height and 3.5″ in diameter. The crock is dishwasher safe and lead free.

From April 2, 2014 until May 15, 2014, receive a FREE butter crock for every two that you buy. Visit ButterBell.com for more info on this Mother’s Day offer.

Try butter from the Butter Bell crock with my mini-scones recipe:

Mini-Scones Recipe

Maybe these aren’t real British mini-scones, but just like the “real” scone—they’re great with an afternoon cup of tea or coffee. They taste good alone or with a little something on the top; and they’re not too sweet. Even better than the “real” scone—these are easier to make.

Ingredients:

  • 2 cups flour (white or whole wheat or mixture—see note below*)
  • 3 teaspoons baking power
  • ½ teaspoon cinnamon
  • ¼ teaspoon nutmeg
  • ½ teaspoon salt (optional)
  • 1 cup milk (skim or 2%–see note below*)
  • ¼ cup honey
  • ¼ cup oil (I use canola)
  • ½ cup raisins

Combine ingredients; drop or form into tablespoon sized balls first and then drop* on sprayed baking sheet; bake at 425 degrees for 8 minutes or so. Do not burn; the scone top will not change much in color when done; the bottom will be brown. Makes about two dozen.

*If using white flour, these work well with skim milk. However, be sure to mix the dry and wet ingredients separately, and then combine just until mixed. The dough will be sticky and will not form into balls well, so just drop unto baking sheet. If using whole wheat flour, milk with more fat content (such as 2%) seems to make the final product less heavy. The dough is less sticky and can be formed into balls before putting on the baking sheet.

Do you like scones? What’s your favorite kind?

General Disclaimer- Floral

I received one or more of the products mentioned above for free using Tomoson.com. Regardless, I only recommend products or services I use personally and believe will be good for my readers.

Continue Reading